DIY: Decorate it yourself

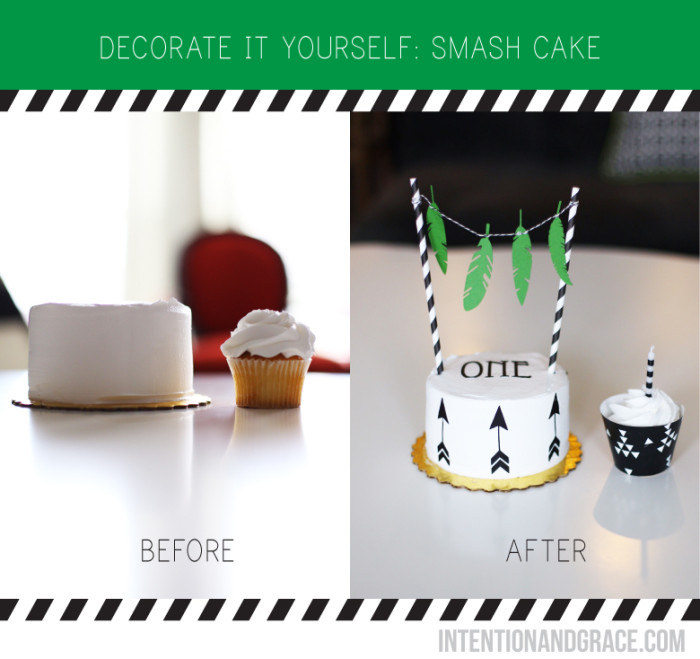
Continuing my post from Friday today I have our cake DIY. This simple Decorate it Yourself can be done on any size or shape cake to take it from plain to fab in just a few minutes.
Our son turned one at the end of March and although I knew I would not have time to bake his first birthday cake, I did find the simplest way to have a custom decorated cake for only $10.

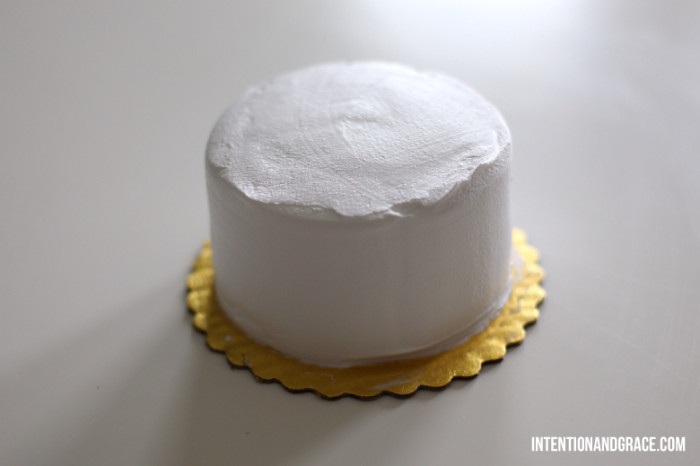
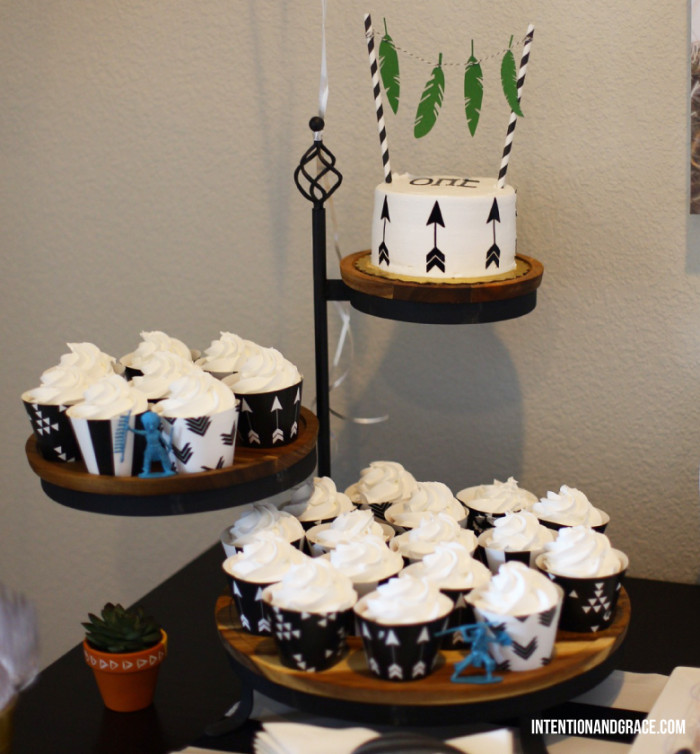
This cake was purchased from our favorite local bakery and cost a whopping $5! I told the baker I wanted one layer of white cake and one of chocolate with whip cream frosting and no decoration including border icing. We also got a couple dozen cupcakes in simple white floral frosting for guests to enjoy. I had originally planned on getting a sheet of fondant from our local craft store, but when I saw that one sheet was over $10 I was immediately reluctant. Fortunately, hanging right below the fondant was black sugar paper for only $2.40 with my 40% off Hobby Lobby coupon from the HobLob app. I was a bit concerned this would turn out looking cheap, turn my child’s mouth and teeth purple or be impossible for him to eat, but it turned out to be much nicer than I could have imagined and I loved working with it.
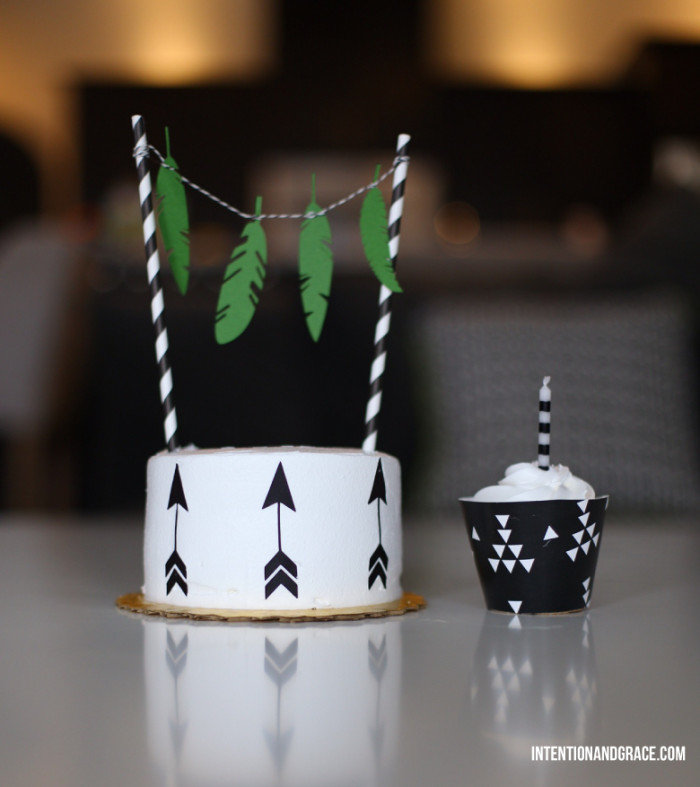
The edible paper came with a plastic backing on it, making it extremely easy to work with. I had originally planned on simply cutting triangle shapes to create a geometric pattern on the cake similar to this beauty. But when I saw how easy the material was to work with I decided to use my Silhouette Cutter to cut custom shapes out instead. If you too have a Silhouette cutter I set mine to the heavy card stock setting and it cut just fine. But for those of you who don’t have a Silhouette, using a simple ruler and pizza cutter could add some adorable stripes or a grab a simple shape die cut to punch out some shapes that fit your theme. Martha Stewart makes several, especially adorable border die cutters for a bit more fancy or girly cake theme. It’s that simple! You can have a custom cake in minutes for only a few bucks.

For the cake topper, I simply tied some twine around two straws that I got in a pack of 12 in the dollar section at Michaels with some die cuts from the scrapbook section.

And the cupcake wrappers were simple as could be also! I used this template and some printed card stock to make mine. Or you could pick out your favorite scrapbook card stocks to match your theme and cut or if you simply search “Cupcake Wrapper Printable” on Pinterest, hundreds of designs come up that you could print, cut and use.
I love how everything turned out and it was so special for me that I could have a part in making Maddax his first cake. Even if he won’t remember it. :)
CommentCategories DIY, Foodie, Kiddos
