Feb. 5, 2016
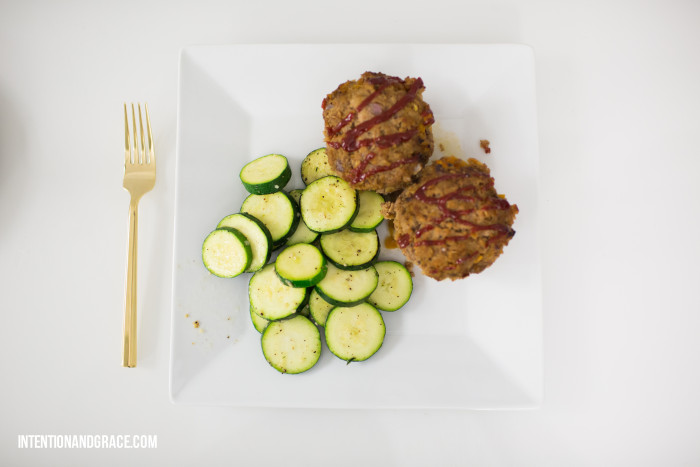
Growing up I always disliked meatloaf. We didn’t eat it often, but when we did I basically doused the whole mess in ketchup to cover up what was surely something disgusting. Not that my mom’s recipe was bad, but as a kid MEAT LOAF is probably the least exciting food title there is. And honestly, that name is still pretty bad. But it has recently been revamped in our home to become one of Maddax’s favorites and our go-to for a quick and easy kid-friendly recipe.
I believe there are three secrets to the recent success of meatloaf relaunching its way into our home:
1. Use ground turkey—trust me.
2. Muffin size them—kids love kid-sized things.
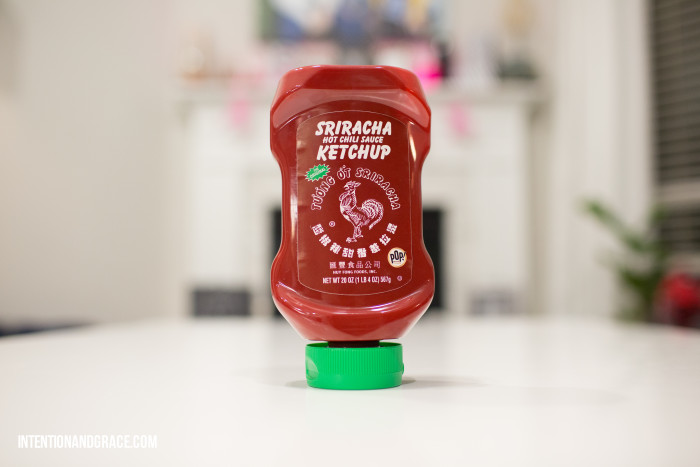
3. Serve with Sriracha ketchup—amen!
Here’s how we do it:
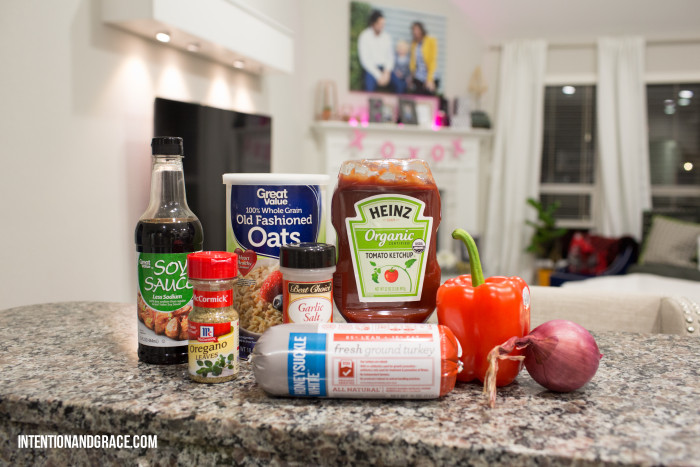
There are only 8 ingredients in the recipe, and most of them you probably already have in your house, which makes this super easy to throw together at the last minute.
We use 1 lb ground turkey, but pay attention to the leanness, I feel the sweet spot here is about 85% lean, if you go much leaner than that the turkey will come out on the dry side, in any recipe. So remember, 85% is where its at.
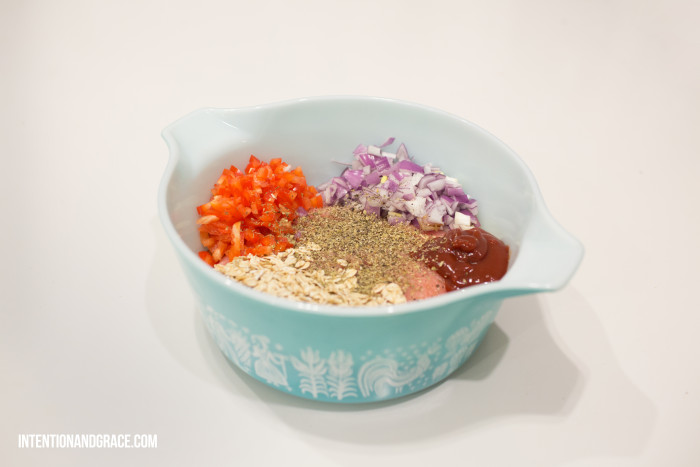
Chop your onion and bell pepper and dump the whole mess into a mixing bowl. Combine it all together with a rubber spatula, or if you’re like me, just take off your rings and really just dig in with your hands until it’s well blended. I promise it’s the best and easiest way.
Note: If you don’t like onions, you can substitute for something else—yellow bell pepper, carrots, etc.—or leave them out.
Once the mixture is well combined, simply transfer into a greased 12-cup cupcake tin. (This also works really well in jumbo muffin tins.) Then drizzle on a bit of ketchup before baking. You can use regular ketchup or sriracha depending on how much spice you’re hoping for.
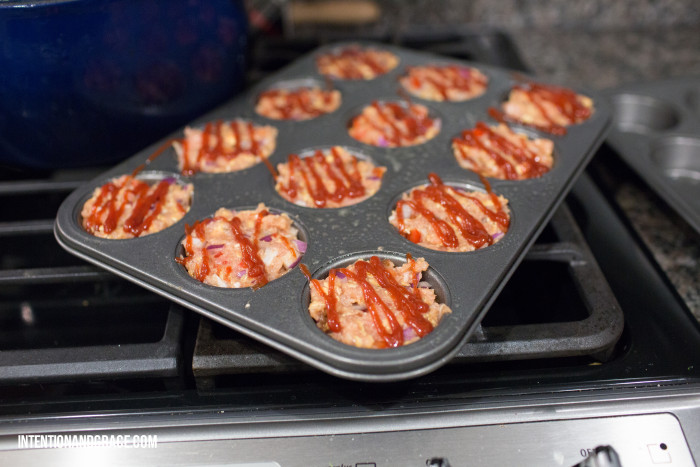
Bake at 400 degrees for 10 minutes or until meatloaf is cooked through.

For the adults, serve with a bit of Sriracha Ketchup on the side for a little added kick and enjoy!
These little muffin sized meatloafs make great leftovers and freeze well too! Hope they are a hit for your family like they have been for ours.
Ingredients
- 1 pound ground turkey - 85% lean
- 1 cup chopped red onion
- 1/2 cup chopped red bell pepper
- 1 cup oats
- 1/4 cup soy sauce
- 1/4 cup ketchup
- 1/2 teaspoon oregano leaves
- 1/4 teaspoon garlic salt
- Ground pepper to taste
- * Sriracha Ketchup
Instructions
- Preheat oven to 400 degrees F.
- Finely chop onion and bell pepper.
- In a large bowl, combine the turkey, onion, bell pepper, oats, soy sauce, ketchup, oregano, garlic salt and pepper until well combined.
- Transfer evenly into a 12-cup non-stick cupcake baking pan and drizzle with ketchup.
- Bake at 400 degrees F for 10 minutes, until the meat loaf is cooked through.
- Serve hot with ketchup or Sriracha ketchup on the side.
0.1
http://intentionandgrace.com/2016/02/not-your-mamas-meatloaf/ 
Apr. 3, 2015
Last weekend our baby boy Maddax turned TWO! I just can’t believe it’s been two years since he was born. He has brought so much joy and laughter into our lives, and we loved being able to celebrate that with our sweet friends and family. We planned a fun tractor and truck themed birthday bash. This kid LOVES all things with wheels: tractors, trucks, trains, cars. Every time we drive anywhere, he points out any type of manly vehicle. By yelling at the top of his lungs. So this year I took this fun theme and ran with it. I hope you dig it!

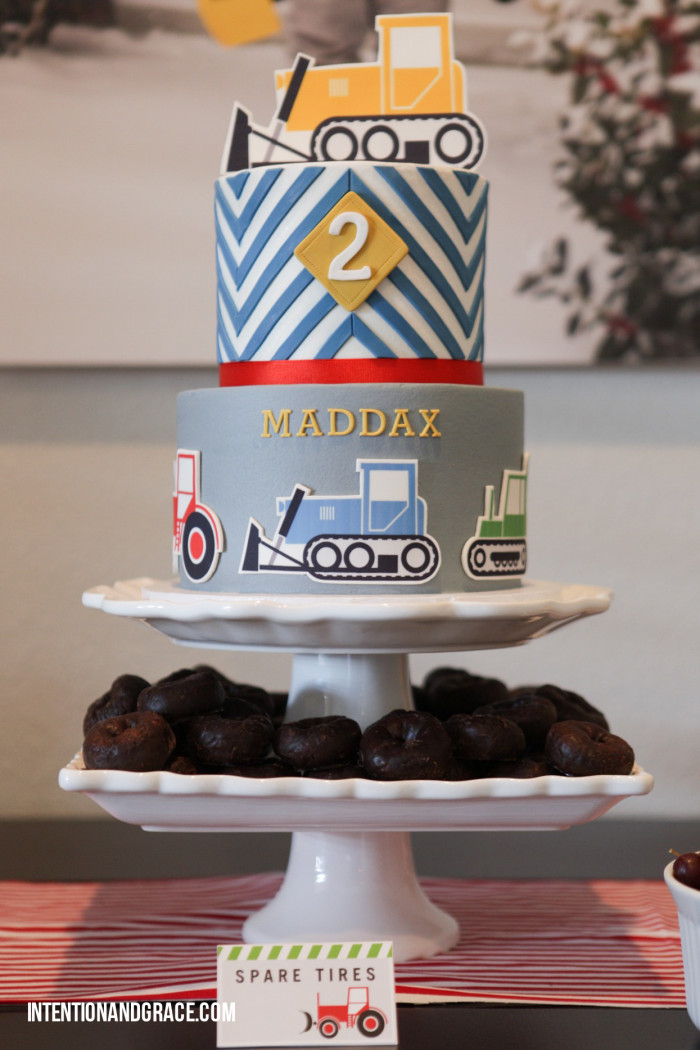
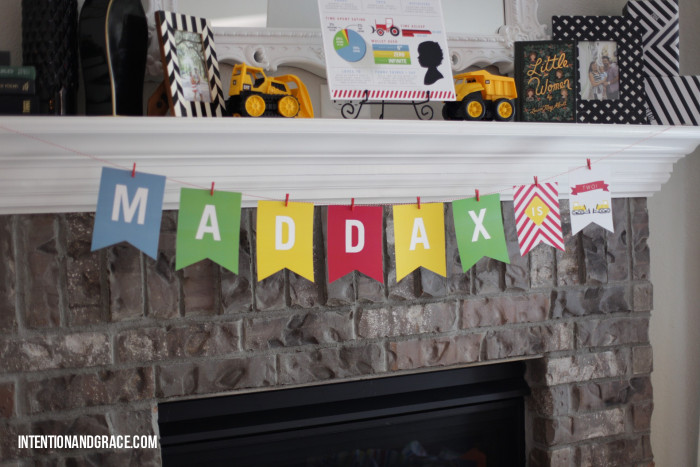
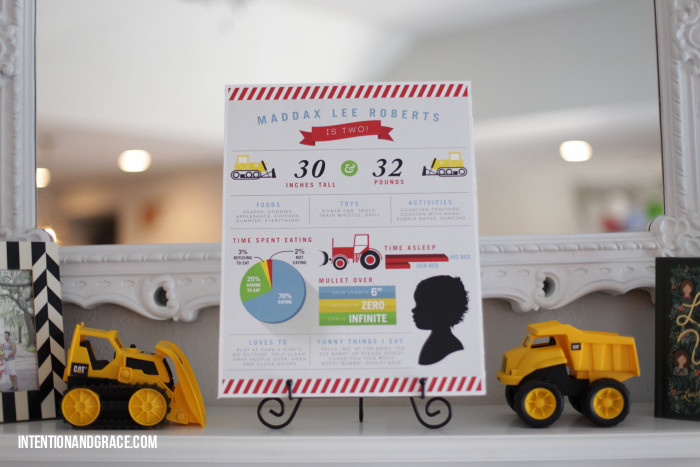
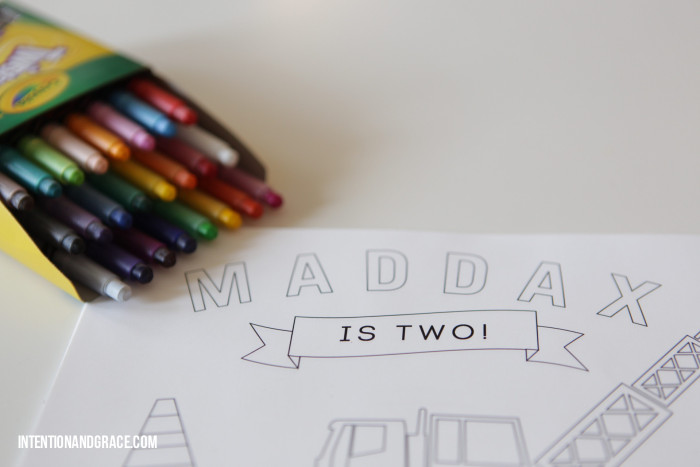
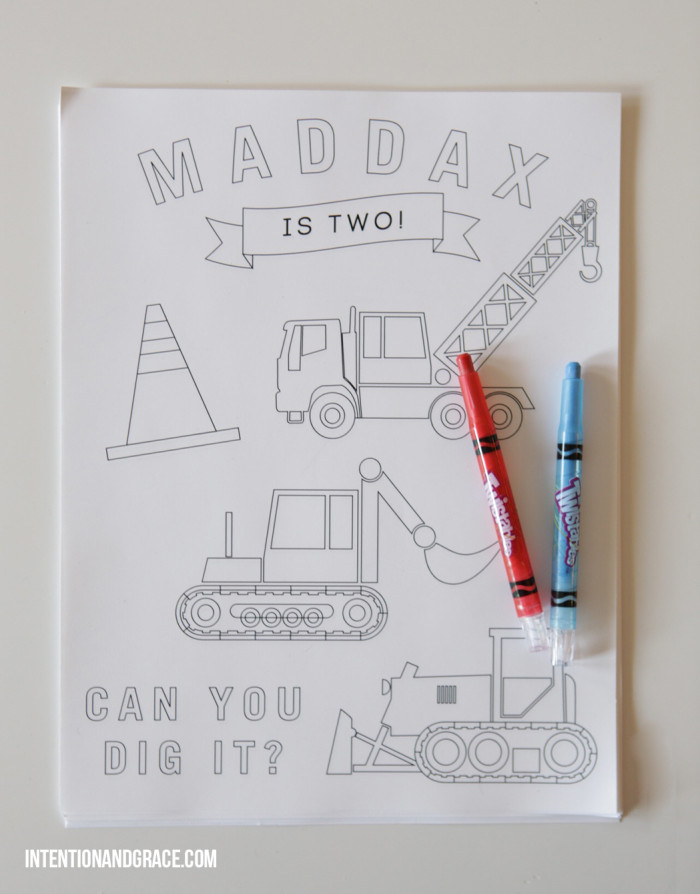
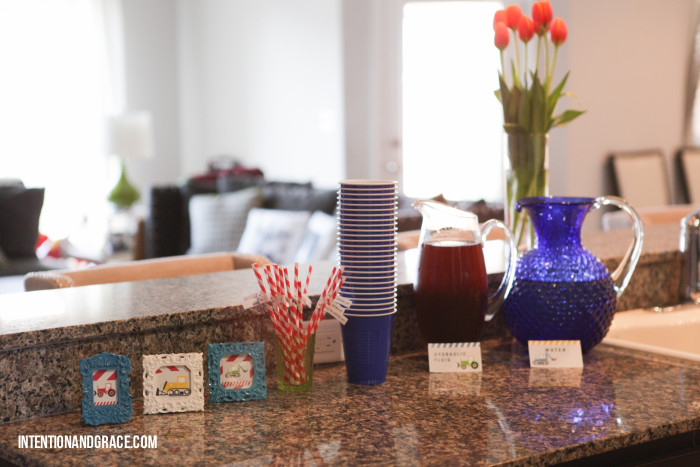
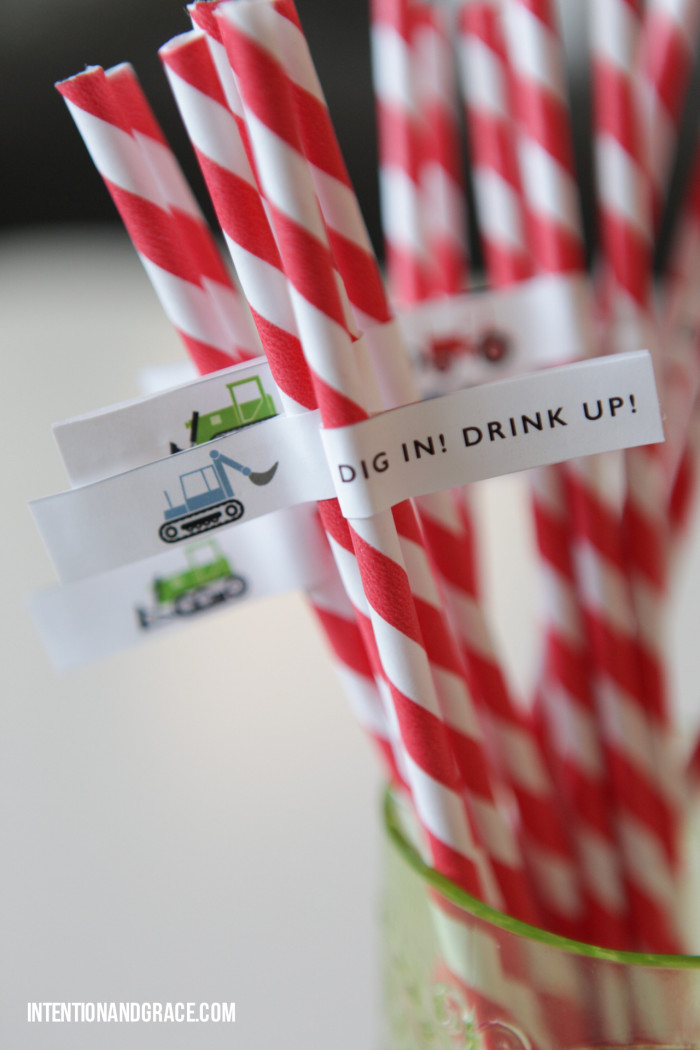
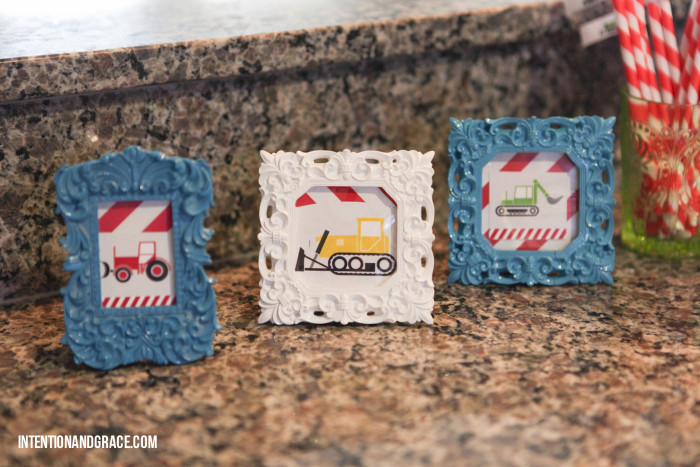
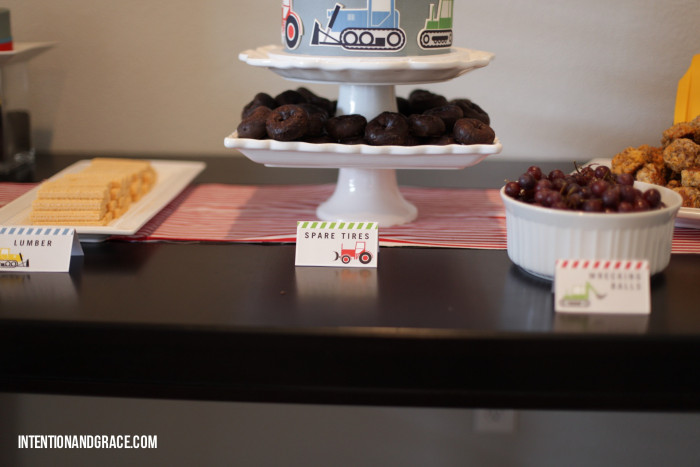
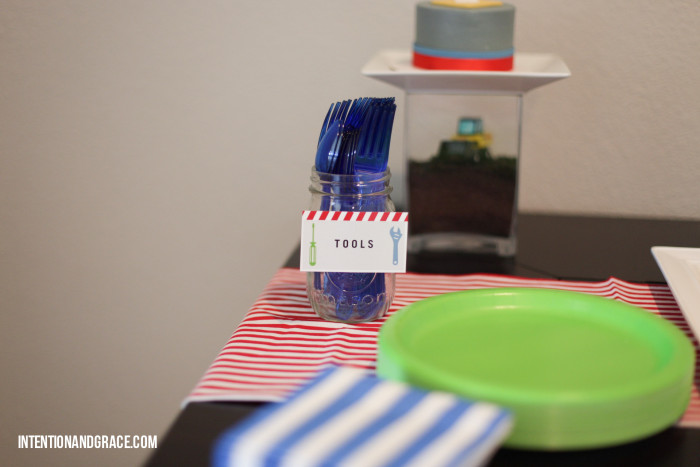
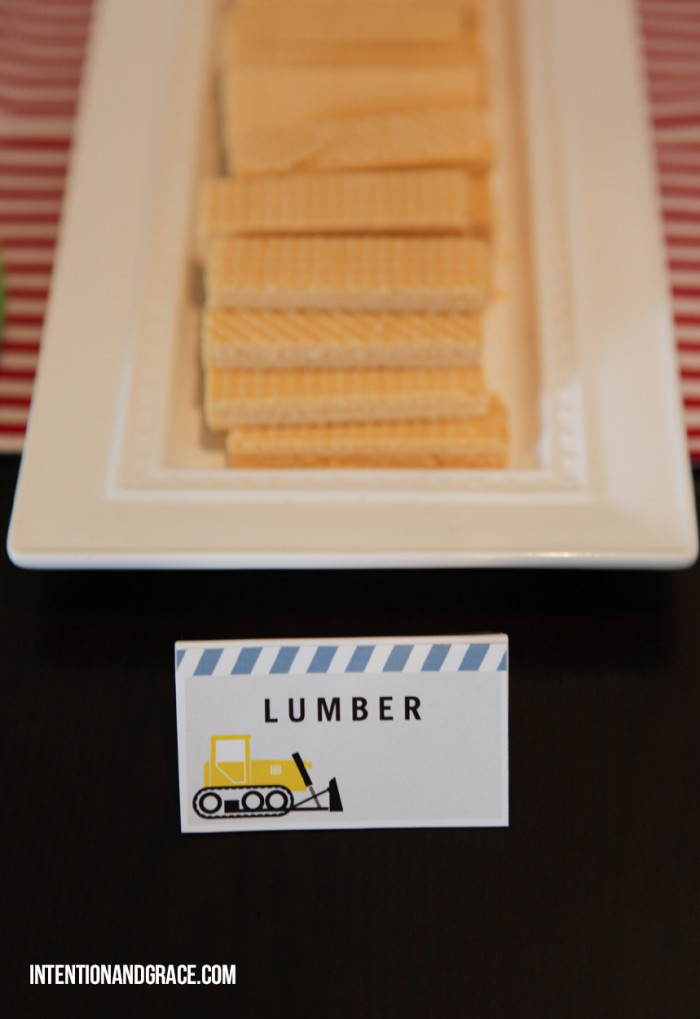
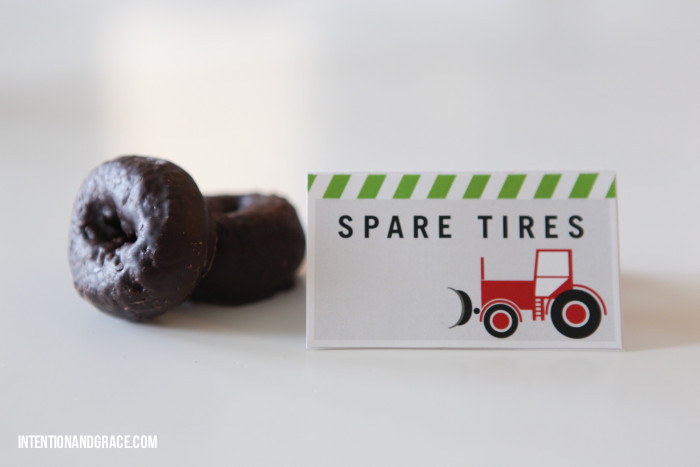
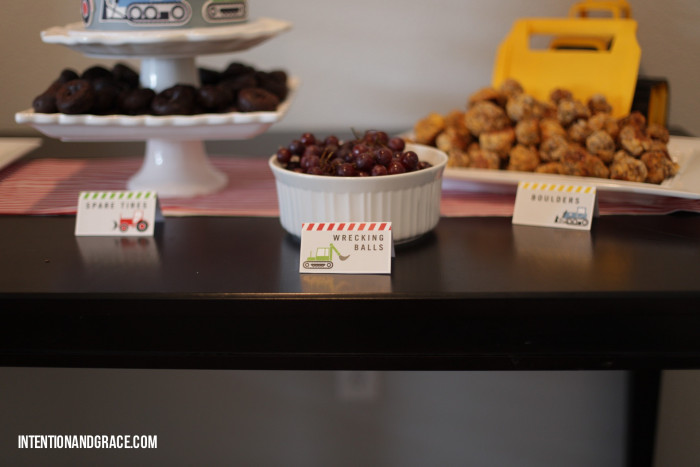
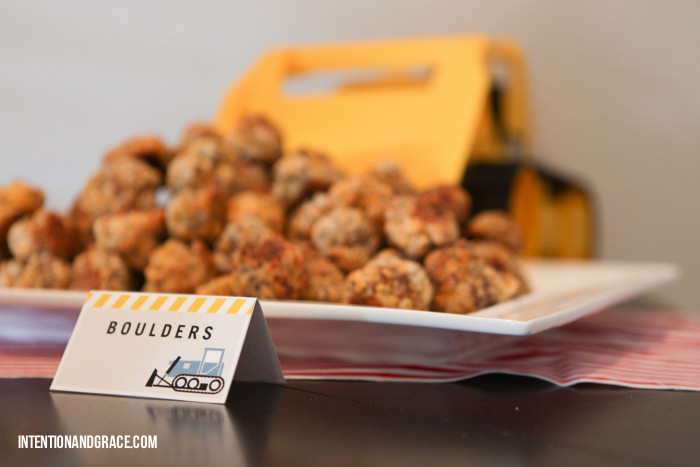
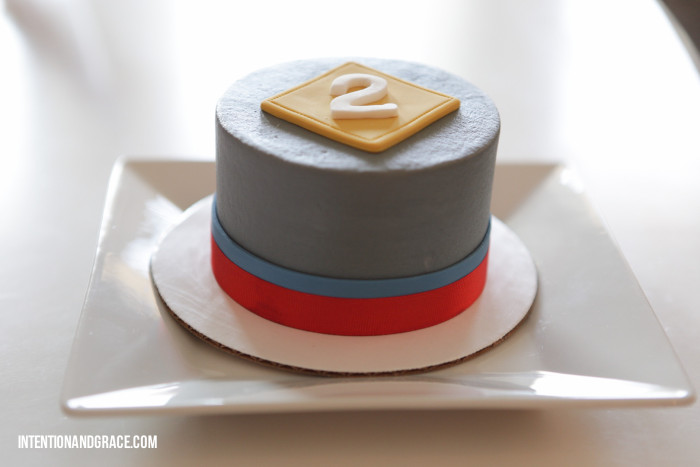
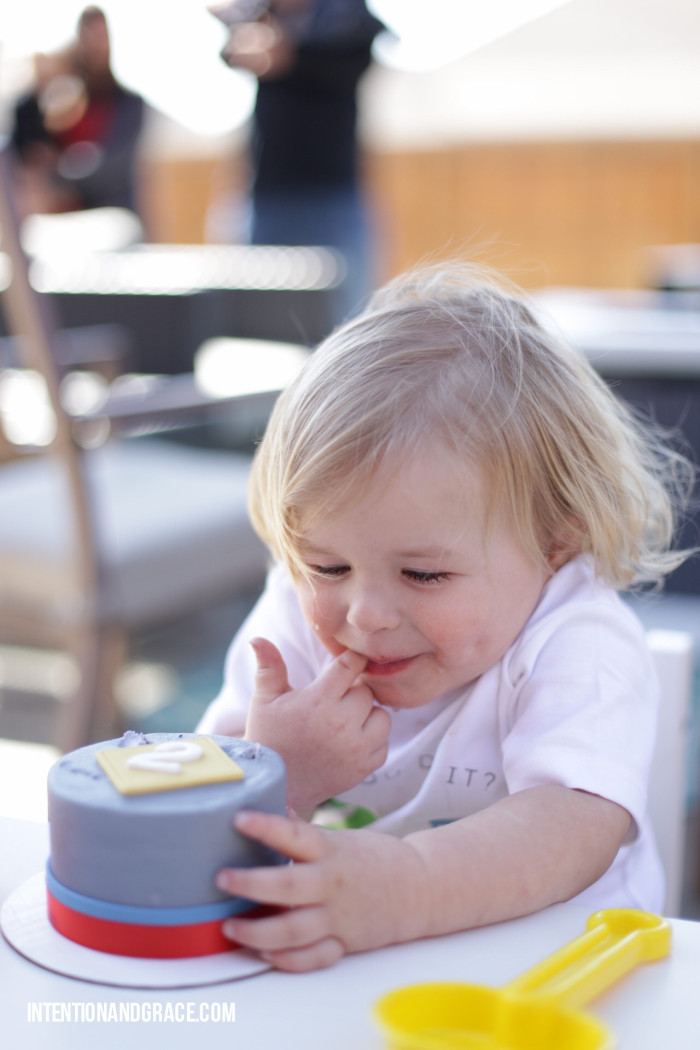
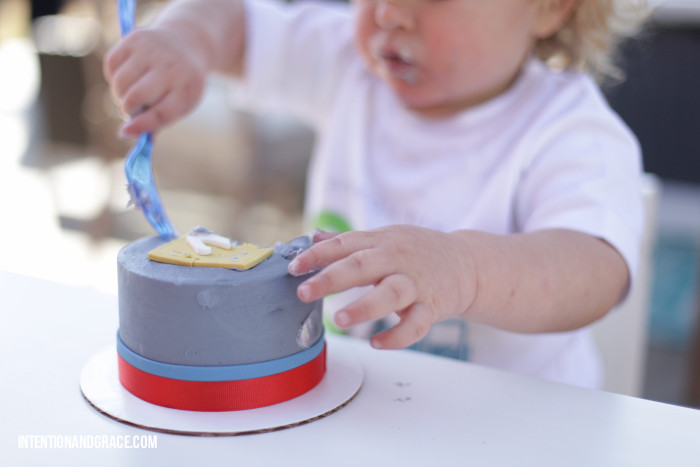
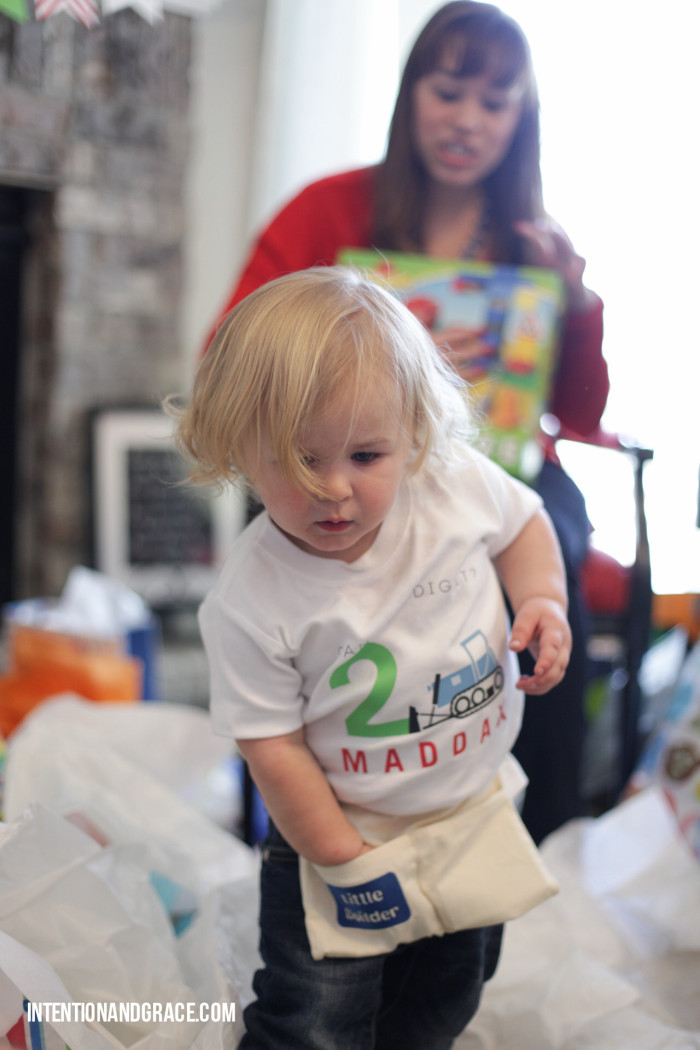


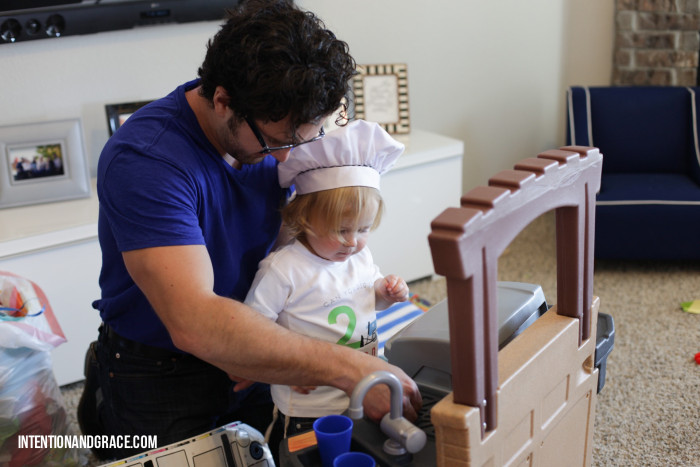
Want to use this theme for your lil one? Check my etsy shop for custom party listings or email me directly at courtney@intentionandgrace.com. Also, be sure to check out Maddax’s first birthday bash HERE.
Jan. 22, 2015
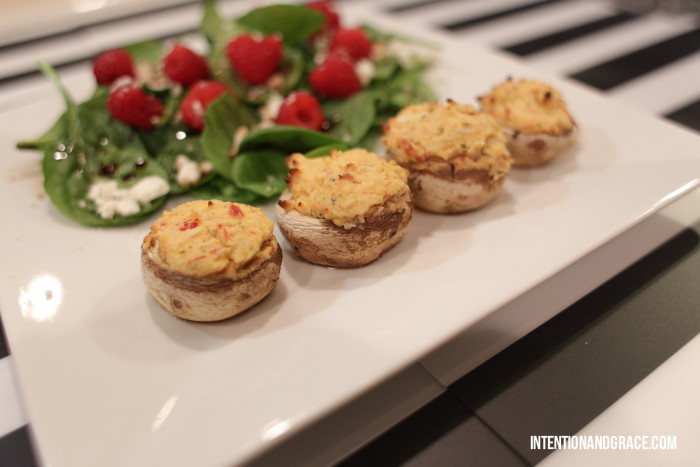
My mom and I used to make these delicious stuffed mushrooms all the time when I was young, but until recently I completely forgot about them! There are two simple ingredients: whole mushrooms (I like mini portabella the best) and crab dip. You can find crab dip already made in the seafood deli at most grocery stores or fish markets.
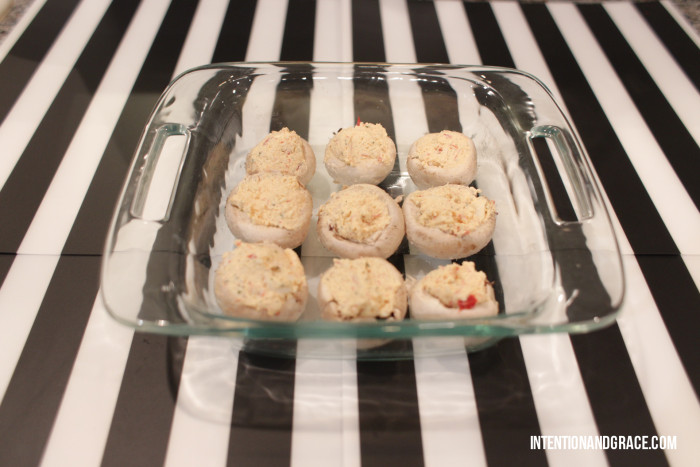
Simply pull the stems out of the mushrooms once they have been cleaned, then fill them with the seafood mix.
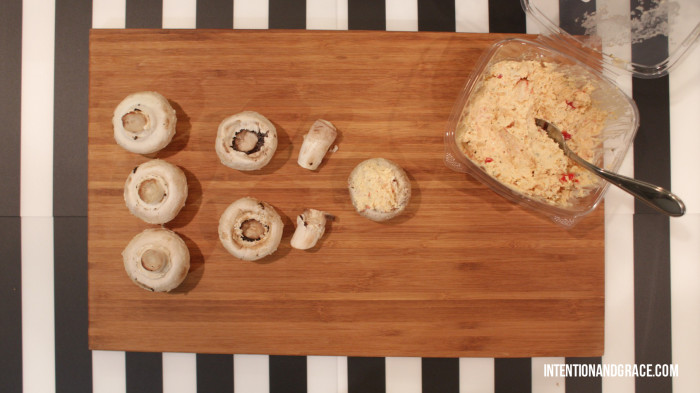
Place them in an ungreased baking dish and bake at 400 degrees for 20 minutes. I like them a little firm, but if you prefer them more thoroughly cooked keep them in for another 5-10 minutes.
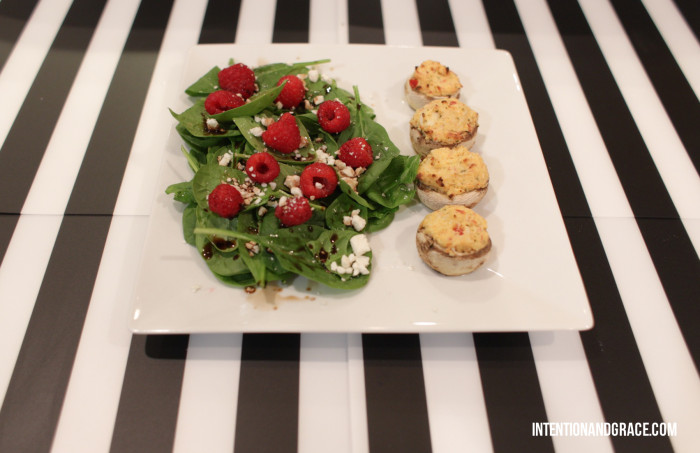
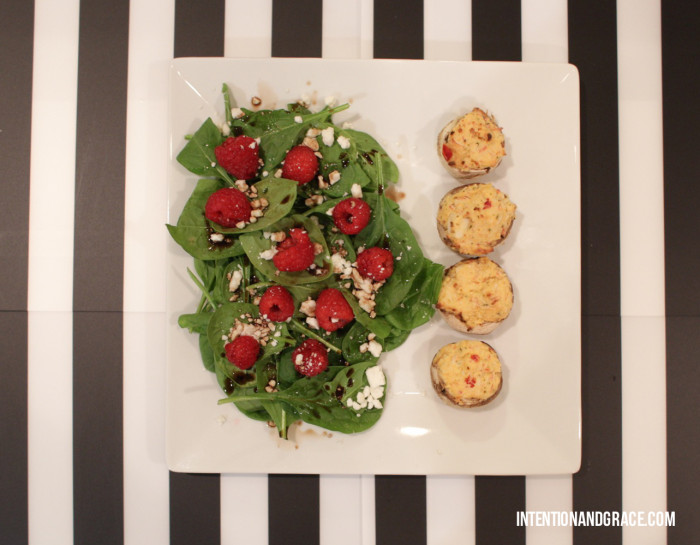
These are great with a healthy spinach salad like shown here, but also an amazing compliment to steak, chicken, pasta or even served as an hors d’oeuvres at a get together.
What is your favorite easy recipe?
Apr. 15, 2014
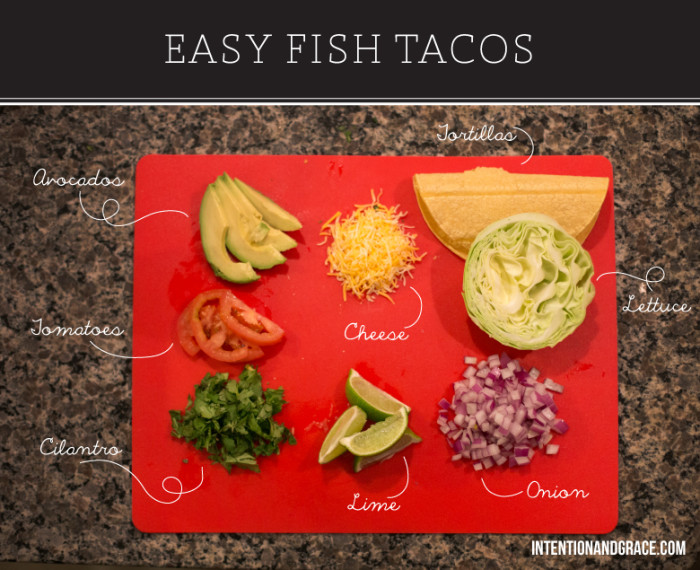
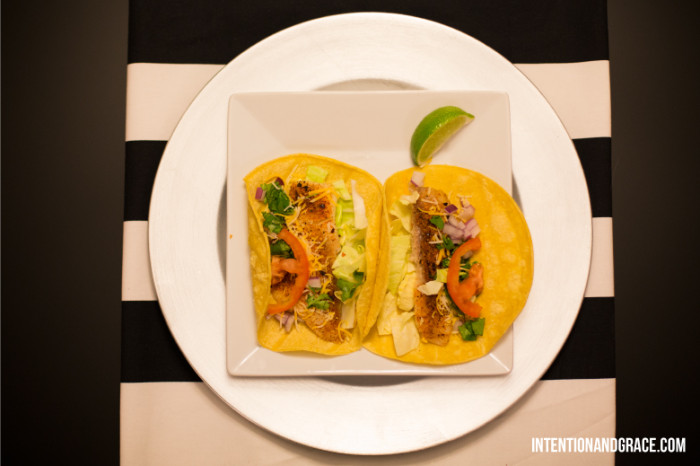
We love Mexican food at our house and are always looking for new easy recipes. This is a modified recipe we use on Salmon every couple of weeks and I love how it turned out on these delicious tacos.
We used fresh Tilapia here for our fish. Fresh is the key here, I feel that previously frozen fish generally has a very fishy taste and I haven’t had very good luck with it.
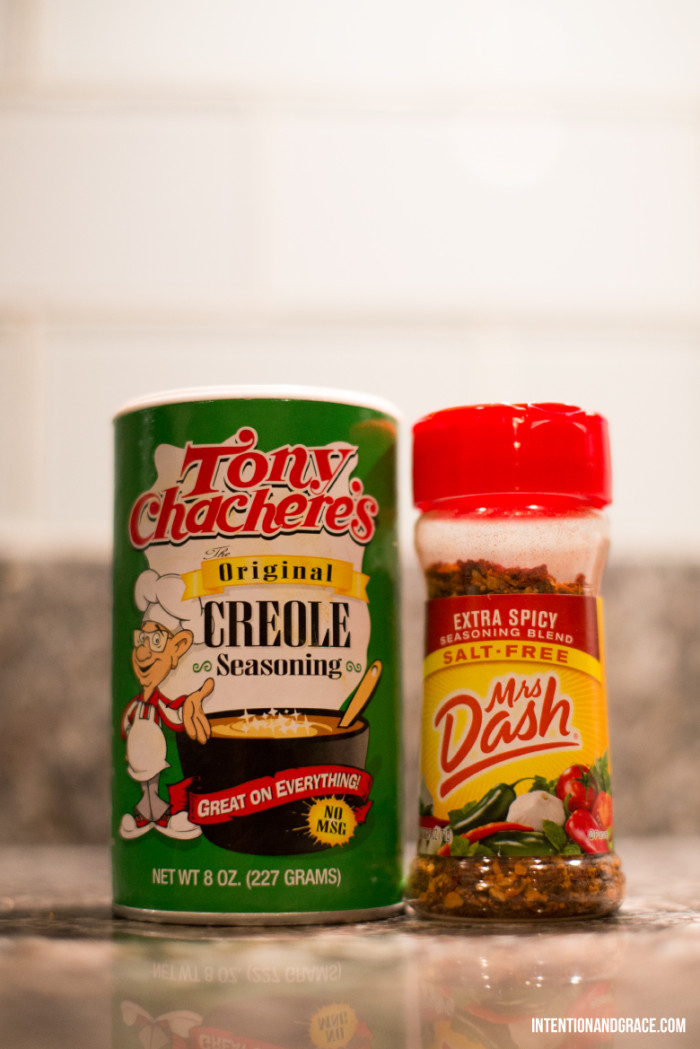
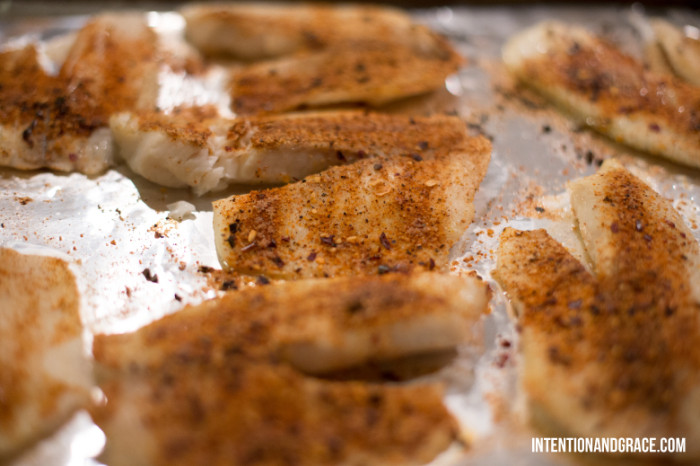
Simply place the filets on a foil lined baking sheet, sprinkle with some Creole Seasoning, and a squeeze of fresh lime juice and you’re good to go. We also included a little Mrs. Dash Extra Spicy because we love a little heat when we cook, but it’s completely optional if you prefer it non-spicy. We popped the pan in the oven and set it to broil and after about 5-10 minutes our fish was done. So easy! If you’re unsure if the fish is ready just pull apart a filet and make sure the fish is no longer translucent and cooked all the way through.
We layered our toppings onto some warmed corn tortillas, squeezed with an extra lime wedge and enjoyed.
I think the best part about these tacos is you could change them up by adding any toppings you want. Perhaps some cabbage, chopped jalapeños, and feta cheese is more your thing. These would be delicious so many ways.

Apr. 8, 2014
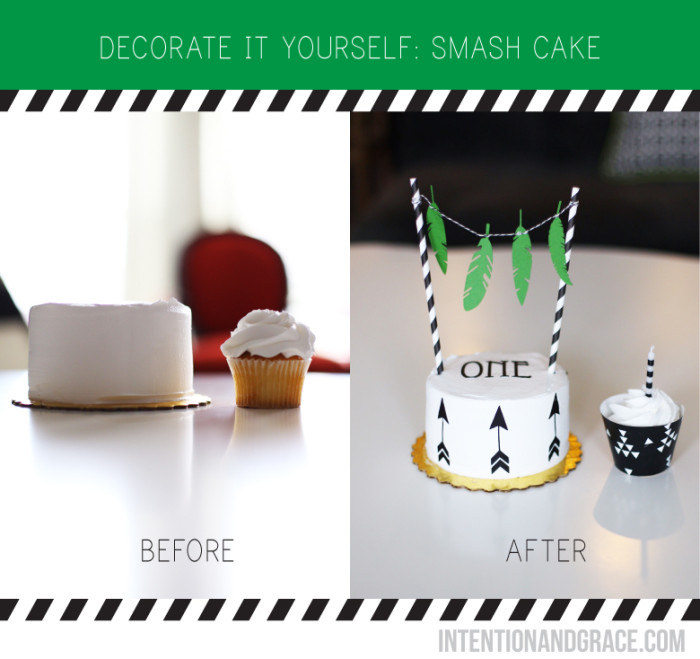
Continuing my post from Friday today I have our cake DIY. This simple Decorate it Yourself can be done on any size or shape cake to take it from plain to fab in just a few minutes.
Our son turned one at the end of March and although I knew I would not have time to bake his first birthday cake, I did find the simplest way to have a custom decorated cake for only $10.
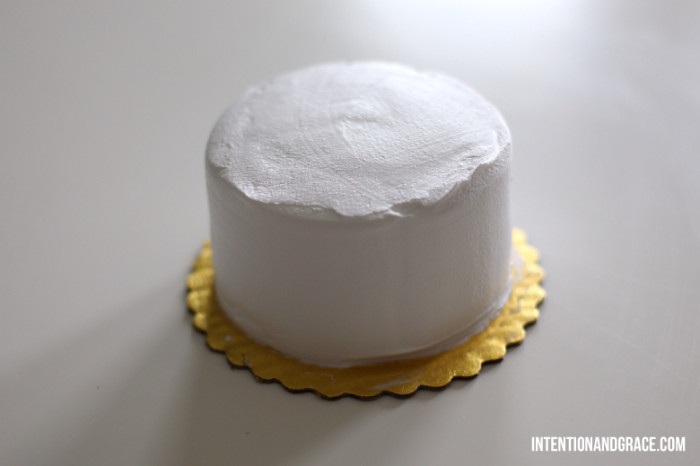
This cake was purchased from our favorite local bakery and cost a whopping $5! I told the baker I wanted one layer of white cake and one of chocolate with whip cream frosting and no decoration including border icing. We also got a couple dozen cupcakes in simple white floral frosting for guests to enjoy. I had originally planned on getting a sheet of fondant from our local craft store, but when I saw that one sheet was over $10 I was immediately reluctant. Fortunately, hanging right below the fondant was black sugar paper for only $2.40 with my 40% off Hobby Lobby coupon from the HobLob app. I was a bit concerned this would turn out looking cheap, turn my child’s mouth and teeth purple or be impossible for him to eat, but it turned out to be much nicer than I could have imagined and I loved working with it.
The edible paper came with a plastic backing on it, making it extremely easy to work with. I had originally planned on simply cutting triangle shapes to create a geometric pattern on the cake similar to this beauty. But when I saw how easy the material was to work with I decided to use my Silhouette Cutter to cut custom shapes out instead. If you too have a Silhouette cutter I set mine to the heavy card stock setting and it cut just fine. But for those of you who don’t have a Silhouette, using a simple ruler and pizza cutter could add some adorable stripes or a grab a simple shape die cut to punch out some shapes that fit your theme. Martha Stewart makes several, especially adorable border die cutters for a bit more fancy or girly cake theme. It’s that simple! You can have a custom cake in minutes for only a few bucks.
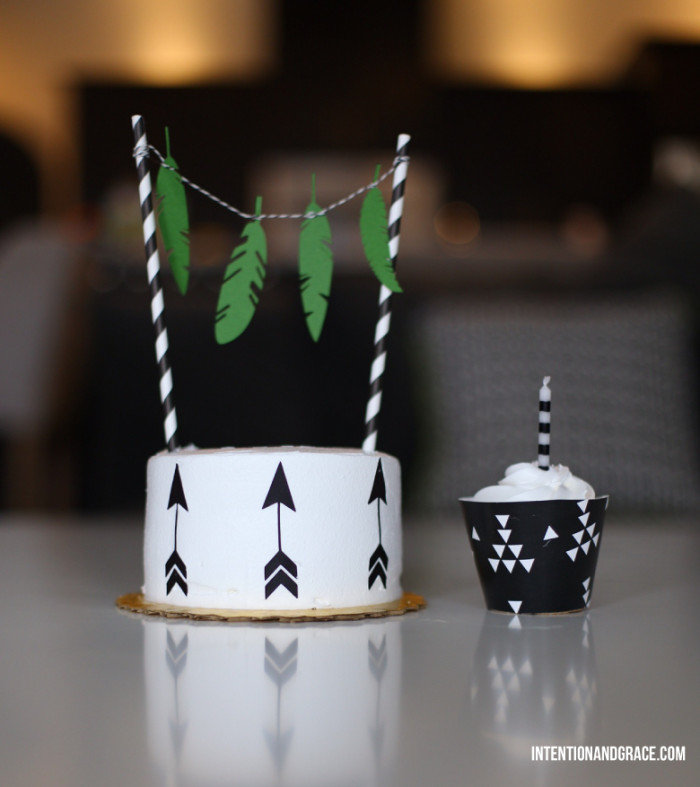
For the cake topper, I simply tied some twine around two straws that I got in a pack of 12 in the dollar section at Michaels with some die cuts from the scrapbook section.
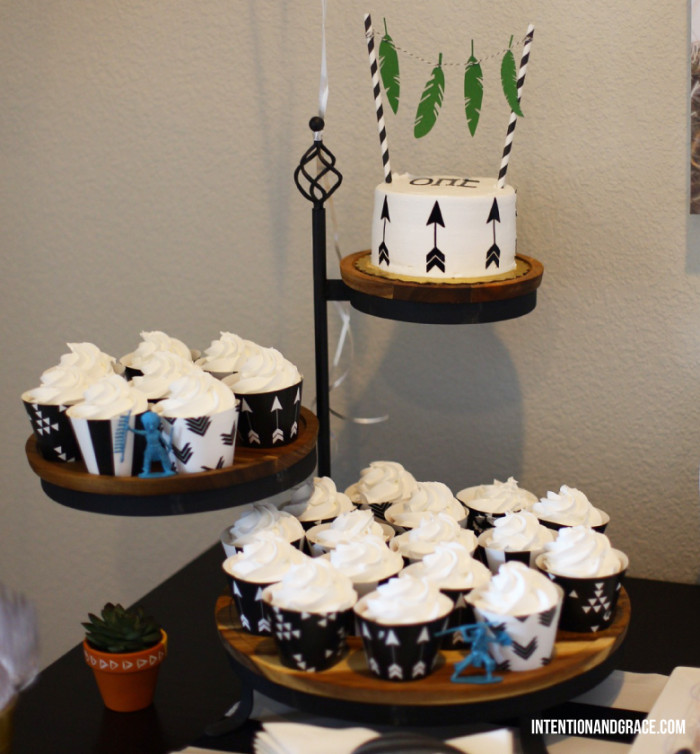
And the cupcake wrappers were simple as could be also! I used this template and some printed card stock to make mine. Or you could pick out your favorite scrapbook card stocks to match your theme and cut or if you simply search “Cupcake Wrapper Printable” on Pinterest, hundreds of designs come up that you could print, cut and use.
I love how everything turned out and it was so special for me that I could have a part in making Maddax his first cake. Even if he won’t remember it. :)


