Modern Fireplace Makeover
Hi guys! I’m back with some updates as to what has been keeping us so busy these past several months. First up, our fireplace!

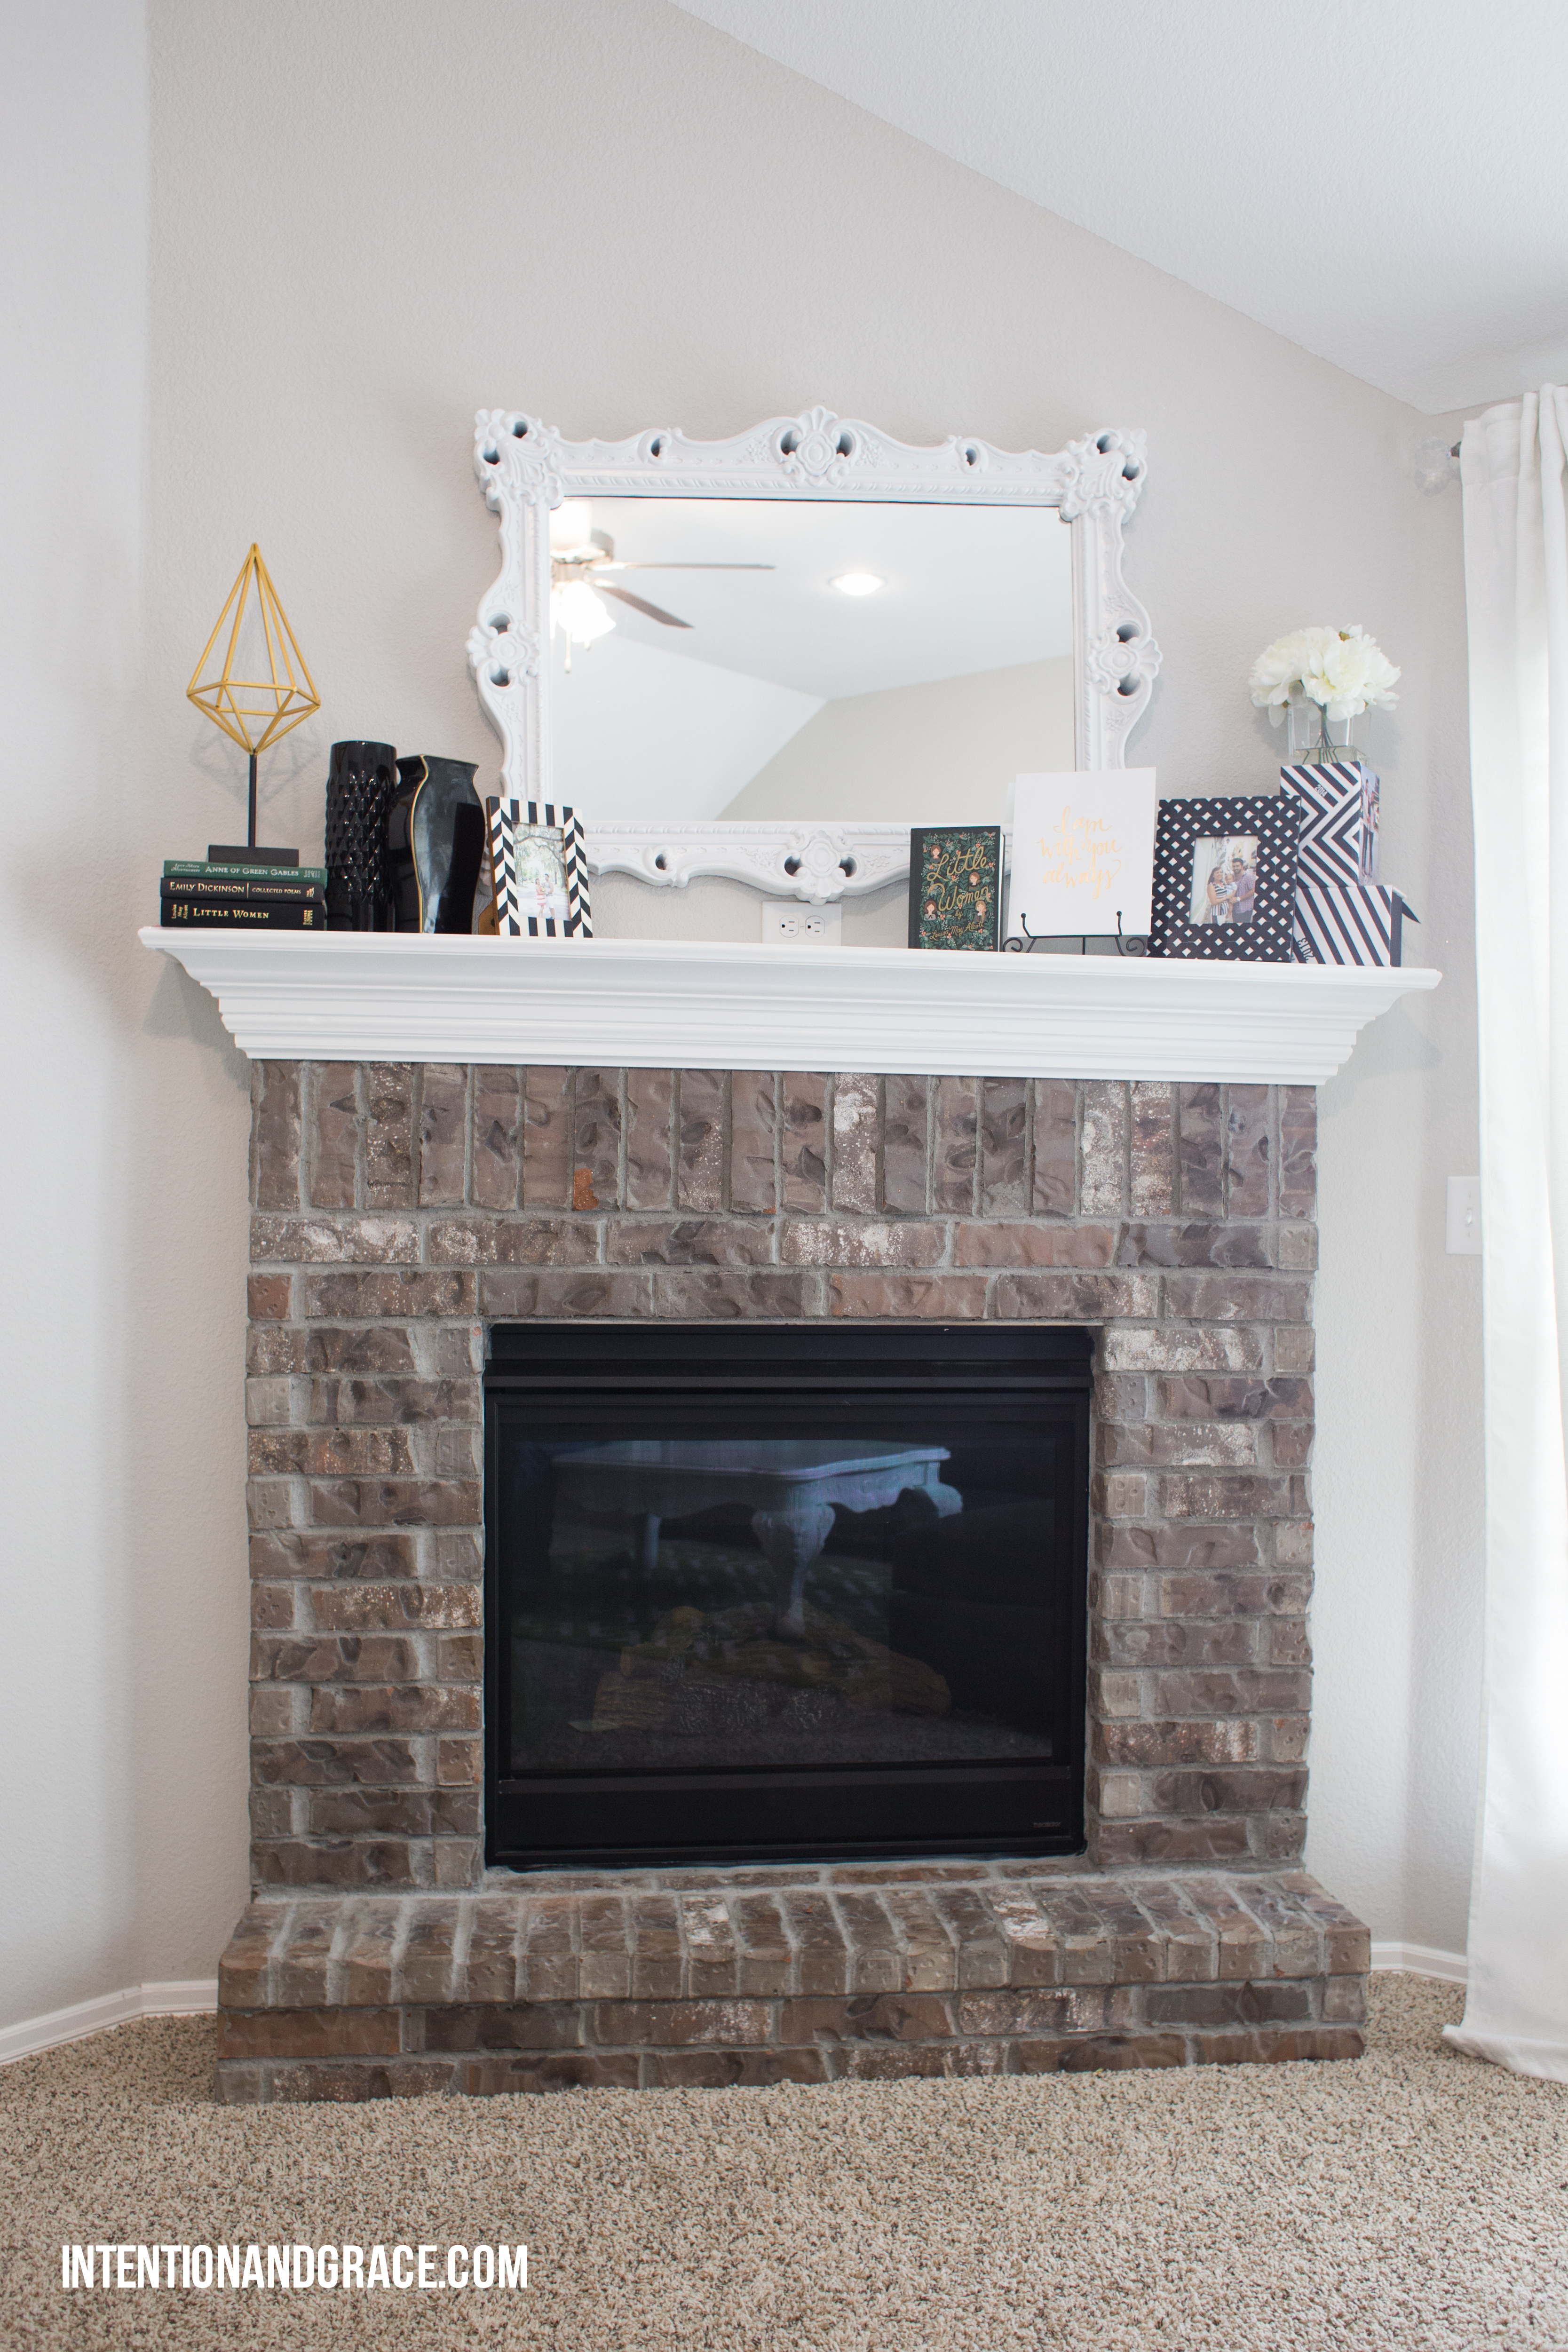
When we built our home a few years ago there were a few major items that either weren’t available from the builder like we had hoped, or were too pricey to consider at the time. One of those items was our fireplace.
We knew that we wanted a hearth, but the options provided were either full brick (that matched the outside of our house) with a hearth or a wood and tile mantel with no hearth. We had a pretty good vision for what we wanted, so we chose the option with the hearth and decided we would upgrade it ourselves at a later time.
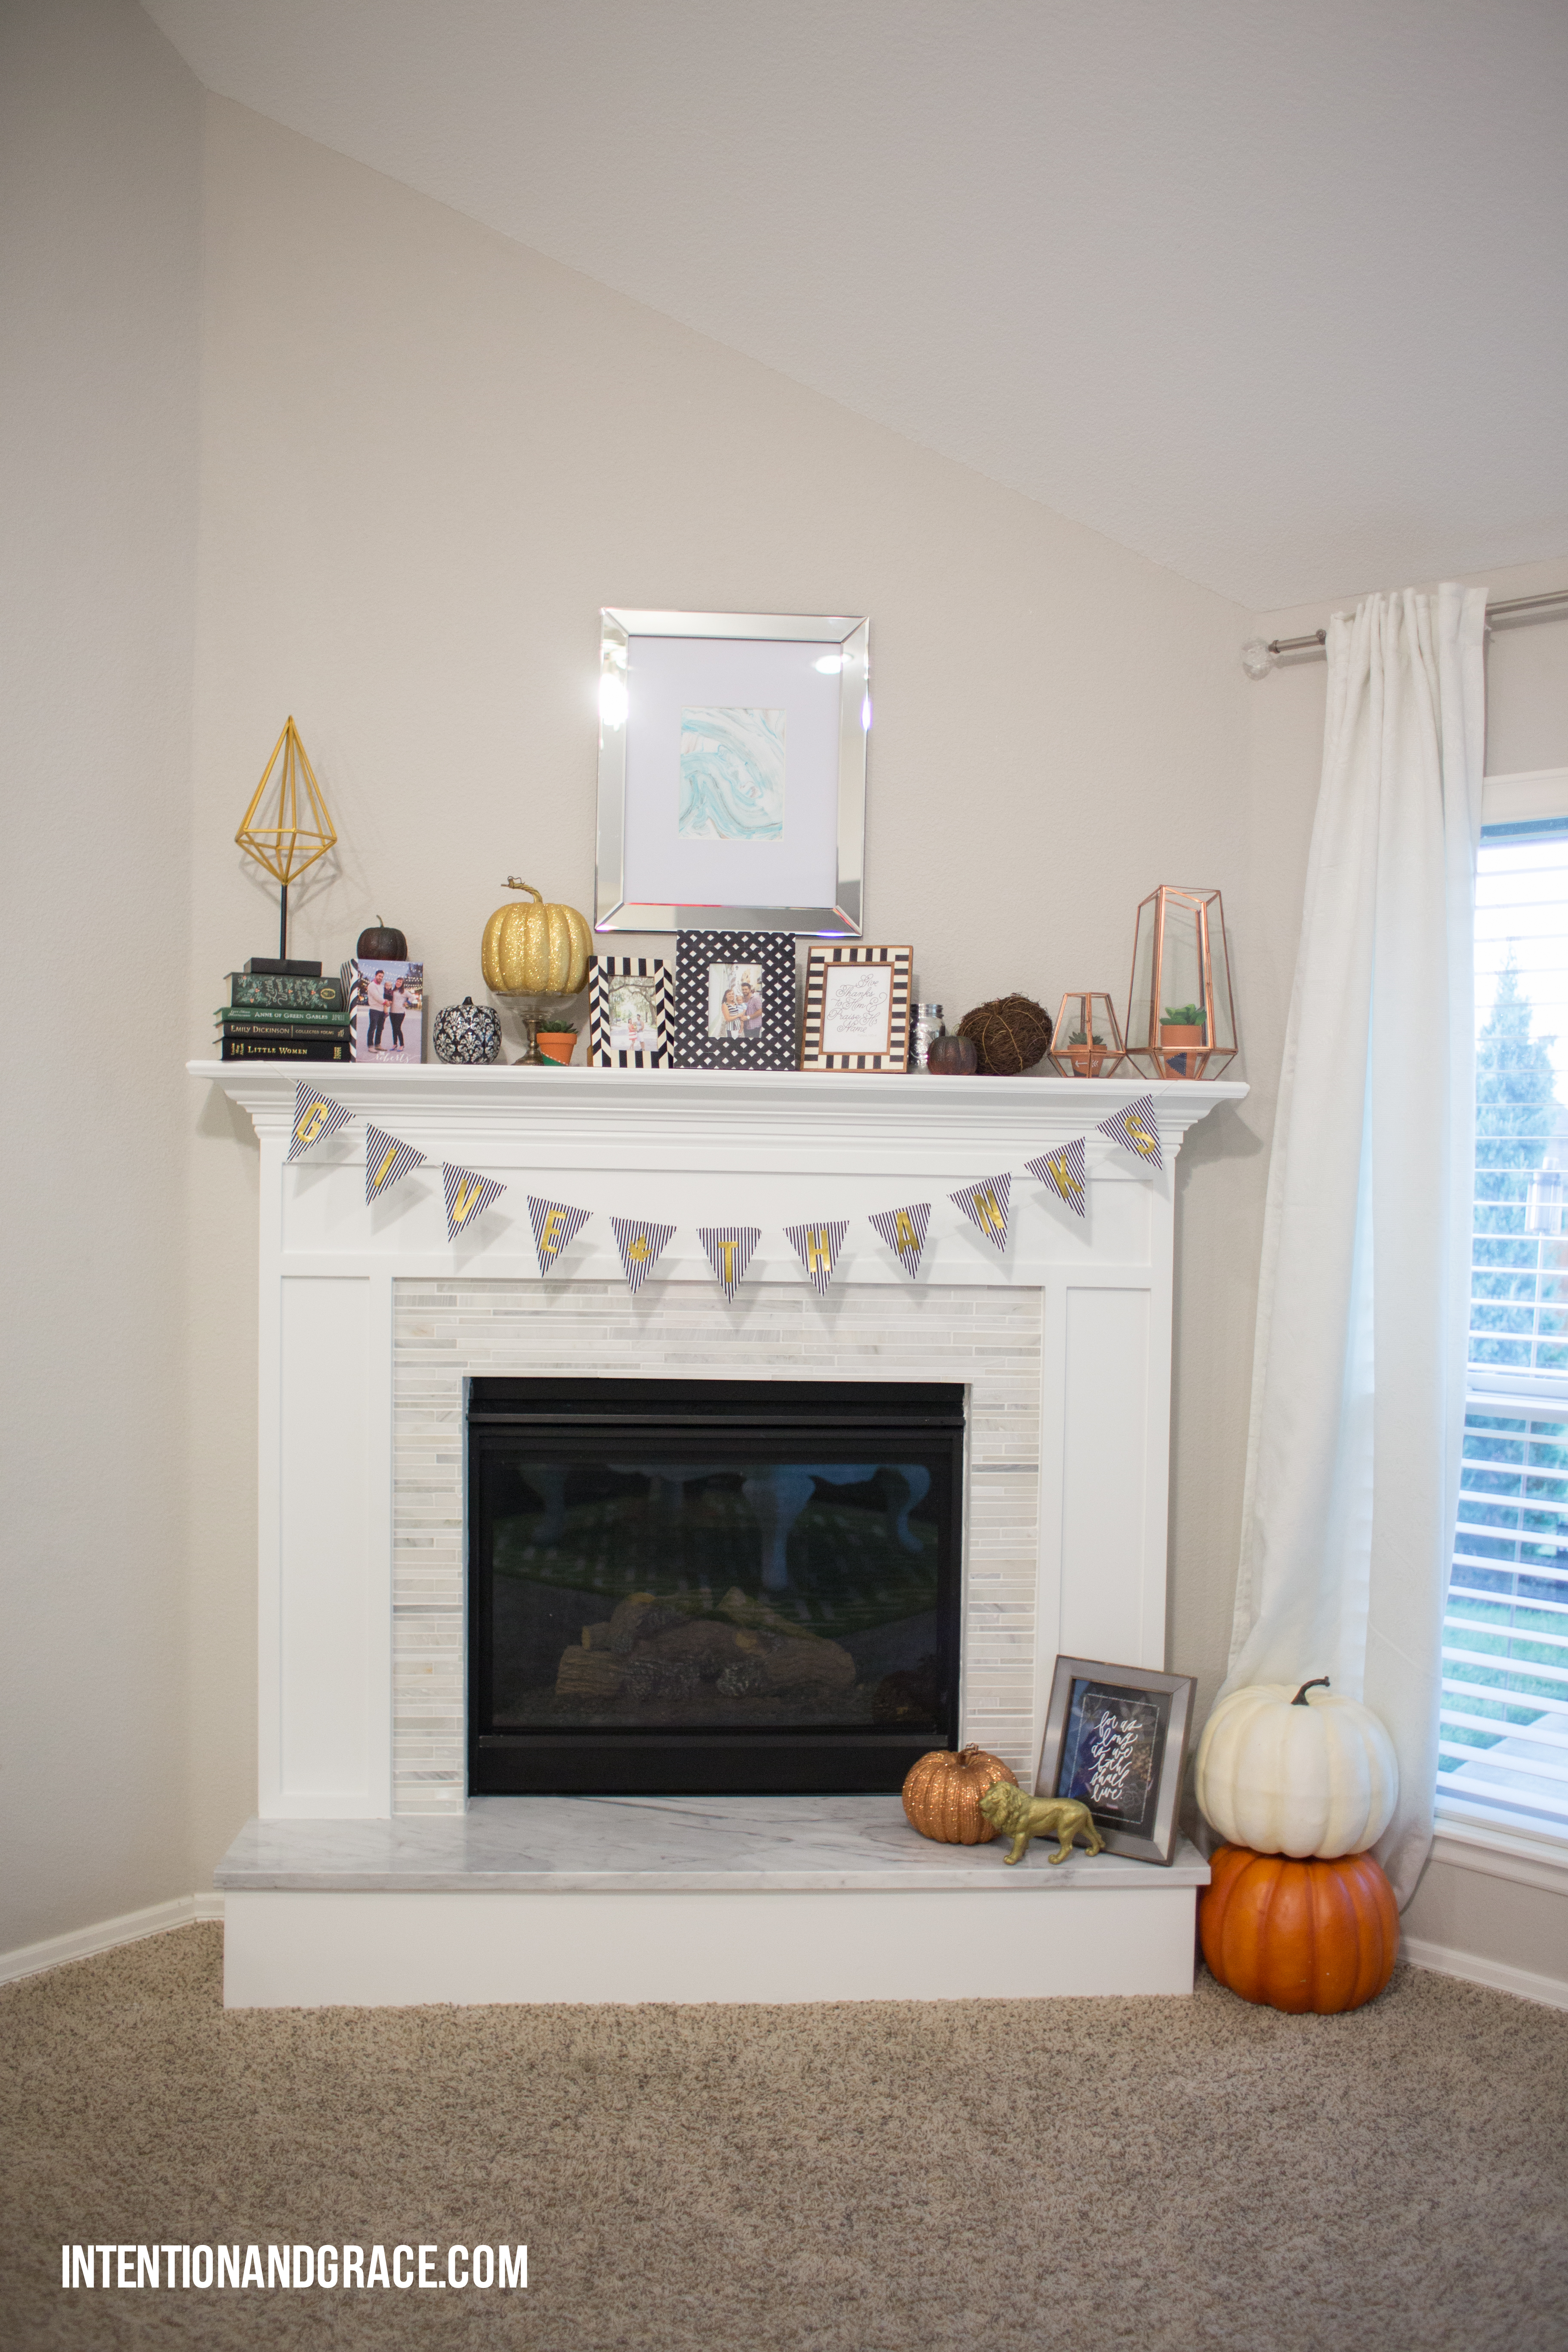
Well this fall it finally happened, and I am so pleased with how it turned out. It may be my new happy spot in our house, especially now that its getting cold outside!
We had intended this to be a full DIY project so we began documenting our entire process, but in all honesty, it turned out to be a bit more complicated than we had initially planned so the documenting fell to the back burner.
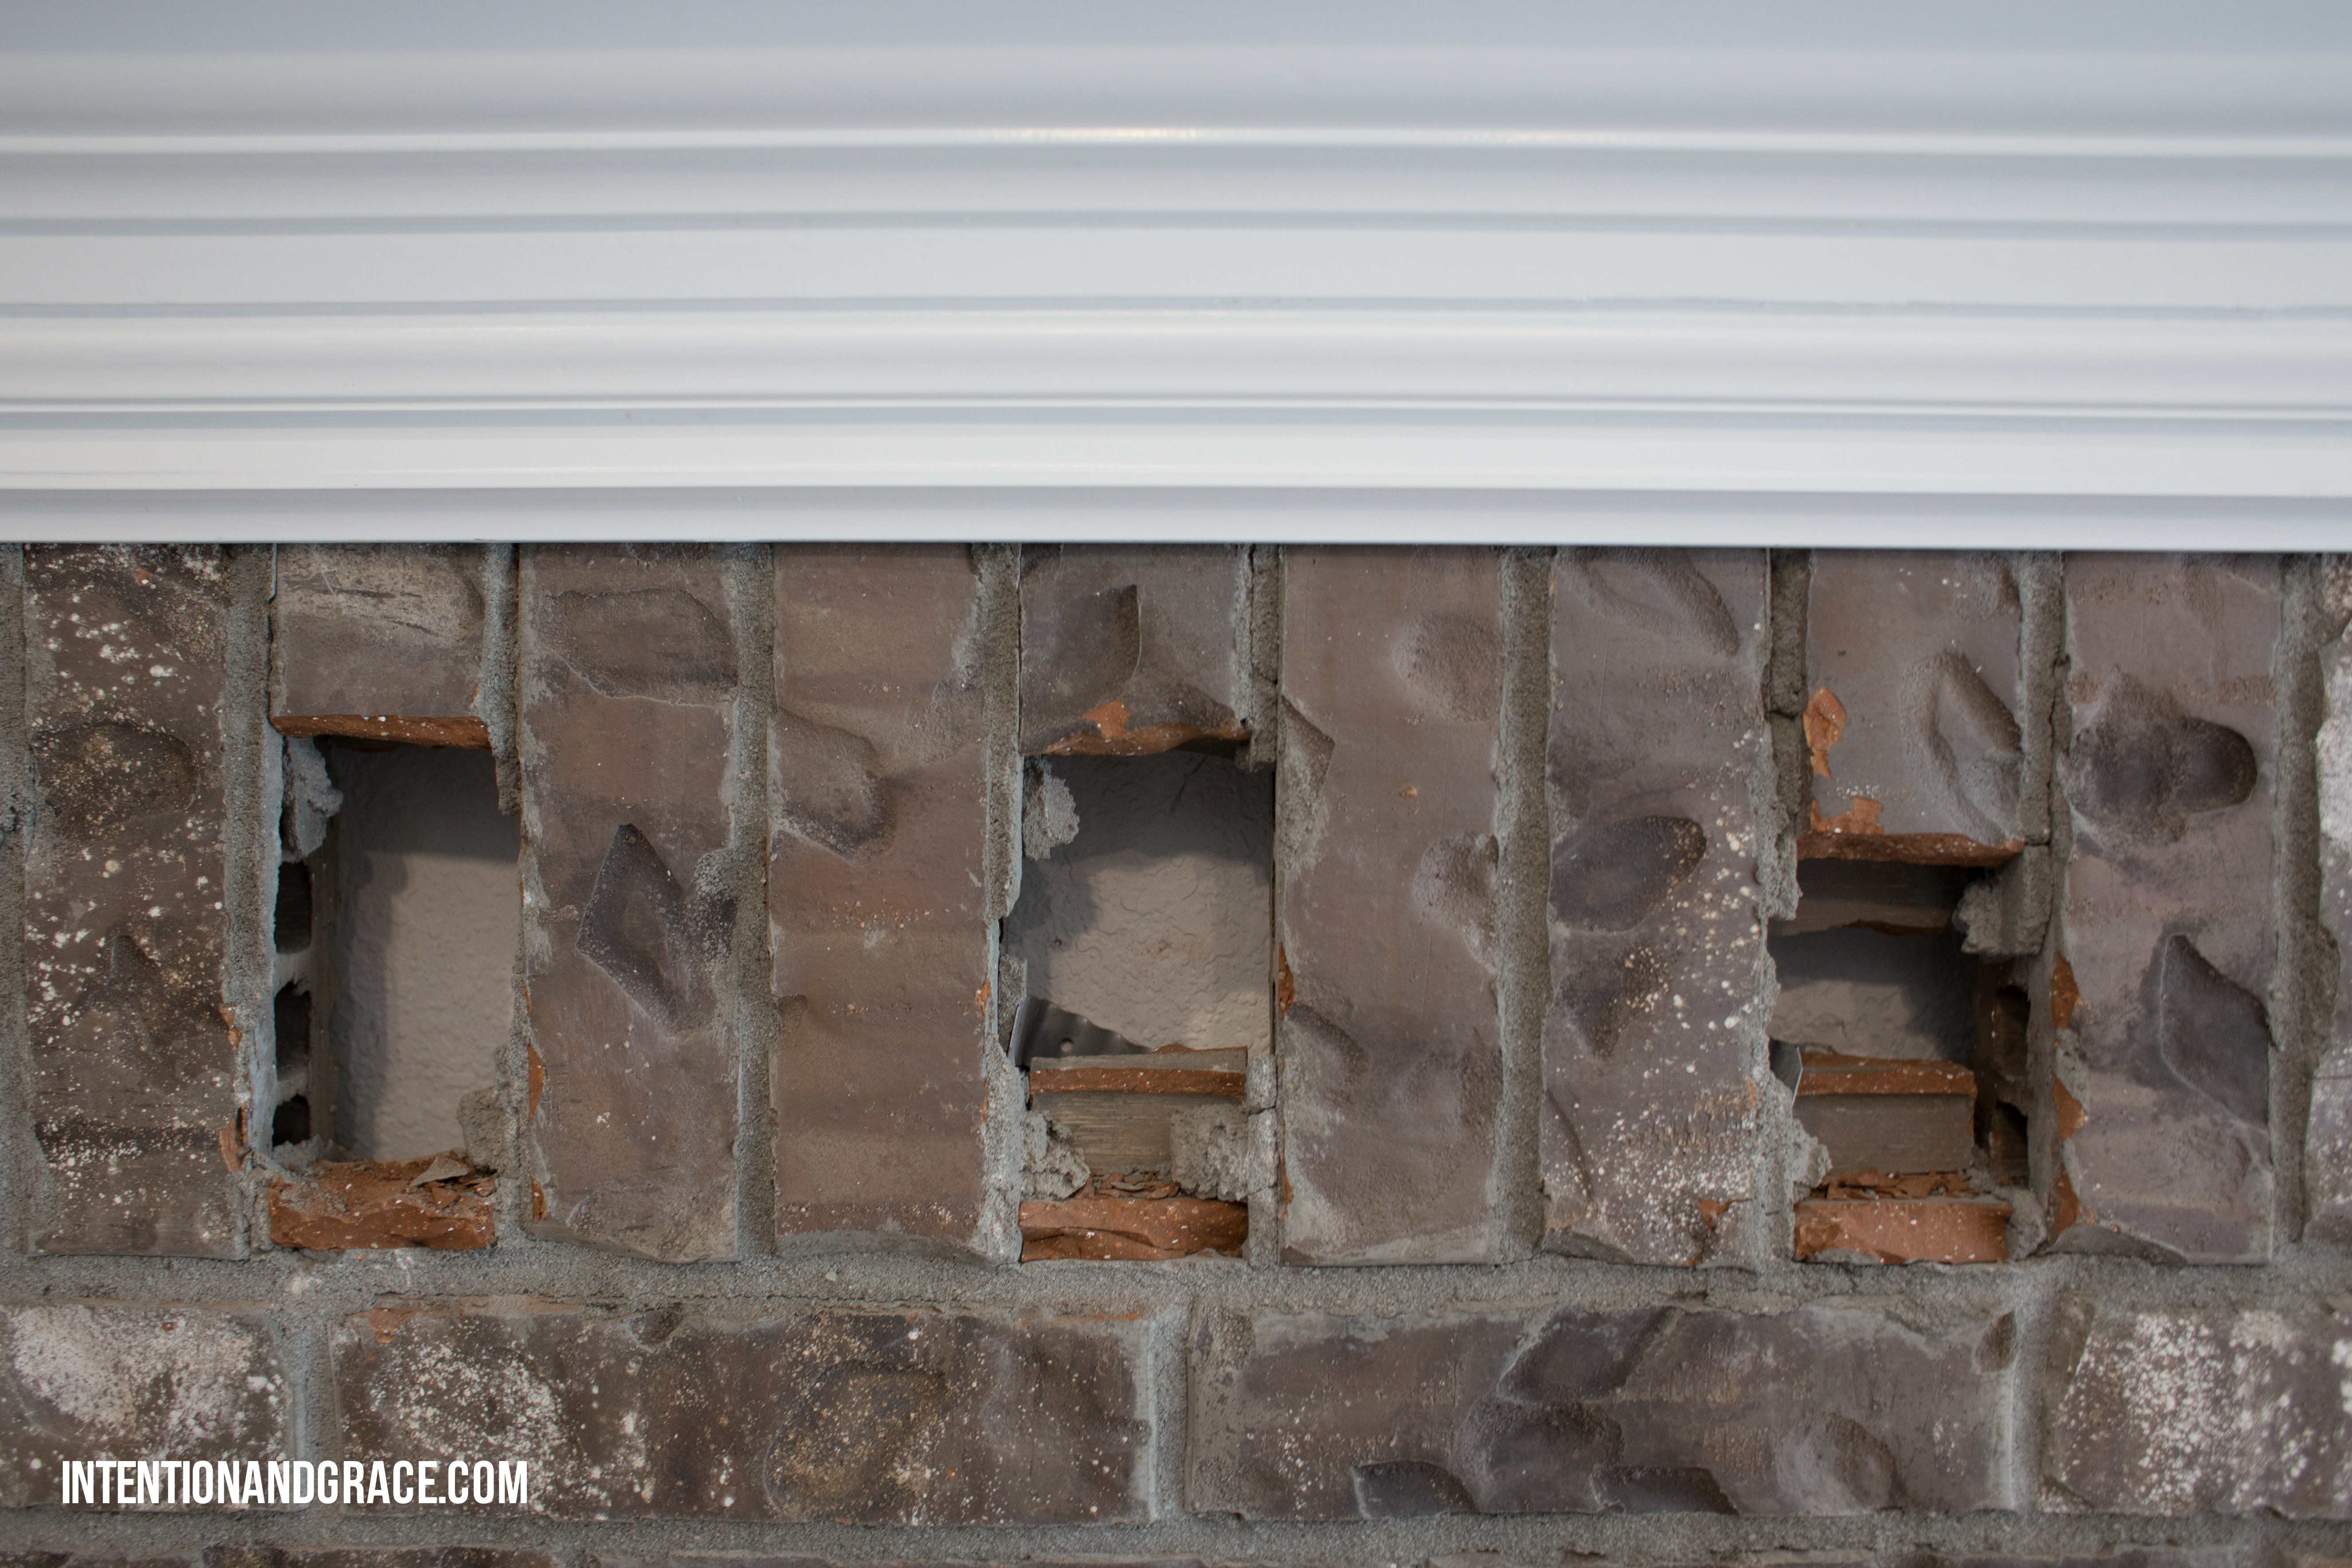
I do have a few “working” images below, but didn’t feel comfortable providing a full DIY because of all the unexpected twists and turns we dealt with. If you’re thinking of taking on a project like this, free free to email or message me with any and all questions. It wasn’t a super hard process, just more of a “I wish I knew then what I know now” kind of thing.
Before:
We chipped out the textured bricks that hung along the top row of our fireplace, so that all coverings could sit flush once we faced the fireplace with wood.
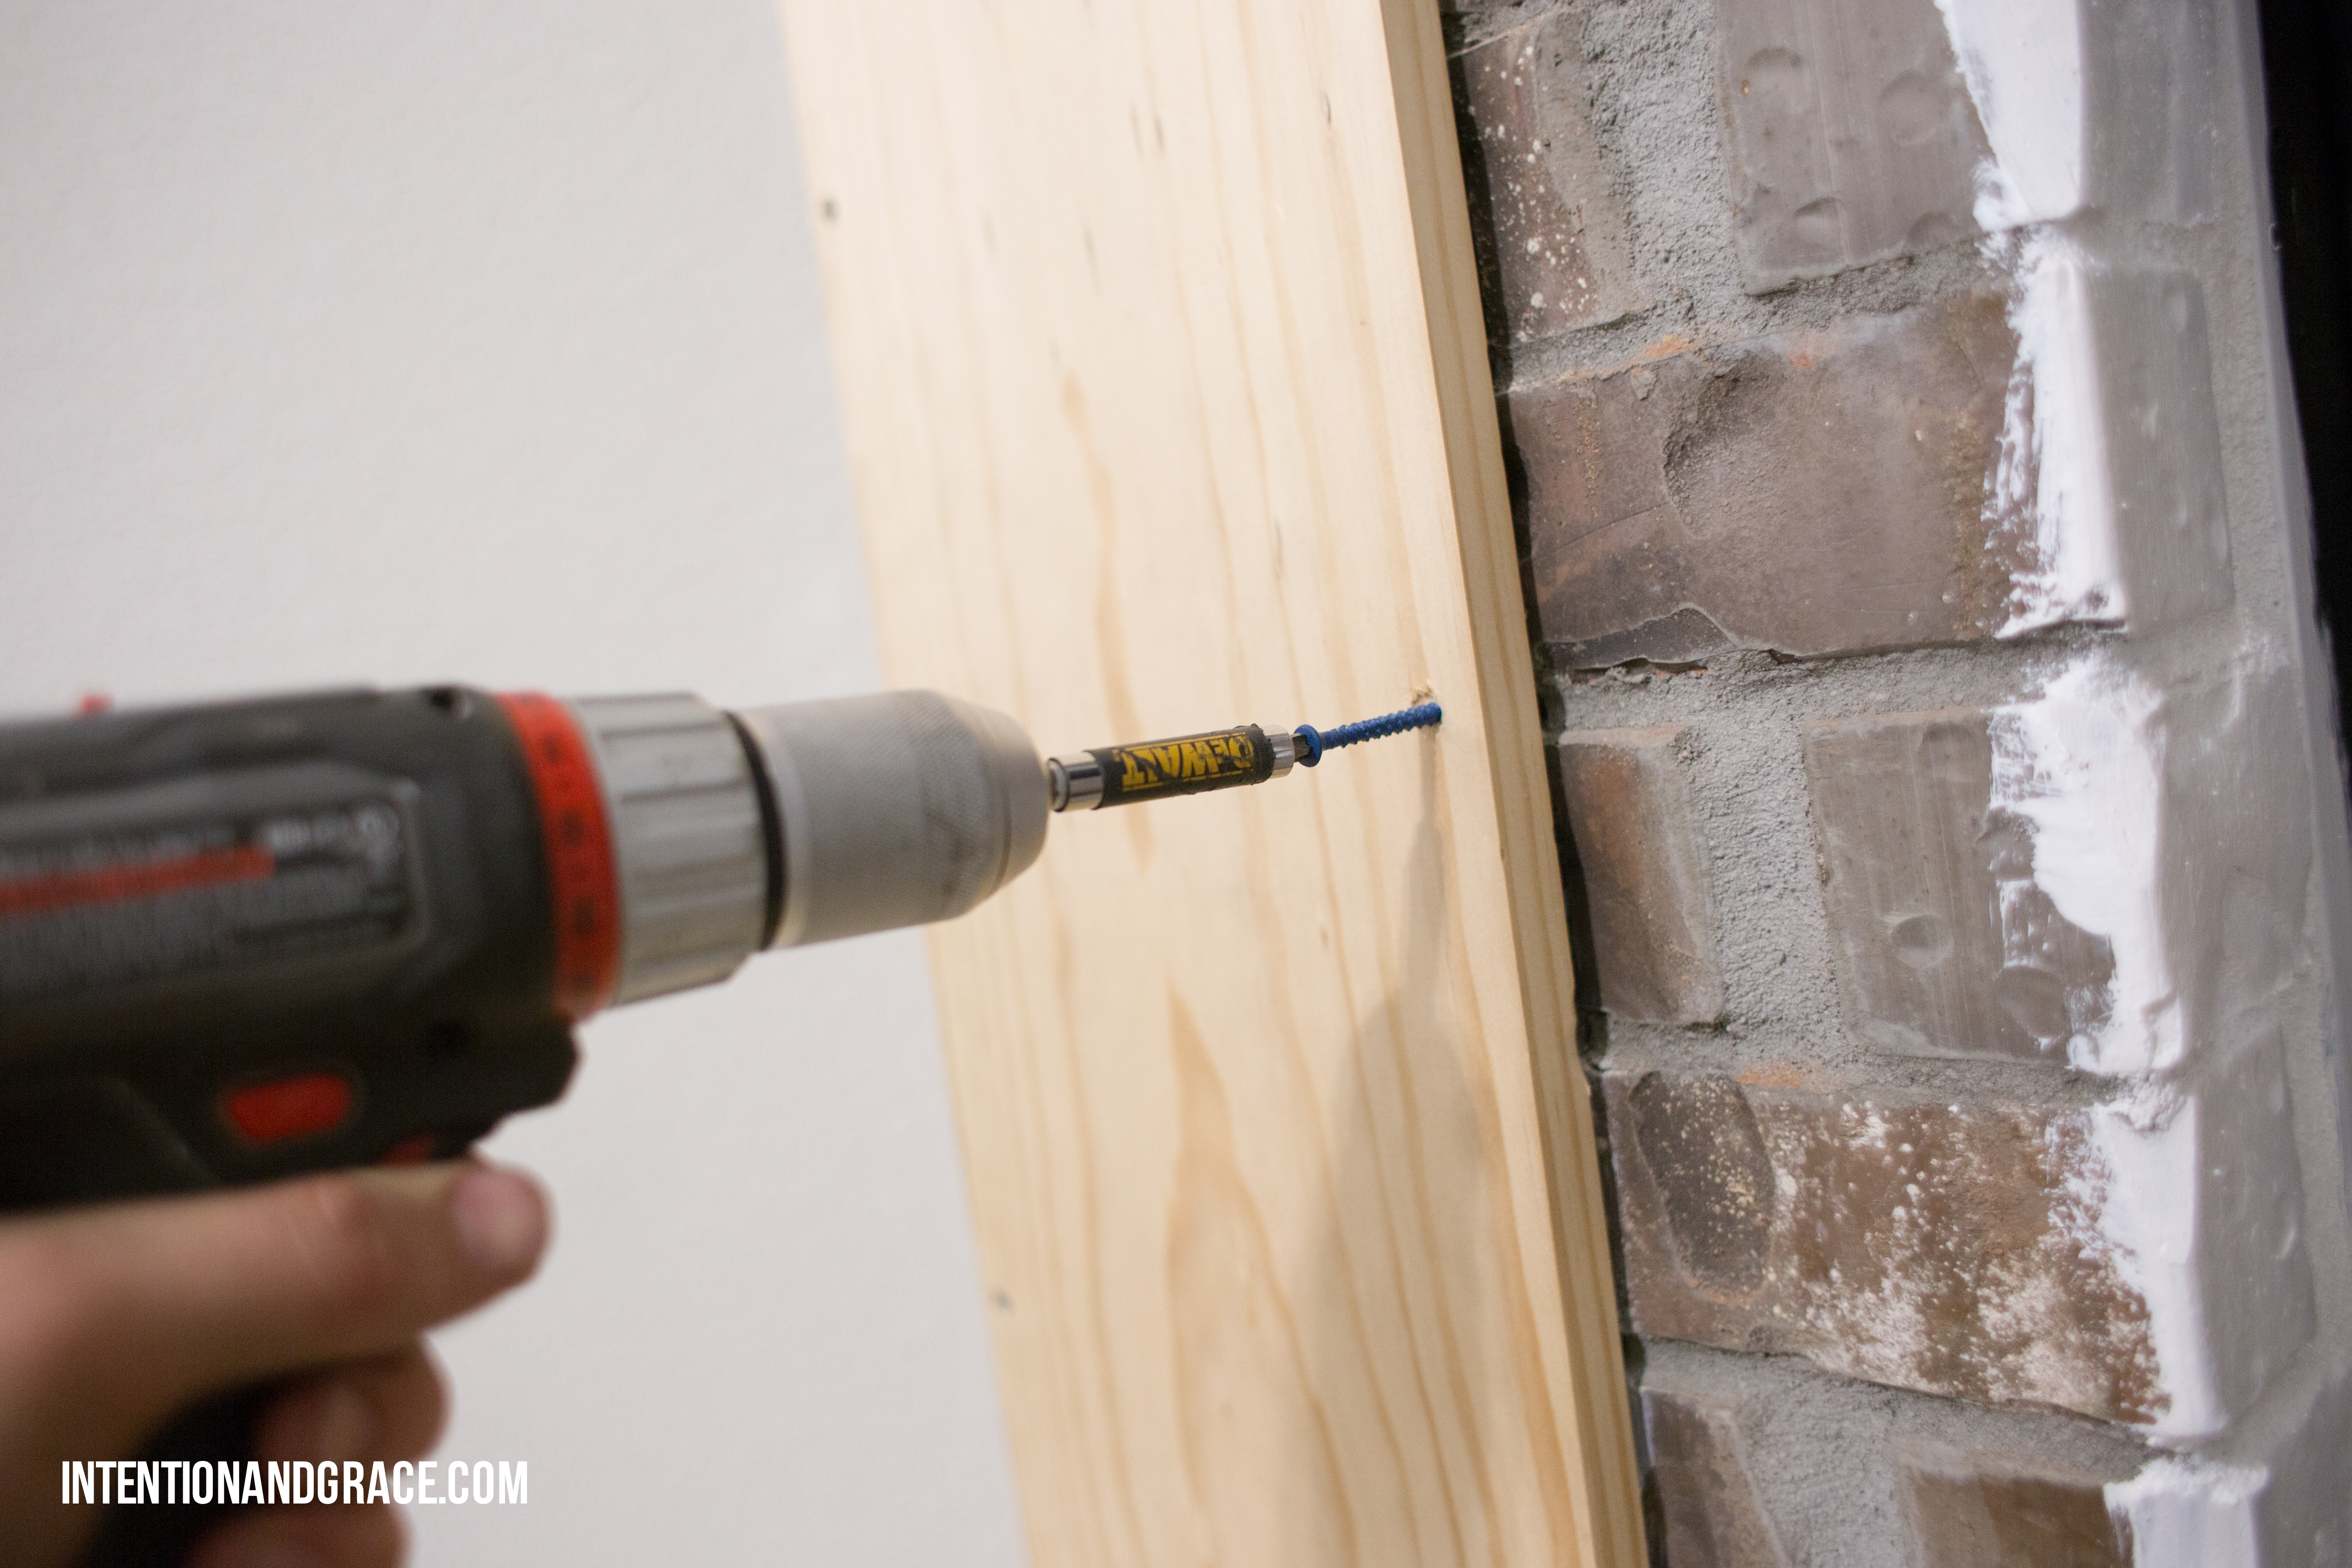
Then Nace measured everything out and marked it with paint to make sure it was proportioned how we imagined in our preliminary designs. And the framing of the fireplace began!
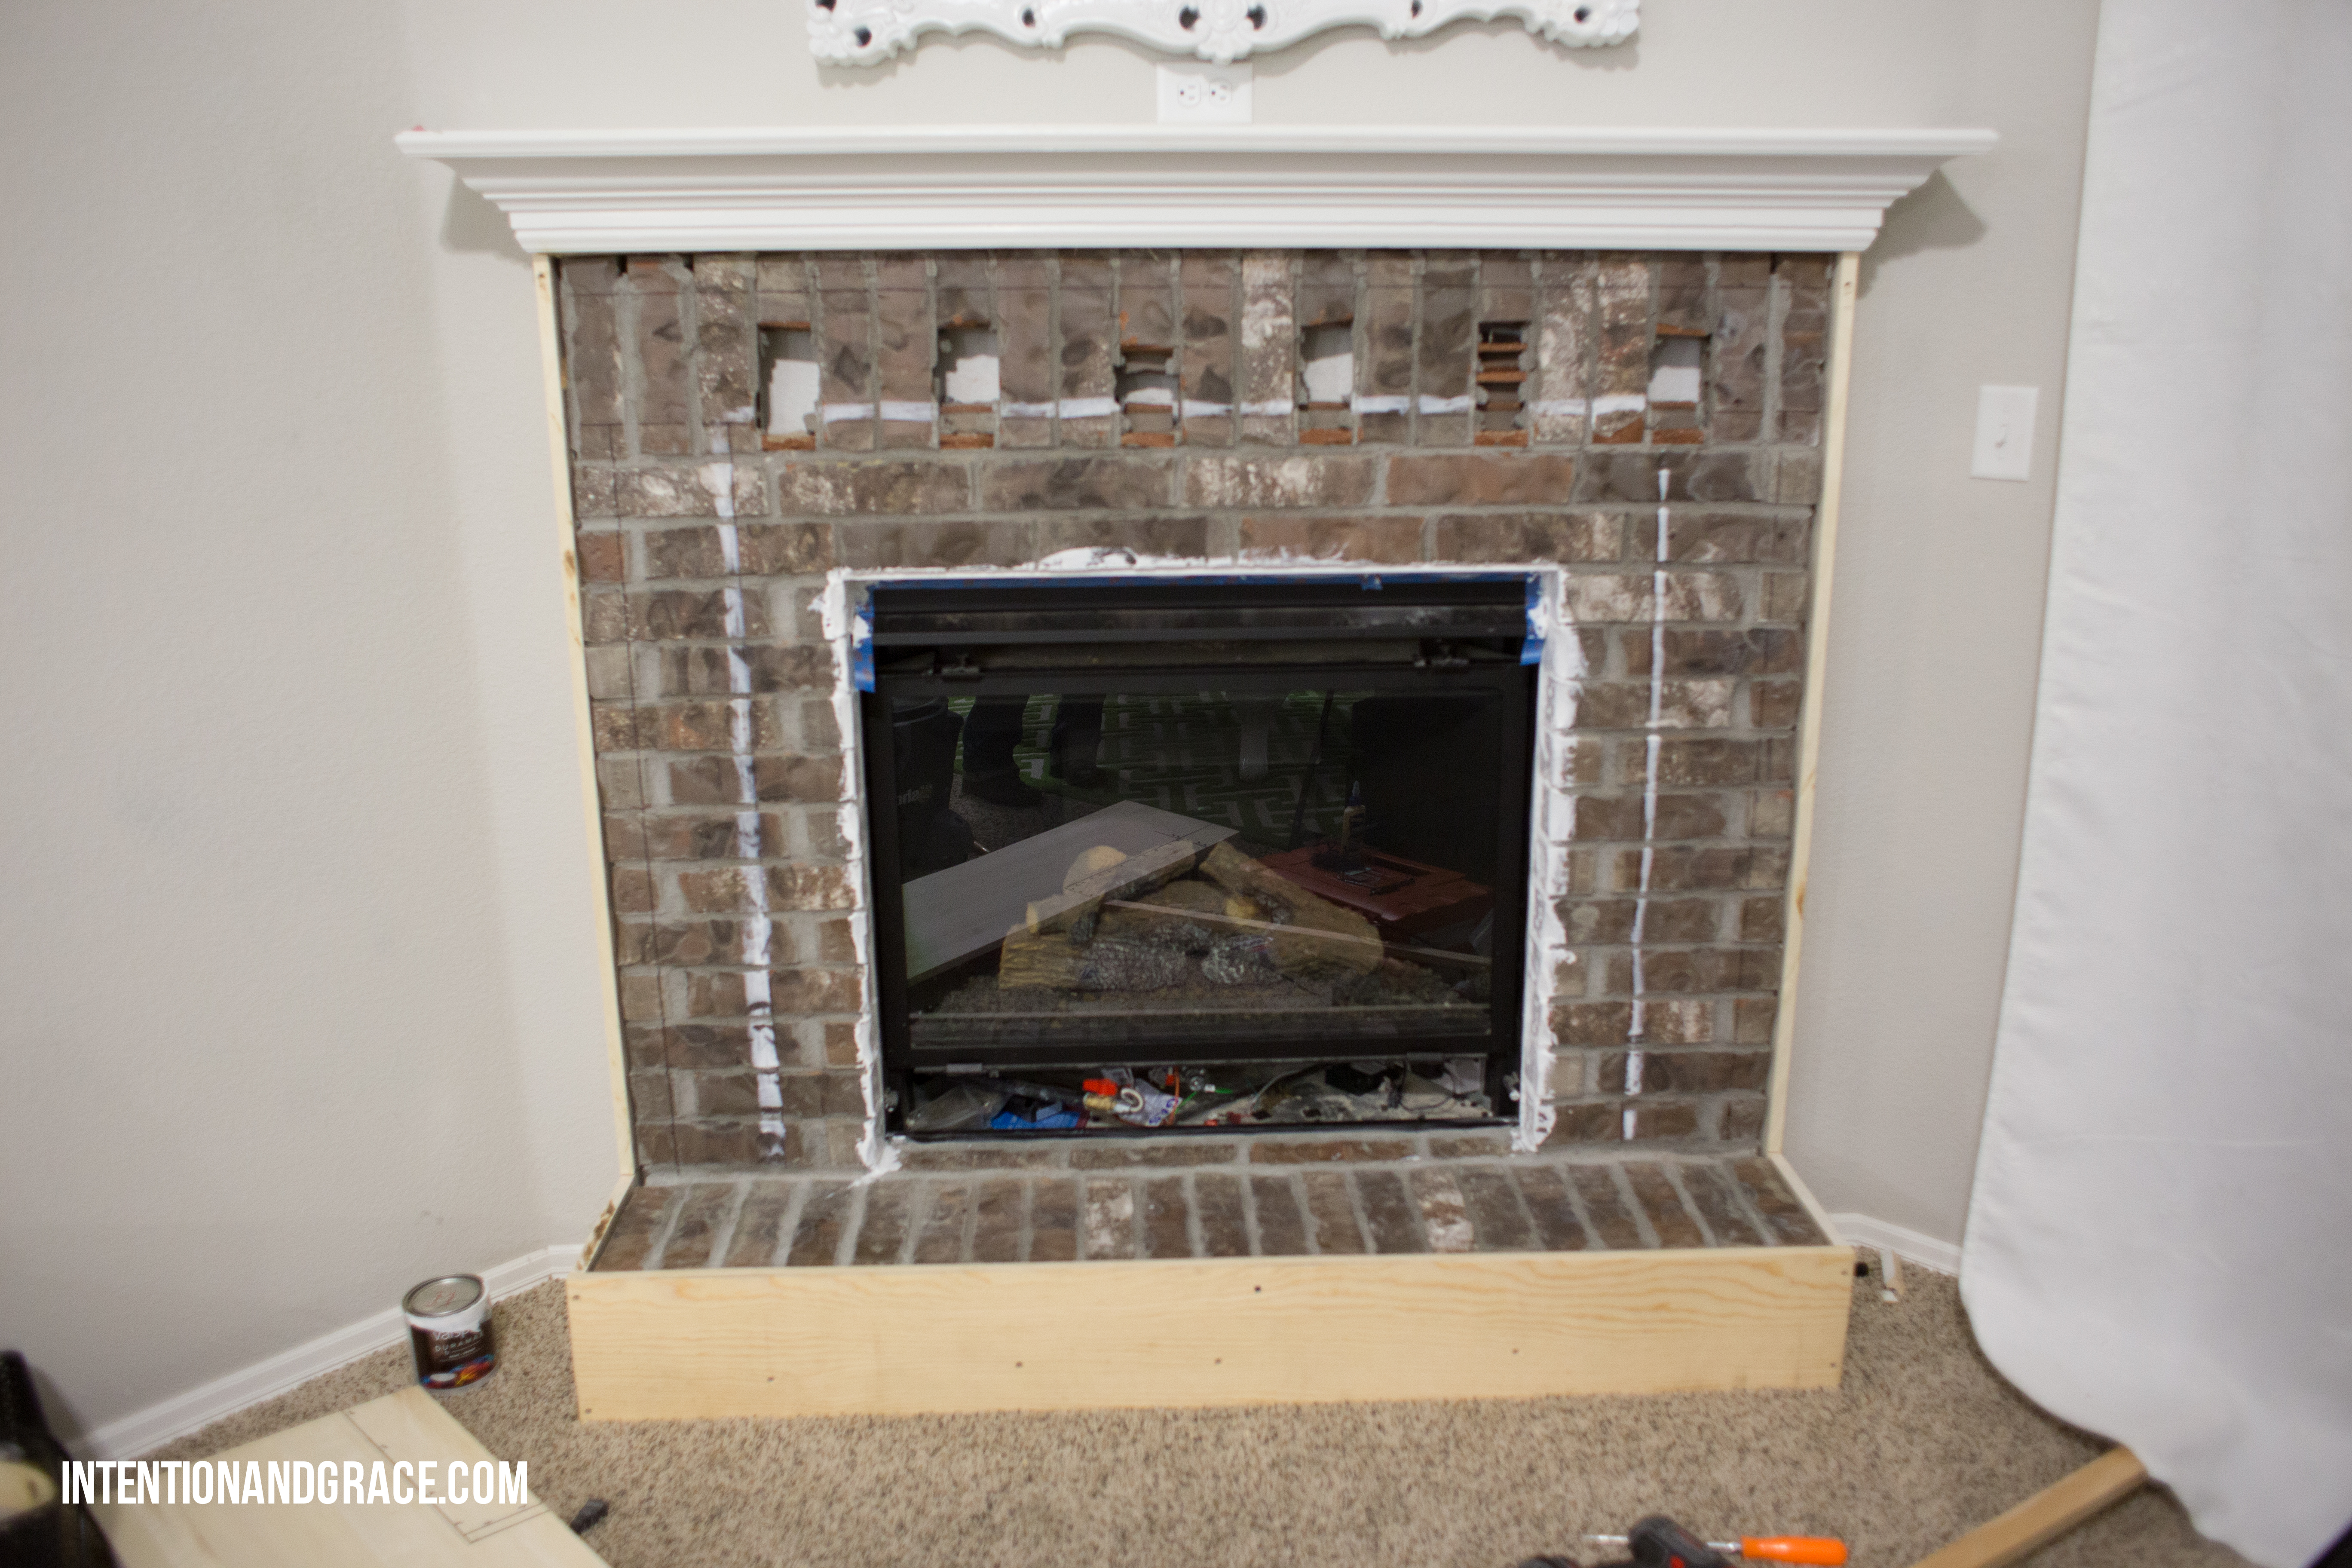
Using concrete screws, we attached the new frame directly to the brick.
Once everything was framed out as we hoped, the puttying and wood filling began.
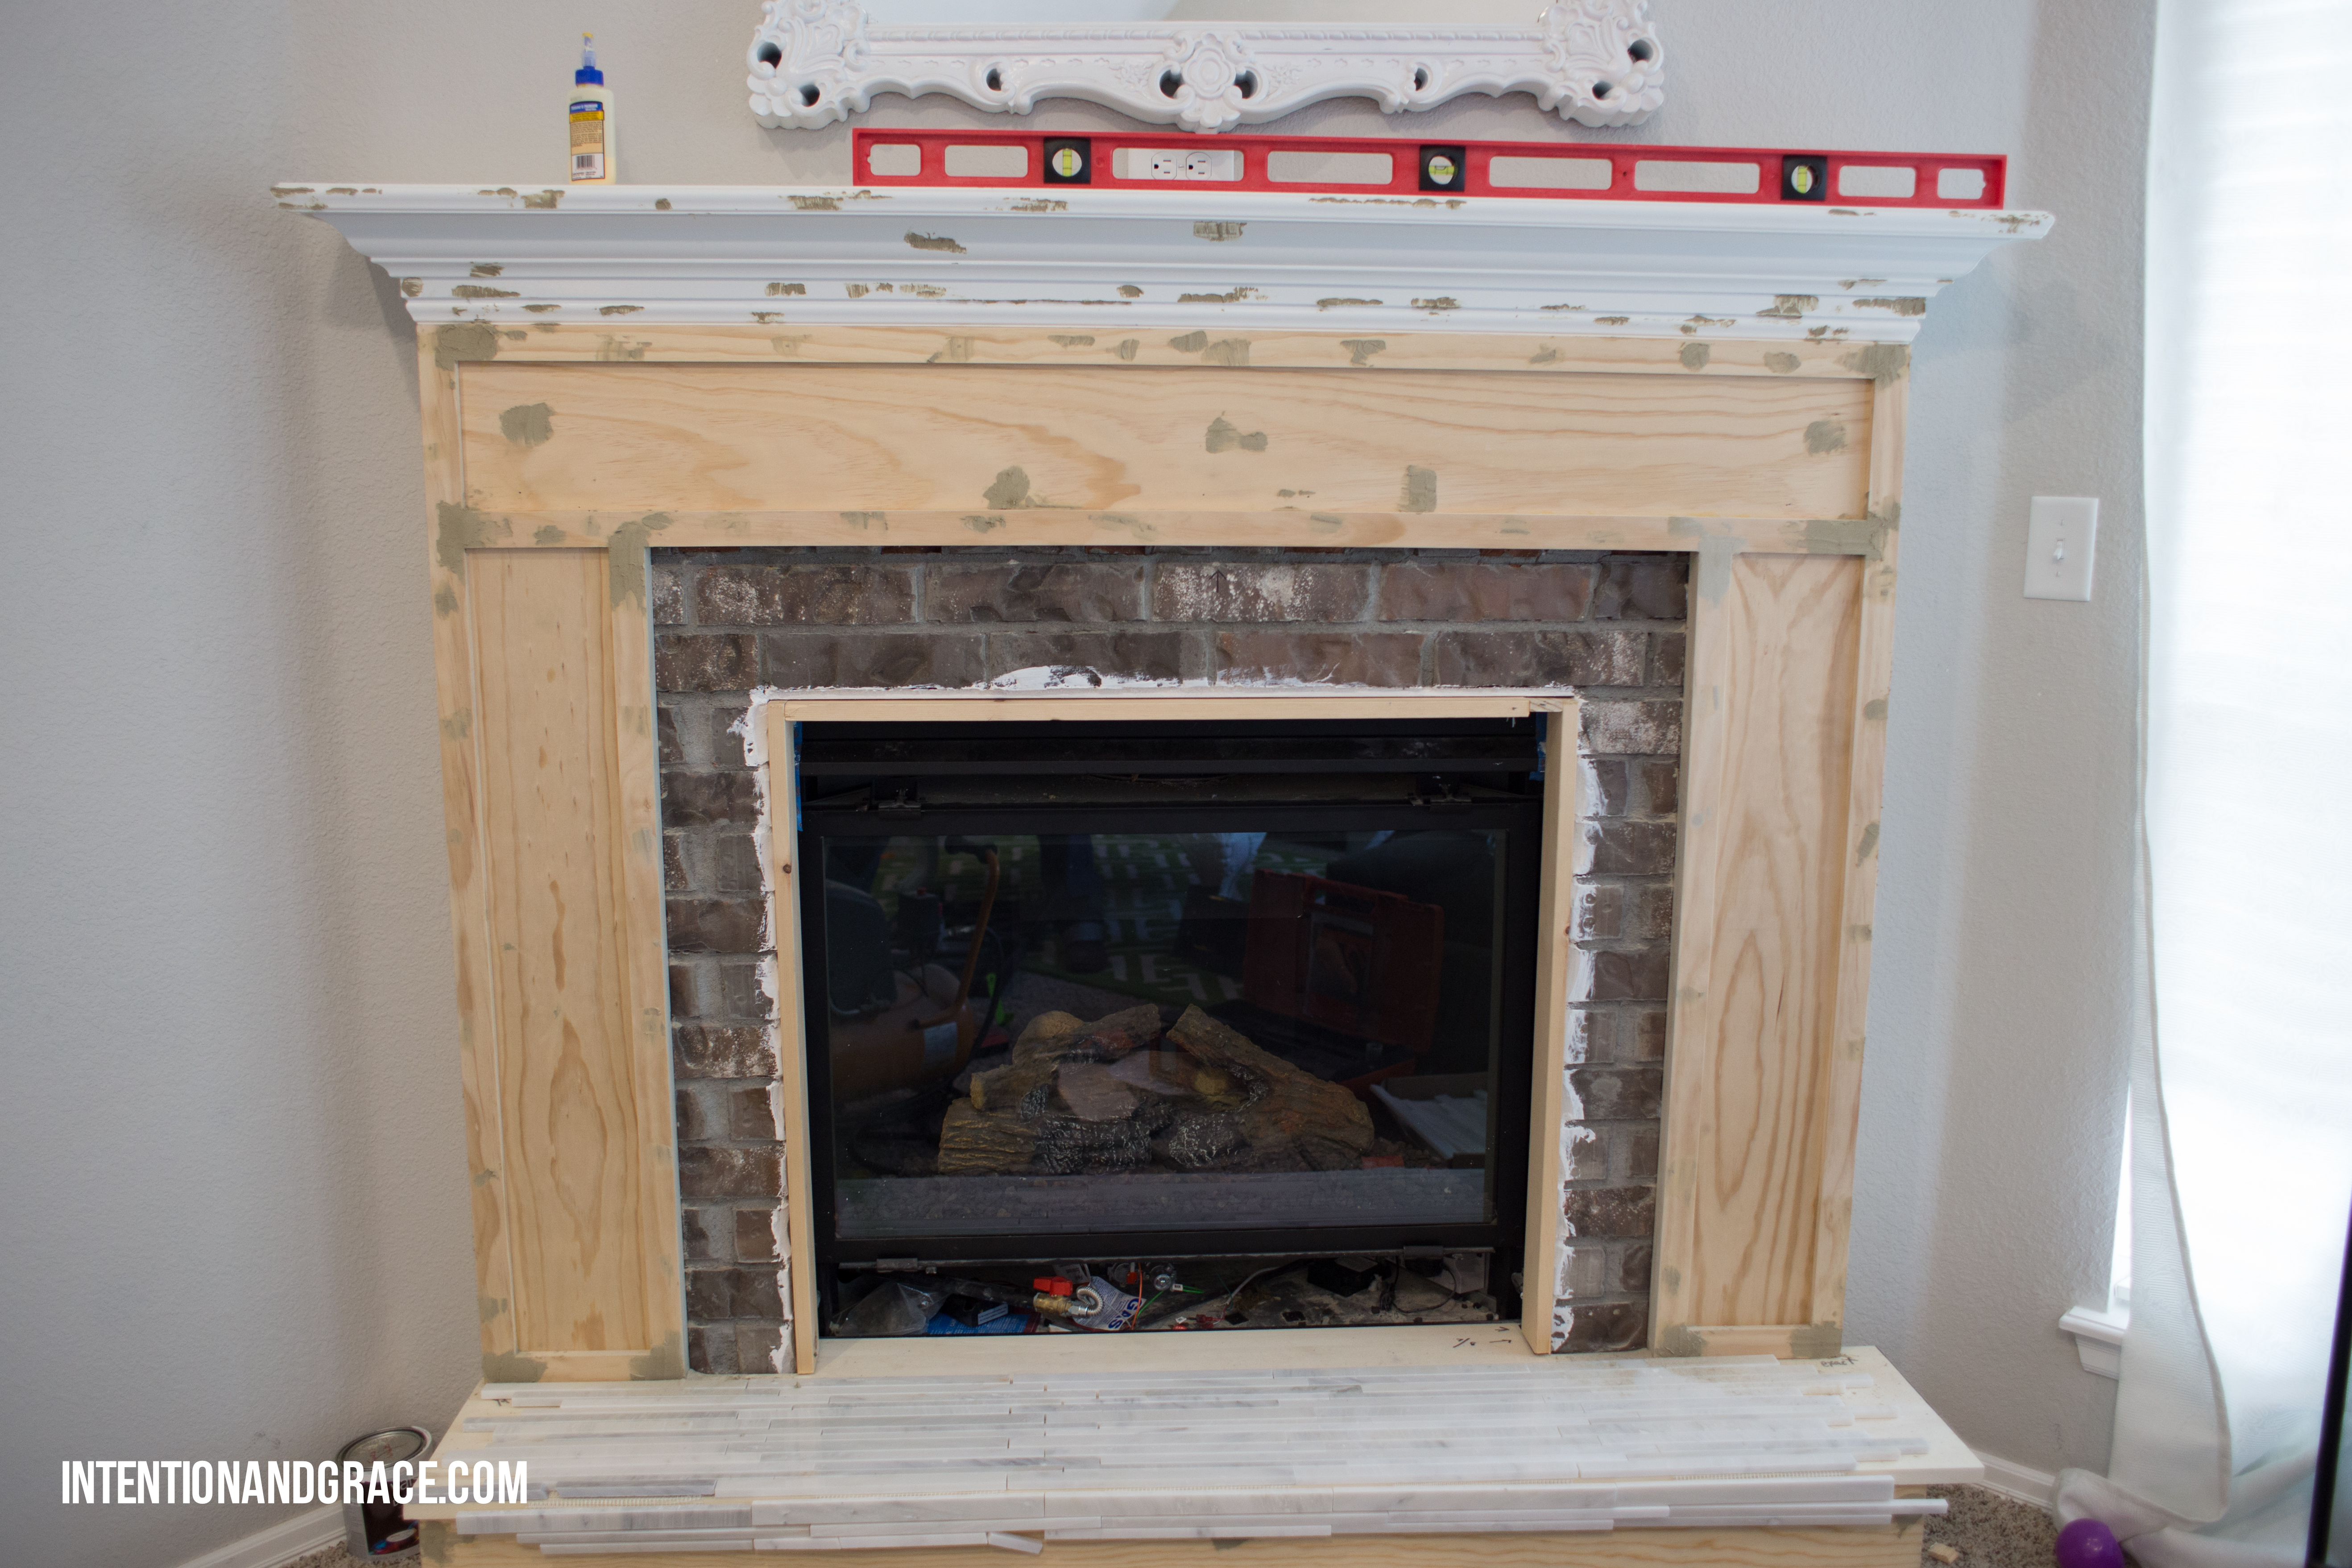
We also splurged a bit on some really beautiful marble tile from a local shop and faced the remaining inner area with tile and white grout. It was definitely the most tricky tile we have ever dealt with, but the finishing touch we were looking for!
After spraying the whole fireplace with a couple layers of paint, we added a matching marble hearth that we picked up super affordably from a local granite scrap yard. The material was free, we just had to pay to have it cut to size! A fraction of what ordering a new piece would have been. :)
Needless to say, we absolutely LOVE the turnout of our project!