Dec. 17, 2014
 One of my most cherished childhood memories was decking the halls in our home each year. I still get giddy when the lights come out and the trees go up, it literally brings tears to my eyes on some occasions. To me, it is has grown into a beautiful form of worship to my God. I light up my house as a symbol for his light in my life and I sometimes just find myself overwhelmed by his love and mercy throughout the Holiday season more than any other time of year.
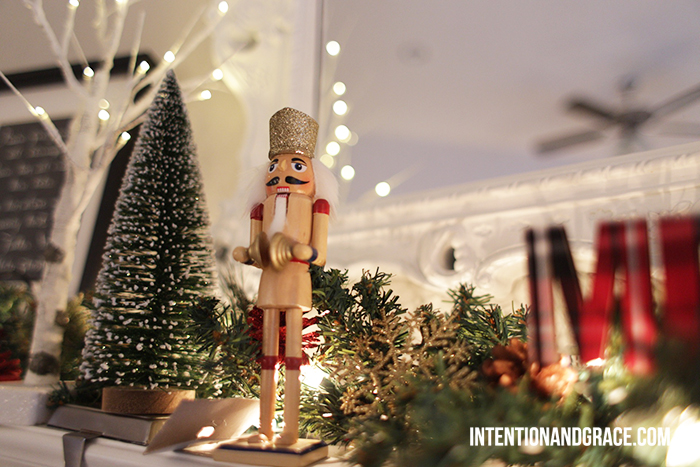
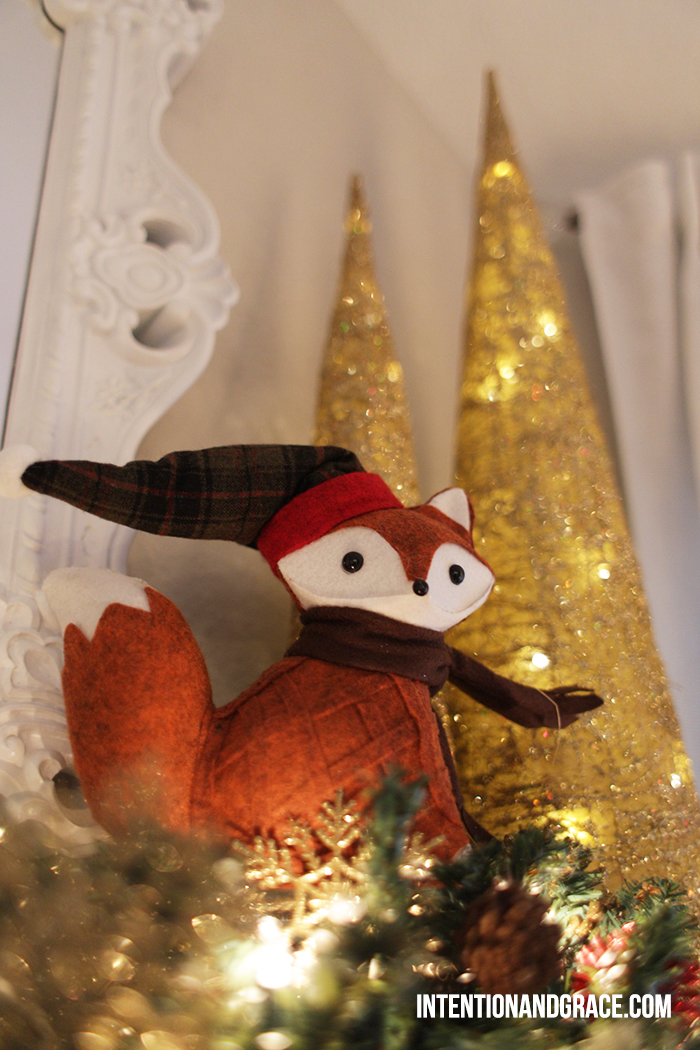
My love for all things Christmas has continued to grow as I have and I feel so honored to have the chance to decorate our home now. I am filled with so much joy each time Maddax turns the Christmas tree on and his eyes light up with the tree. So much so, that I have slowly been adding trees and decor to our collection hoping no matter what room I am in for the month of December that I can feel some sort of holiday cheer. So, today I am sharing our holiday home tour with you. Enjoy!
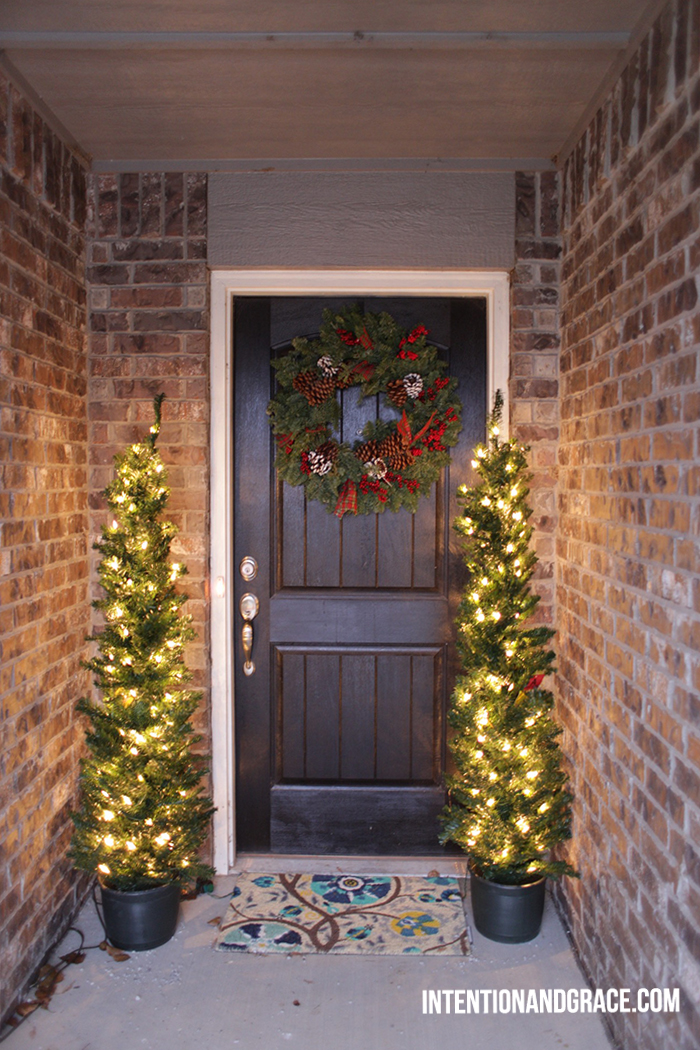 My front door is one of my favorite places to decorate during the season. Guests come and go more frequently and I always want them to feel welcome. We love to get a fresh green wreathe to welcome our guests with. This beauty is from SAMS and it smells amazing each time guests come and go. Simply mist it with a spray water bottle throughout the season and it stays crisp and fresh for all to enjoy.
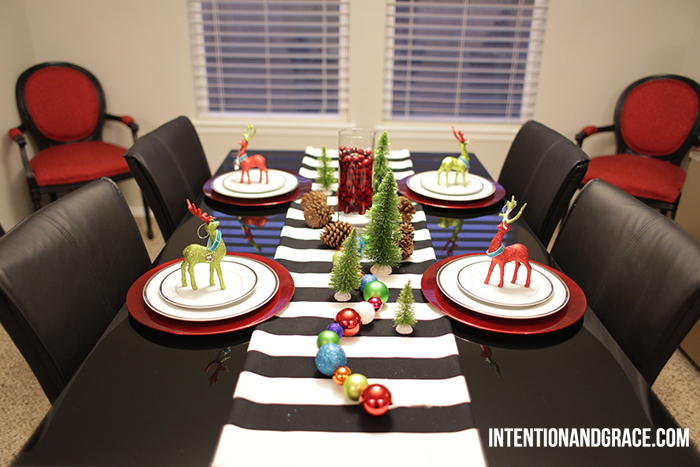
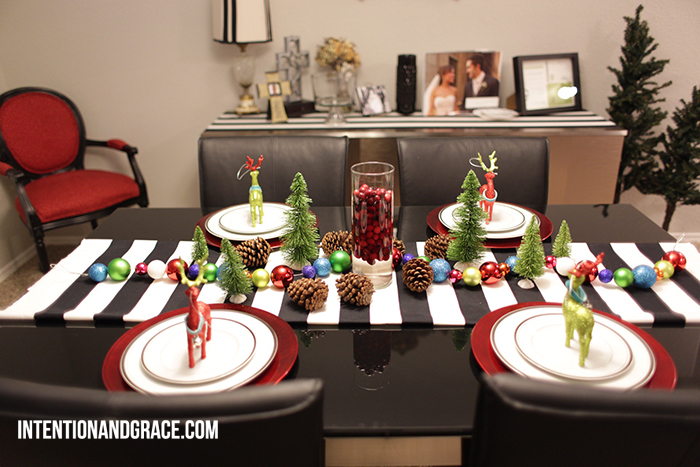 Our dining room is just inside our front door and I love to add bright pops of color in this space. These adorable Christmas trees are available at Walmart for $.50-2 depending on the size. They are so festive and fun.
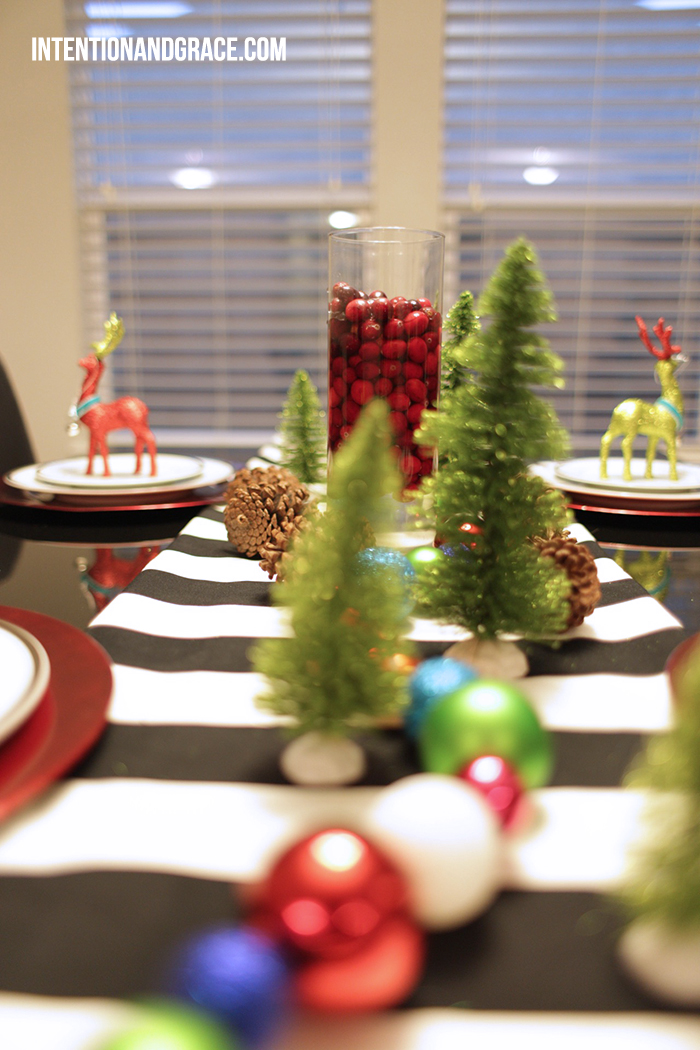 Our centerpiece is a simple glass vase filled with fresh cranberries and water. This keeps them fresh for weeks and gives some height to the center of the table.
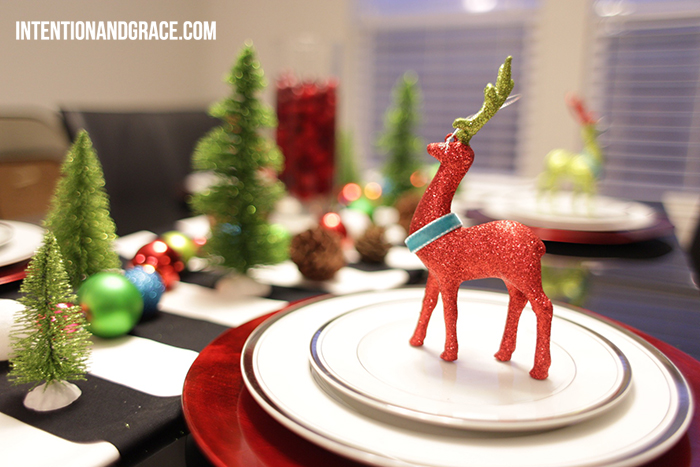 I added some sweet glittery deer ornaments from Target to each place setting this year. Although they are blank for now, the antlers make great place card holders for holiday dinners or parties.
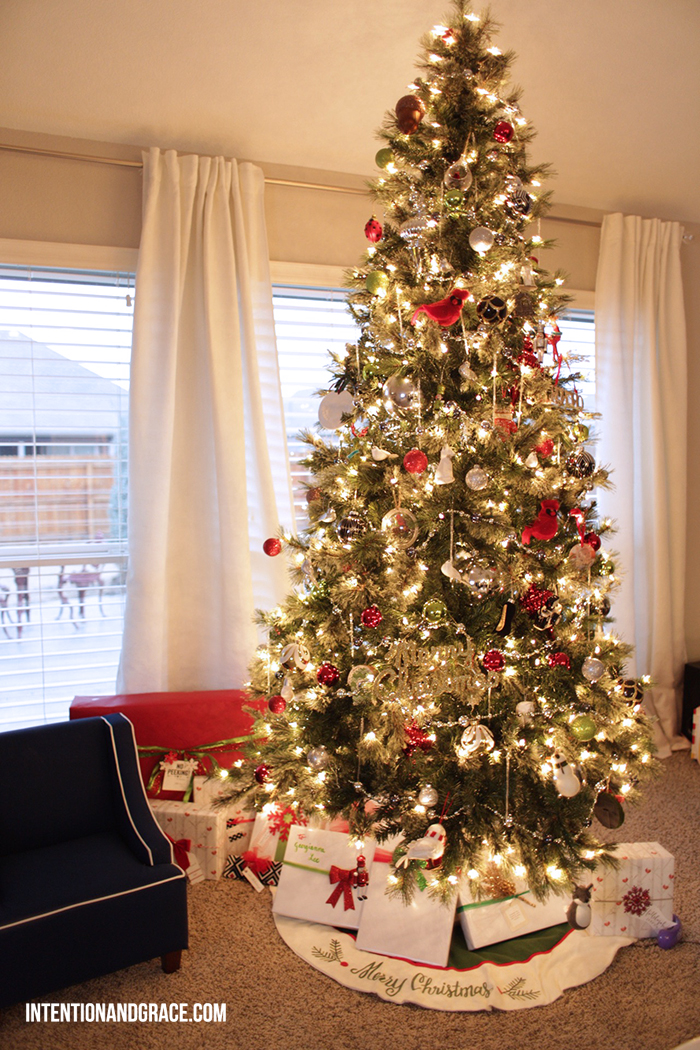
 I love coordinating our gift wrap each year. This year I went with basic white paper and added pops of red and green to match our tree. Simple but sweet.
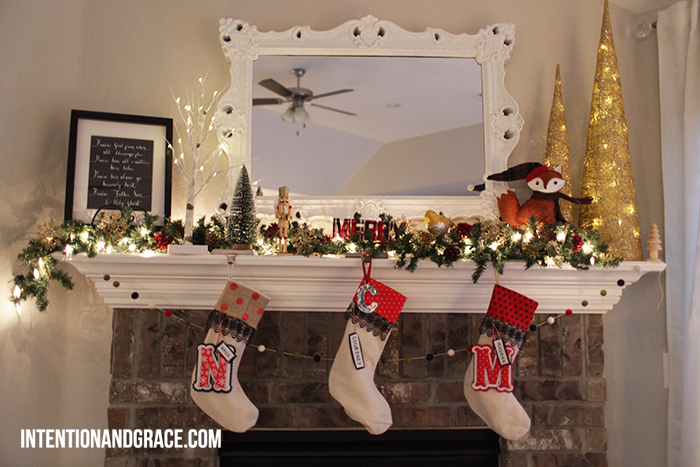
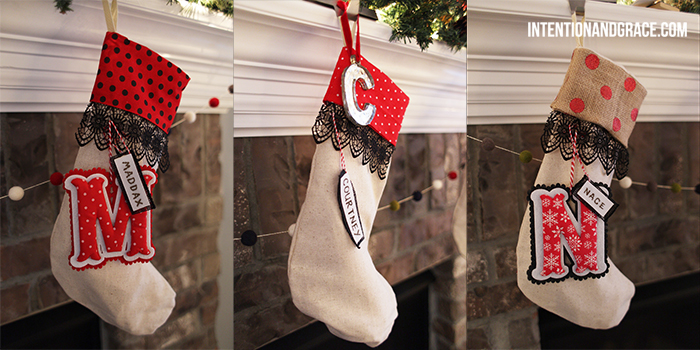 This year I purchased some initial ornaments to mark our stockings more clearly. See post from last year to see how these wonderful DIY stockings were made.
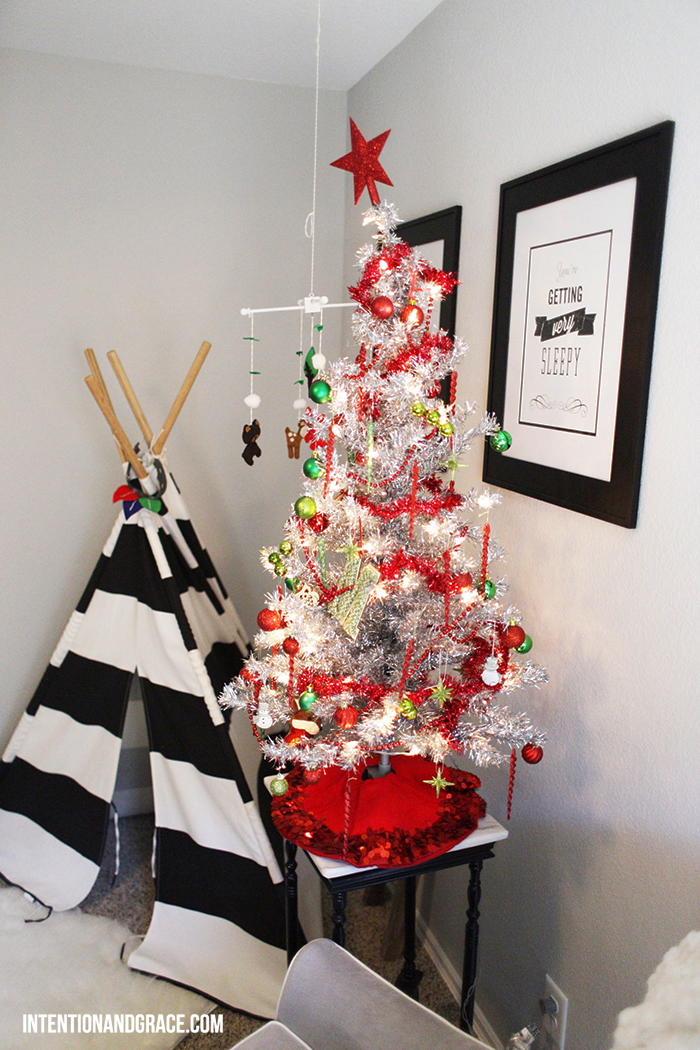 Maddax room even has a small silver tree. He jumps out of bed asking to turn it on each morning as we count together “One, two, three” and it lights up. I just love it!
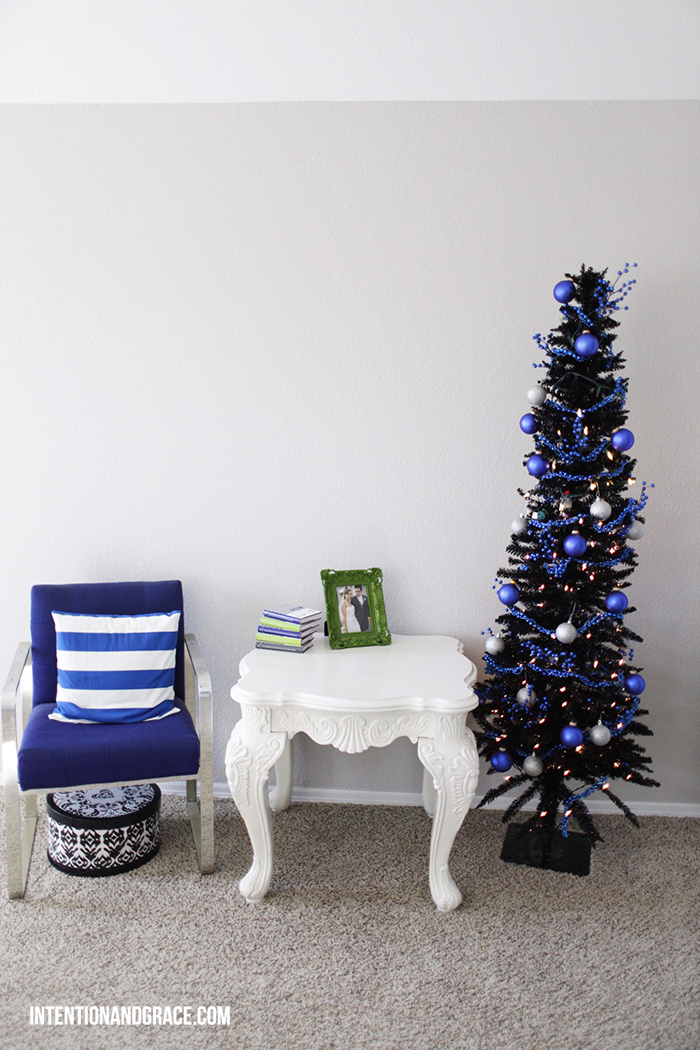 Perhaps my favorite little corner in our house during the decorating season is our bedroom. This cozy reading nook fits in our bedroom perfectly with the bright pops of blue over timeless black and white. I just love it!
What is your favorite spot in your home? Share it using #intentionandgraceholiday today!
Dec. 10, 2014
 Ordering Christmas cards is one of my top five holiday traditions. It’s right up there with Christmas lights, wrapping paper and the decorating the Christmas tree. As a designer I just drool over picking out paper goods and truly love mailing out a big stack of holiday cards to our most loved friends and family.
With the hustle and bustle of the season I know its hard to remember them, or squeeze in the time to take a family photo or mail out cards to all your friends and family, but its not too late! You still have time, I promise!
Today I’d like to share my top five tips to know when ordering your holiday cards. There are so many great places out there to choose from that you don’t even need to leave your house to get a well designed card.
1. USE THE DESIGNER REVIEW FEATURE. This is a new one to me, but I will most likely use it from here on out. Not all providers offer it, but many do. You should see it after you design your template, just before purchase. I ordered my cards from Tiny Prints this year and after searching for quite awhile I finally fell in love with the most amazing design, but it was templated to hold three photos, and we struggled to get ONE good one this year. After contacting their amazing customer service department they told me that designer review would allow me to modify and customize my chosen design exactly as I wanted.
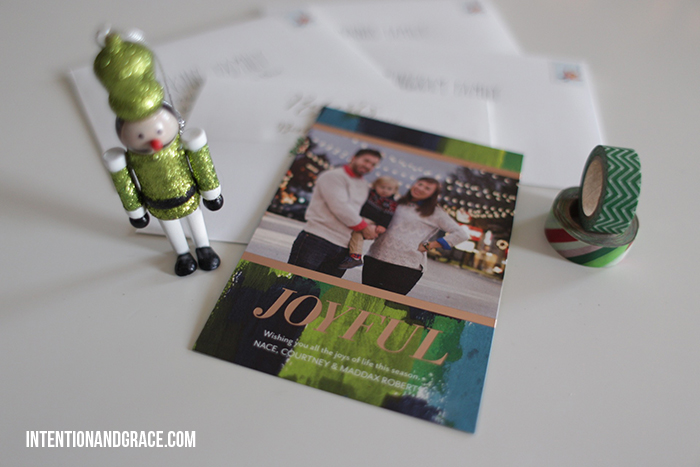
This is what I ordered:
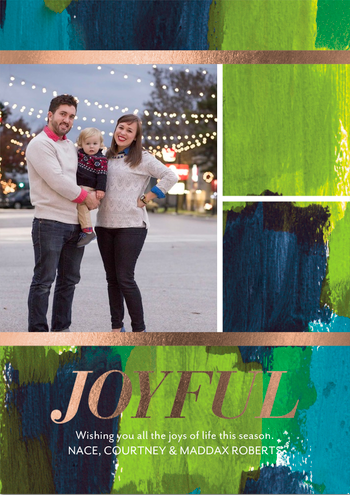
You can see there are two blank spaces on the right side where I did not place photos, but a designer specifically assigned to me was able to make my picture fit that whole space and create my dream card for only .99 cents. I love how they turned out!
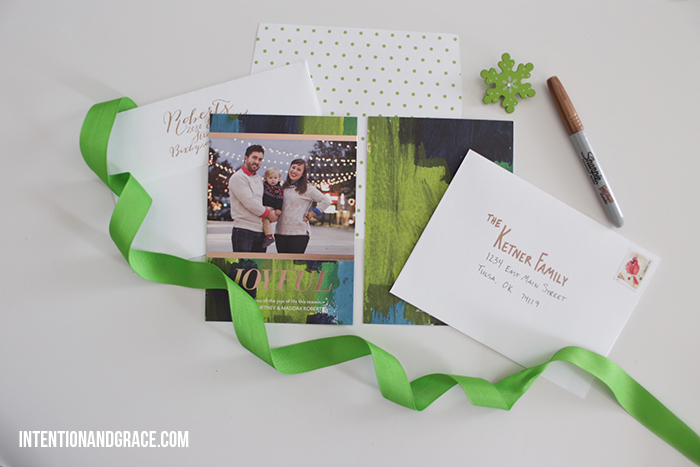
2. PERSONALIZE THE TEXT. Most holiday templates online come with a simple line of copy and a line for your family name. But you don’t have to stick with that! I feel it is important to change it up a bit to give it some personality and warmth.
BEFORE:
 AFTER:

3. WAIT FOR A SALE. You may think you missed all the good sales during Black Friday or Cyber Monday, but that is just not true. Many great holiday card providers have amazing sales all season long. And several offer discounts just for joining their mailing list.
4. MAKE SURE YOUR NAME IS GRAMMATICALLY CORRECT. Thank goodness I always sign our cards “The Roberts Family” because this year I was surprised to learn the correct way to sign our family name would be “The Robertses.” Never in a million years would I have gotten that right. If you have questions about how to write your family name see here.
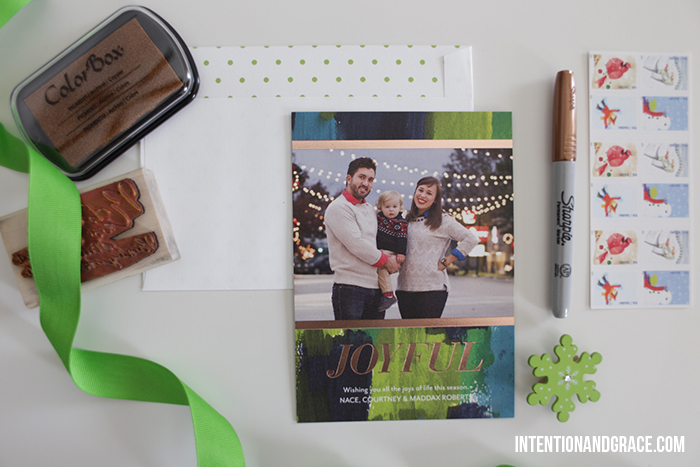
5. ADD SOME PERSONALITY IN THE POSTAGE. This one is fairly easy to do. All post offices and many other locations offer holiday stamps for the same cost as regular stamps. To see what stamps are offered this year please see USPS.com. Places like Shutterfly also offer custom printed stamps that could be tied in with your holiday card theme or add as a space to add another family photo.
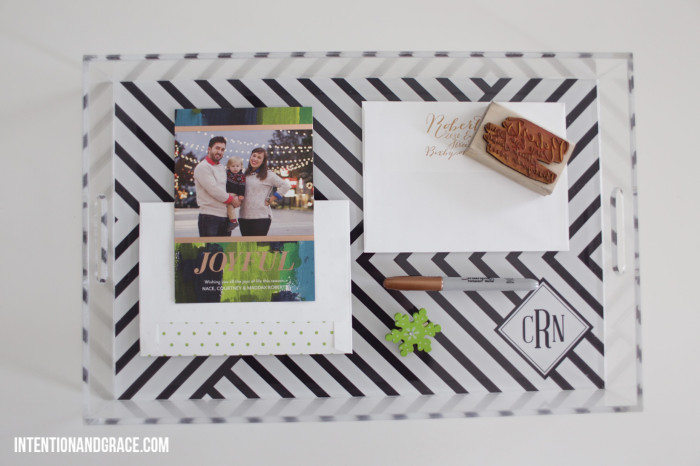
Many online printers like here and here also offer custom address labels, embossers, ink stamps, etc that you could use to spice up your mailing addresses, return addresses or overall design. I purchased my custom stamp on Etsy last year and use it all the time. There are several options to choose from and if you’re handy with a computer you could even design your own.
I hope these tips take out a bit of the stress for you this season. Ordering cards does not need to be a big ordeal, it should be something fun and festive to send to those you love. If you don’t have time or don’t care about them don’t worry about it, its not worth stressing over.
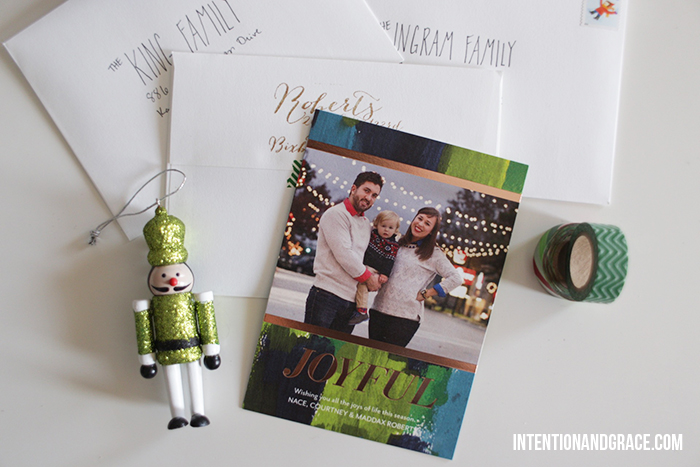
I absolutely love how our TinyPrints cards turned out this year. The copper accents mixed with the painted background seriously make me swoon. Share your holiday cards with us on facebook or instagram using #intentionandgraceholiday
Nov. 18, 2014
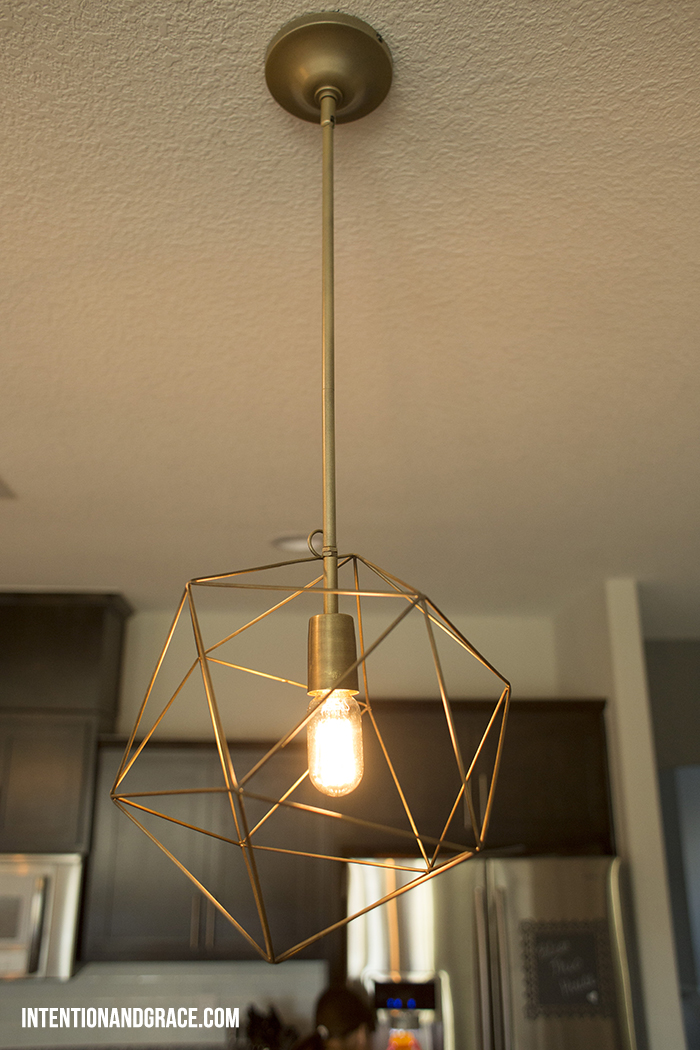
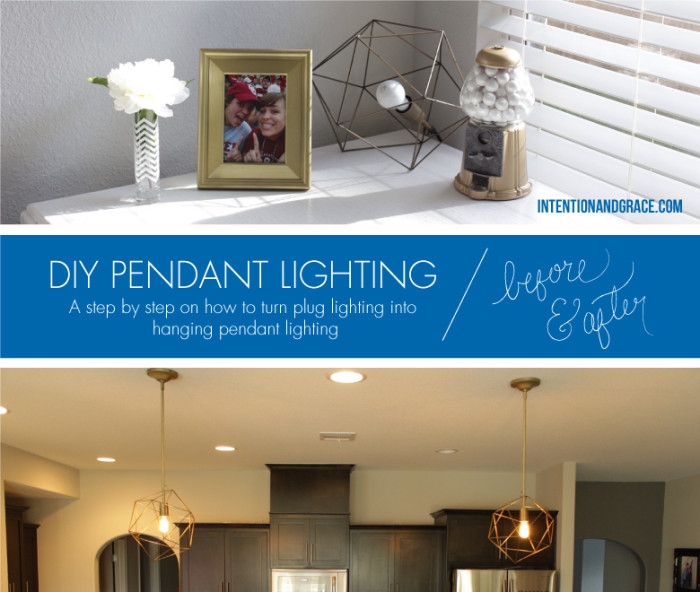 I had seen these amazing pendant lights on Pinterest months ago, but at nearly $800 each there was no way those were going to fit in our budget. Then a bit later I came across these from West Elm and fell in love with their style, but I wasn’t thrilled with their spotted glass style. So when I saw these geo desk lamps on Urban Outfitters for only $69, I knew they would work perfectly for what we wanted in our kitchen. Yay!
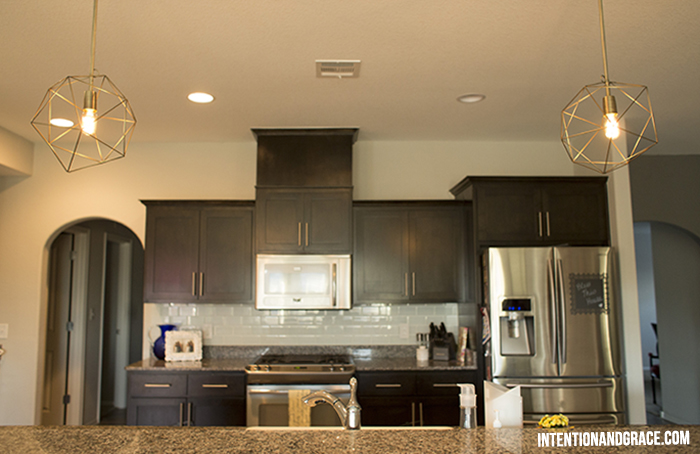
I’m sure you’ve seen them in my past posts here and here hanging out on my office desk, but we finally had time to put them up a couple of weeks ago and I could not be more thrilled with how they turned out!
This project could really be done with any plug-in hanging lights and it only took my amazing husband just over an hour total!
To do something like this in your home you’ll need a couple ceiling fan electrical boxes (we got ours at lowes for $2.72 each), wire cutters, a small saw, a sharpie/pencil, some wire ties, electrical wire, and string. We also purchased two pendant light conversion kits from lowes because I wanted something a bit more sturdy and professional in my kitchen than what was currently on the lights. They have several colors and styles to choose from and the were only $20 each.

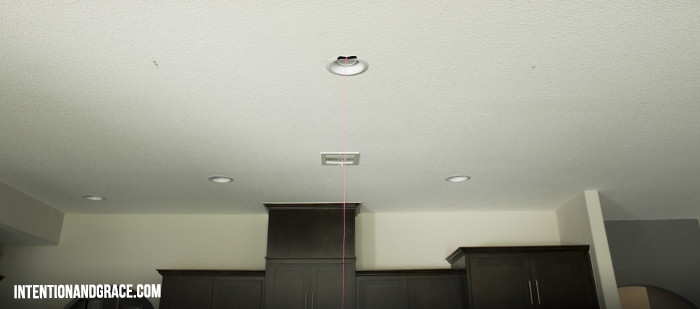
To start we hung string from our ceiling to get a better visual of where our center light was. Using a sharpie we marked the string at our desired height for the pendants to hang creating a visual guide of how low the new lights would hang. This guide also allowed us to view and measure where exactly we wanted our new lights to be installed. Measuring off our center light on both sides we marked the ceiling with a small black x and confirmed that all three lights would be in a straight line with one another.
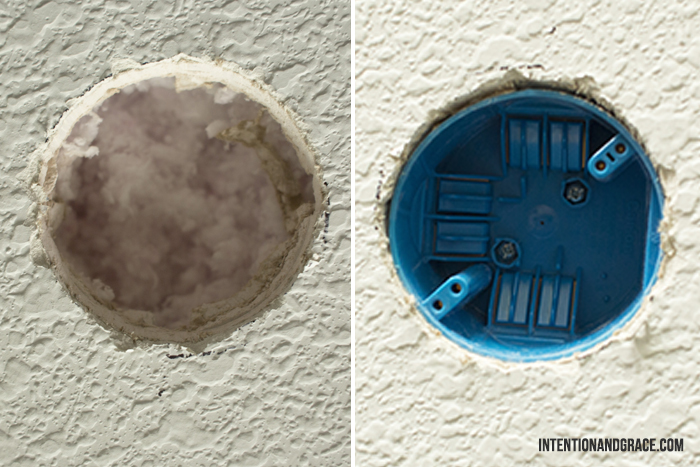
Once the marking was done we simply traced the blue electrical box using a pencil and cut the holes in the ceiling. Once we made confirmed they were the perfect size for the fan boxes we went up into the attic and screwed the boxes into place.
Because our lights were being installed near an existing light the wiring was very simple, we just tapped off of the center can light and ran the wires through the electrical boxes.
NOTE: If you’re not confident in how to wire or change electrical wiring, please consult an electrician.
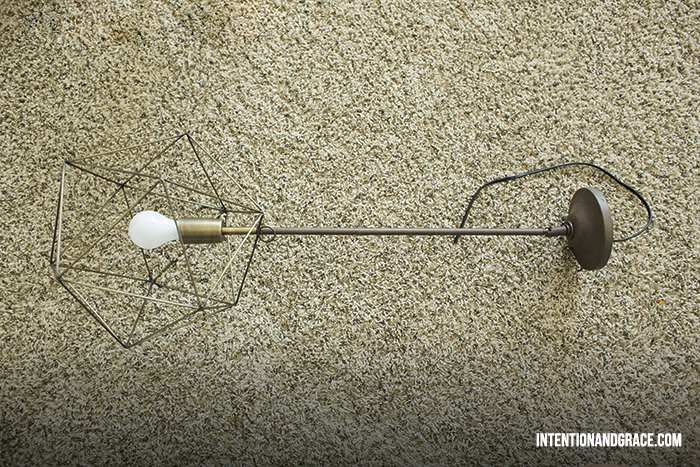
Now it was time to modify the existing lights. We cut the wiring below the switch on the desk lamps as shown below, making sure to leave a good amount of extra wire to work with. Then we took apart the pendant light kits we had purchased from Lowes, stripping them of their existing wiring leaving just the metal pipe.

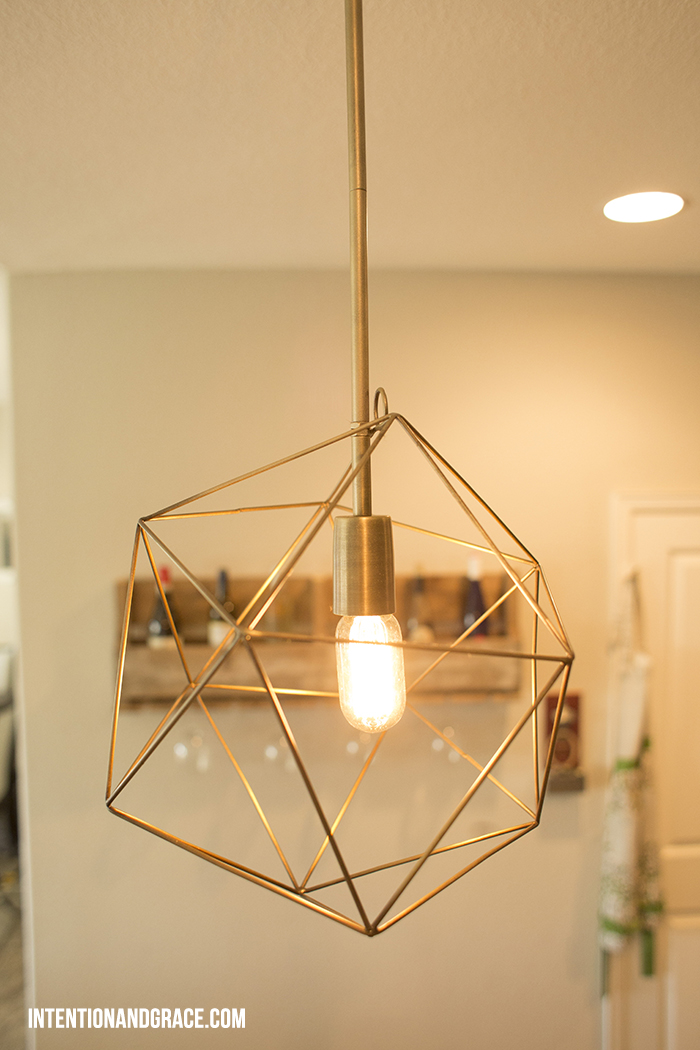
Then it was time to run the lamp wire through the pendant light kits. Simply thread it up the pipe and through the end. We matched our pendant light kit as closely to the lamps as possible when we were purchasing them, but they weren’t the perfect match I was hoping for, so we took them outside and lightly dusted them with some extra gold spray paint. It worked perfectly!
Once the lights were wired into the fan boxes in the ceiling we simply screwed on the pendant bases and we were done! I could not believe how well they turned out for under $90 each! Not only are they one of a kind, but they are better in my opinion than the two I had previously found online. Saving hundreds of dollars doesn’t hurt either.
I hope you enjoyed this lil DIY from our house to yours. If you ever have any questions about your DIY project please don’t hesitate to ask!
Nov. 6, 2014
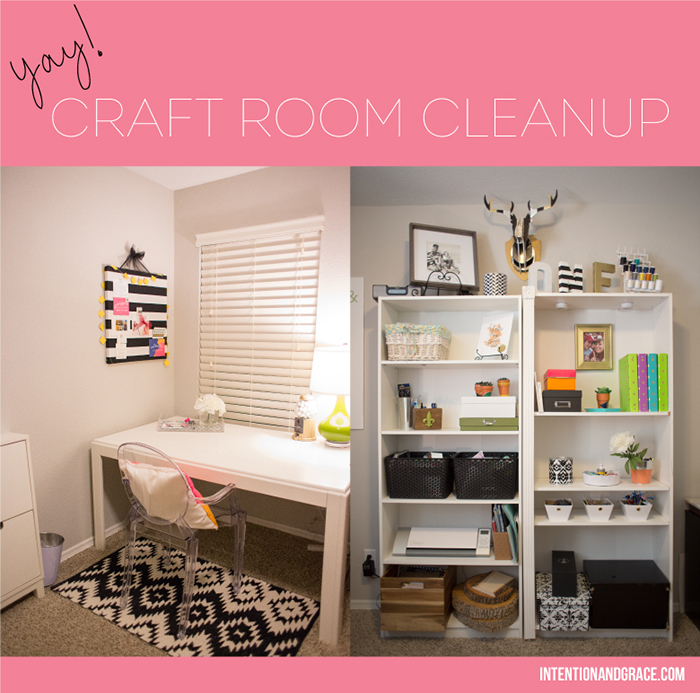
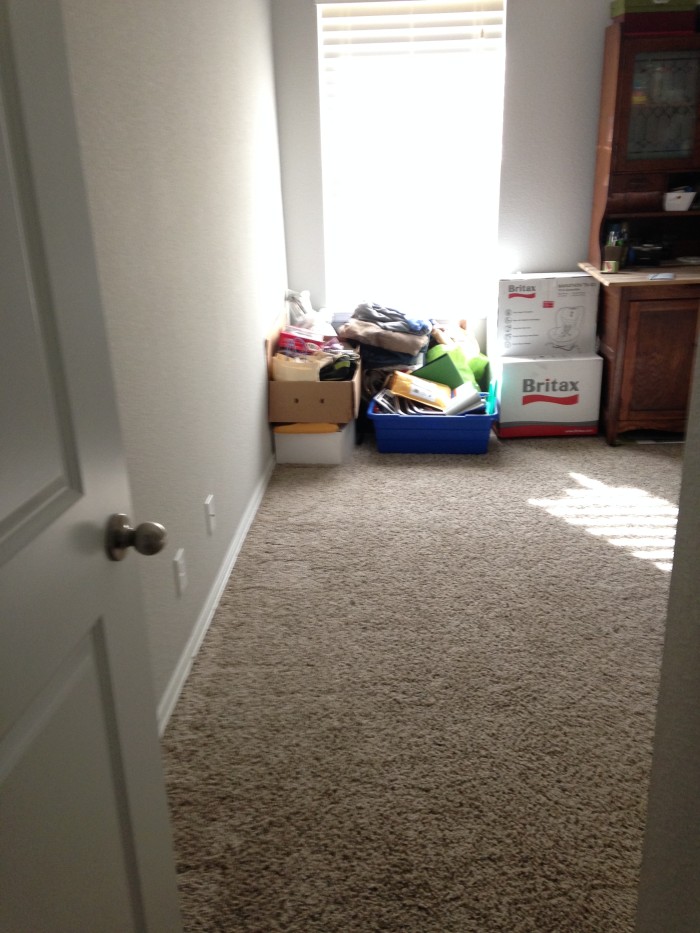
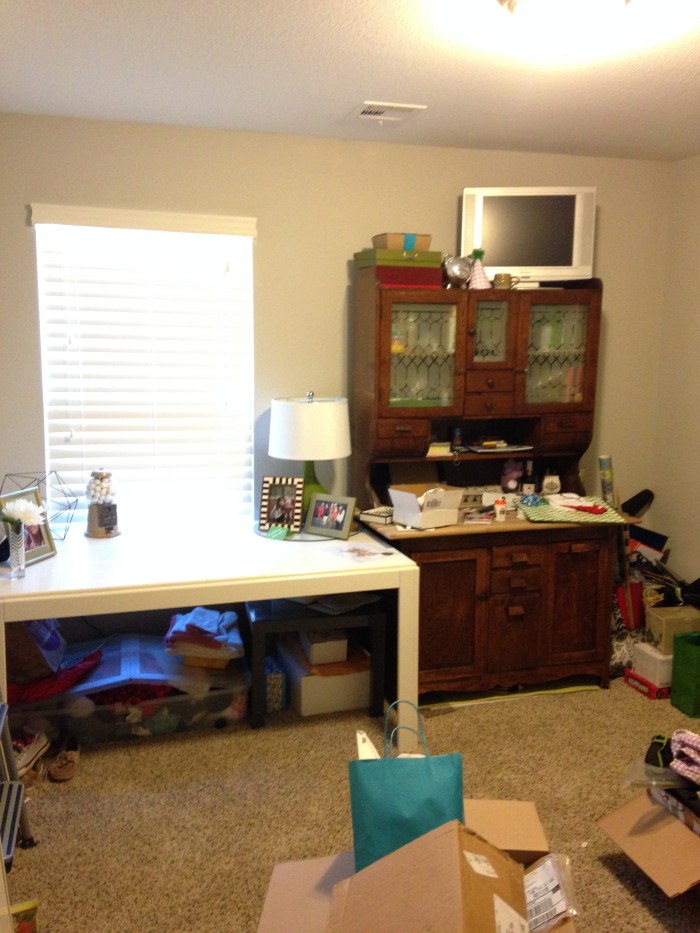
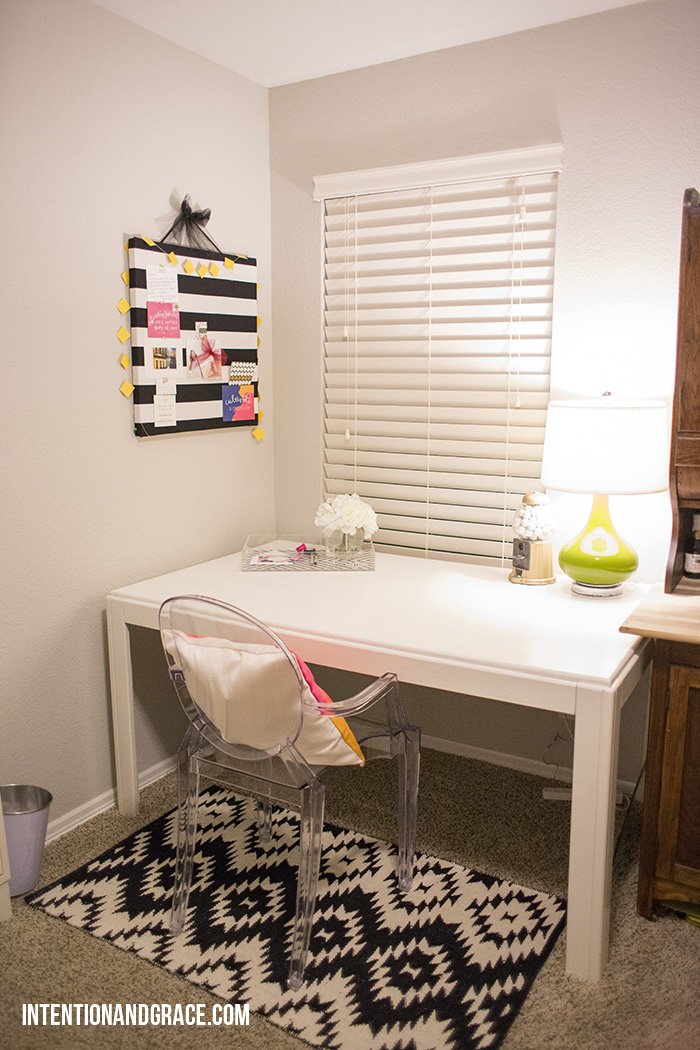
After moving into our house last year, our spare bedroom became a catch-all for stuff I wasn’t ready to unpack, junk I didn’t know what to do with, and craft supplies. Every few months I would take an hour and clean it up the best I could, but it always seemed to get back to a state of complete madness and messiness that slowly started to consume the whole room. It was so easy to just throw things in there, shut the door, run away and hide, and not think about it for a few weeks. See below. Yuck!
But every time a project would come along and I’d find myself standing at the kitchen counter sewing for hours, or stretching the hot glue gun across the living room floor to reach whatever needed glueing that day, I would think to myself, “This is ridiculous. You just burned yourself twice! Get it together and clean up that awesome room over there!” So finally I did. It has been a work in progress, and still is, but it’s SO nice to have a space to work in at home now!
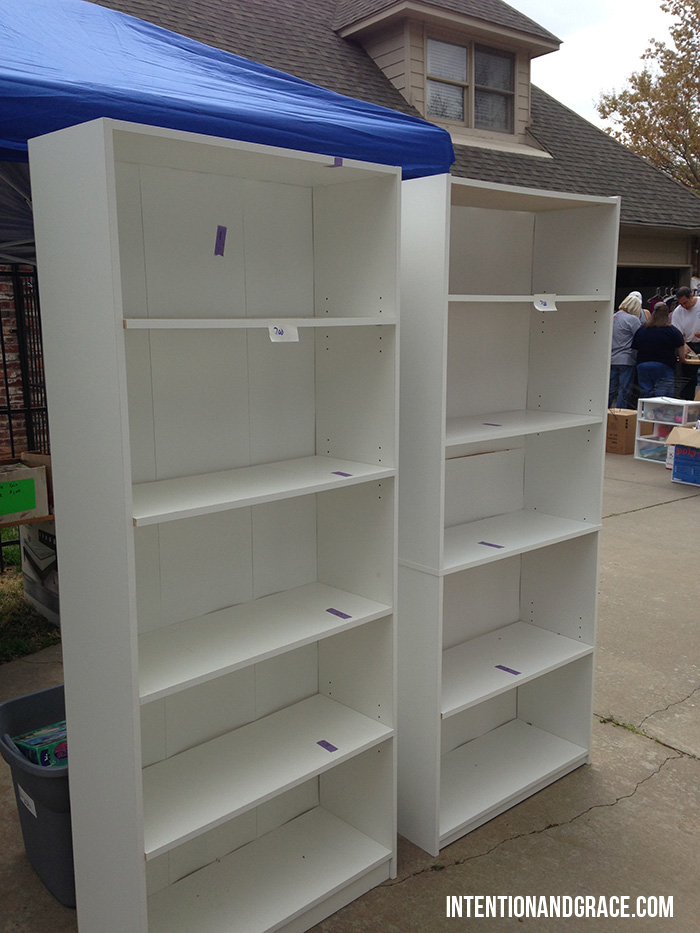
Because this isn’t a space I work in daily, I didn’t want to spend much money on cleaning it up; it just didn’t seem practical. So when I came across these great white storage shelves at a garage sale for $5 each, I snatched them up, knowing they would work great to help get things off my floor and organized.
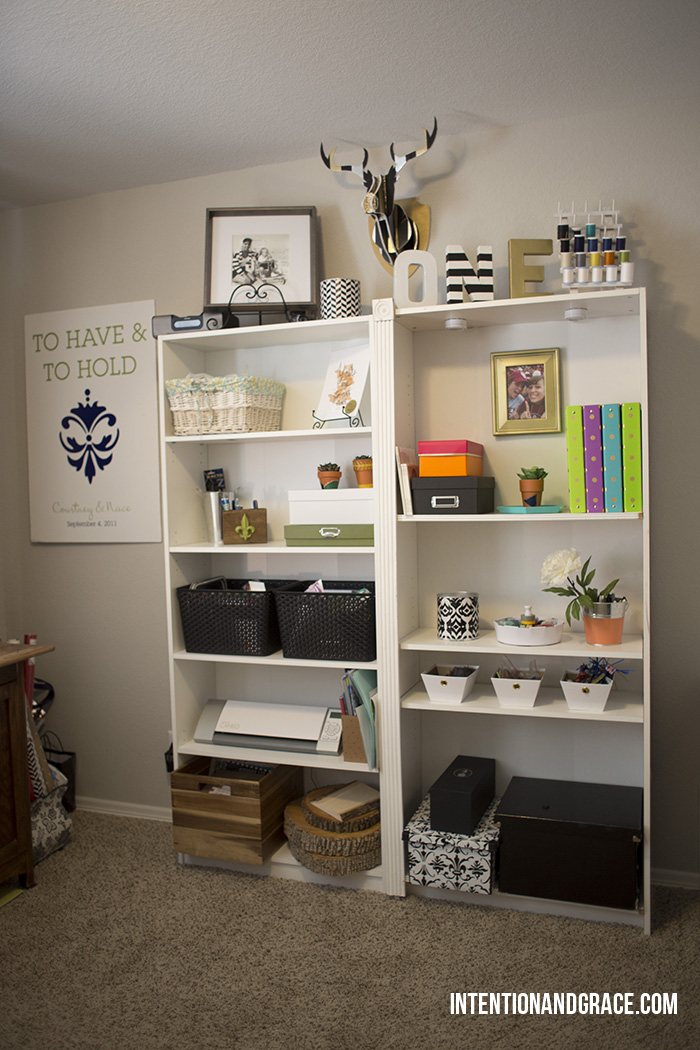
And boy, did they help! I’ve seen so many pictures of great craft room storage solutions like here, here, or even a great closet solution here, but finally having my own is seriously like a dream come true, as cheesy as that is. It’s one of my favorite places in our home and somewhere I can really go to be creative.
Along the way I tried to repurpose things I had around the house to make storage more convenient. These are all things you can do in a space as large as mine, or something much smaller like a hall closet.
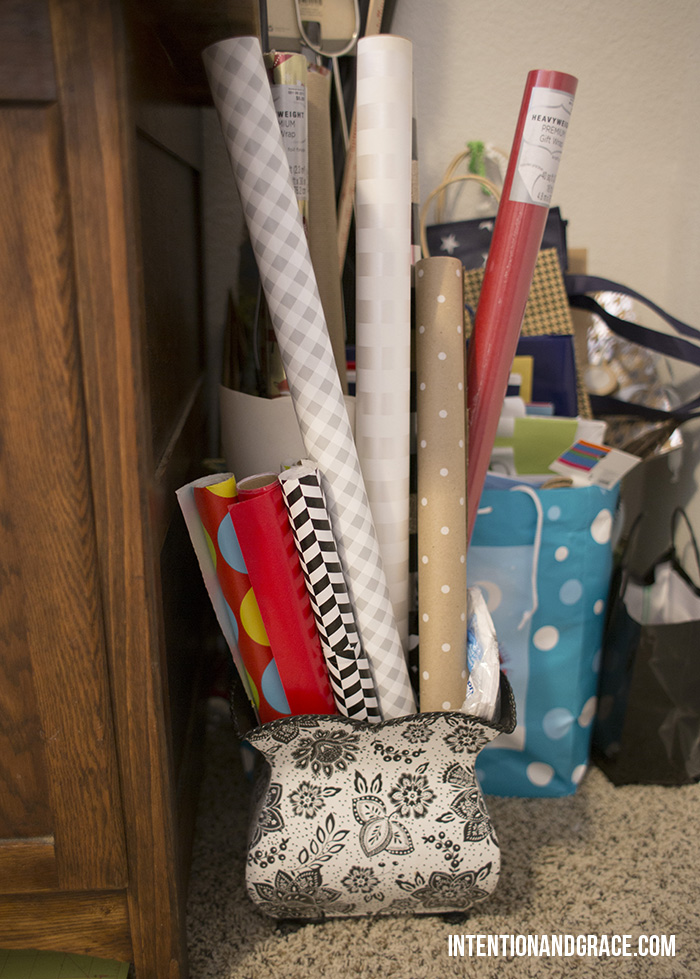
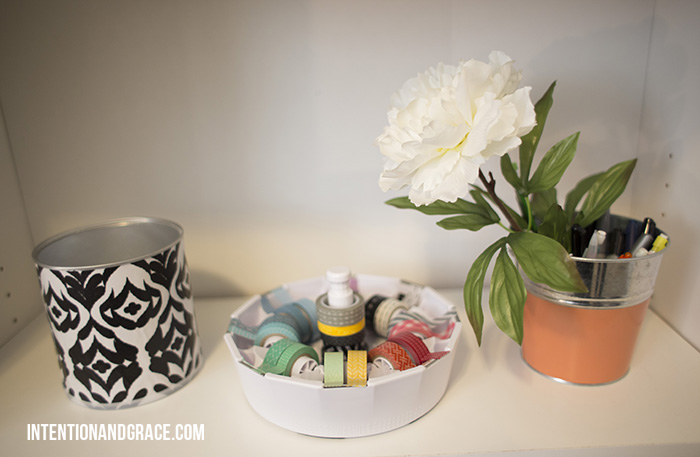
For wrapping paper, I took an old tin planter that I was no longer using and simply stacked them inside. It works great, and I love that I can see them all at a glance so it’s easy to know which paper I want to use.
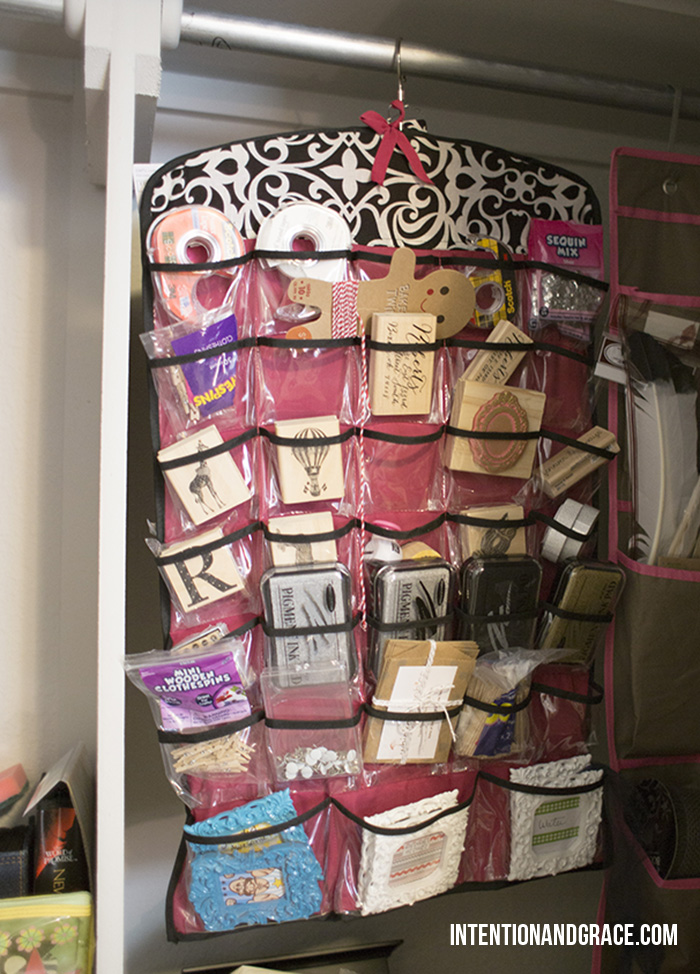
If you’ve been to the Dollar Spot at Target, you probably have a bunch of adorable little things lying around like I did. Twine, tape, stamps, small frames, etc. all got jumbled up in a drawer or box before, but I took this jewelry organizer from my closet and utilized all the little pockets. This allows me to see each item individually without rummaging through a box or drawer to find it. I think that I actually use these items much more efficiently now that they are displayed this way, because I don’t forget that I have them!
It’s not pictured well here, but beside this display, I have a door shoe hanger that I used in college. It has much larger pockets that I use for things like feathers, straws, tulle, etc. that are larger. These pocketed systems are seriously great, and I bet many of you have them lying around in your house too. If not, I see them at places like Marshalls or TJ Maxx all the time for less than $10.
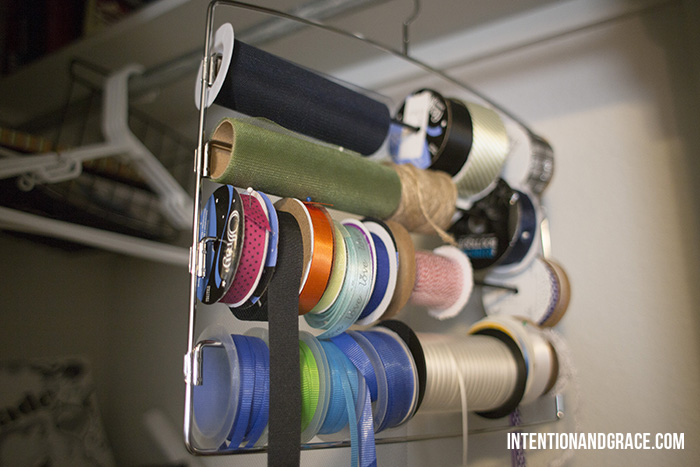
For ribbons I took a layered pant hanger from our closet. It is designed to hold several pairs of pants at once, but because it opens at one end, I was able to pop the bar off and slide ribbon on instead. Now I simply pull some out to the length desired and cut. So easy!
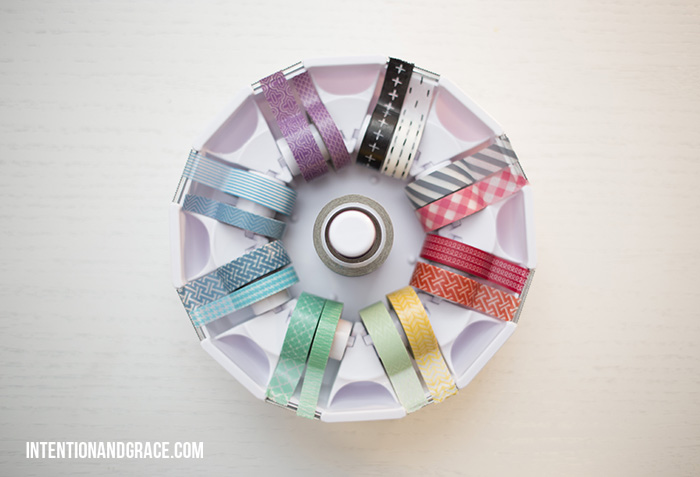
This is one of my favorite (and prettiest) storage solutions by We R Memory Keepers. I pretty much use Washi on everything—gifts, mail, packaging, or labels—I can just grab a piece of my favorite shade at any time. Plus it spins. It’s just the coolest.
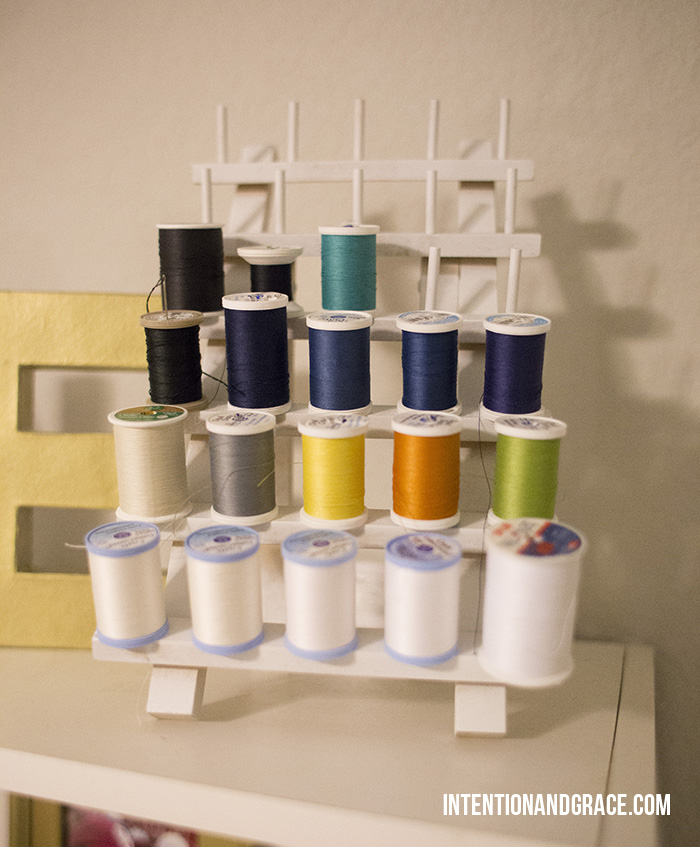
I have always wanted to display thread in a beautiful rainbow of colors like this pretty picture, but since I couldn’t find something in my budget as beautiful, I simply got this raw thread spool at JoAnns fabric and spray painted it white. It was under $10 with my weekly coupon, and I just used some paint I had lying around from other projects. It’s nice to see all the colors I have at a glance, because each time I started a new project in the past, I would grab some thread to match, unsure if I already had some at home (which is why I have four navy spools).
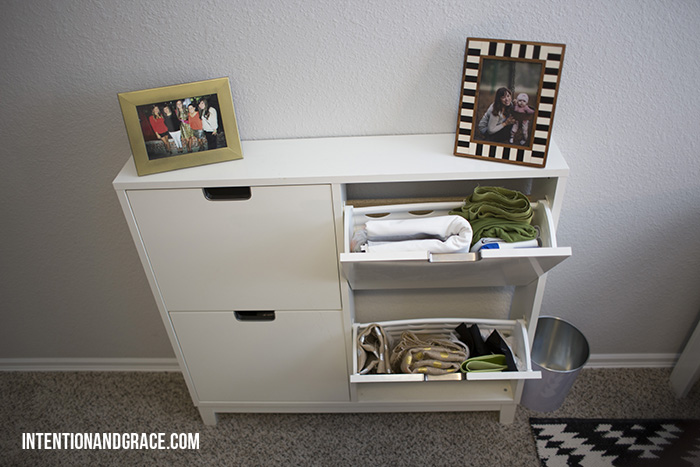
One of my favorite pieces in the craft room is this great IKEA STALL shoe storage container. If you don’t have one, I highly recommend it! We used it at our previous house for shoes, but now it is repurposed to hold all my spare fabric. I just roll it up and drop it in there and I can easily see what colors I have by pulling a drawer open. So great!
I think it turned out very functional and useful, and I love that I no longer have to sew while standing.
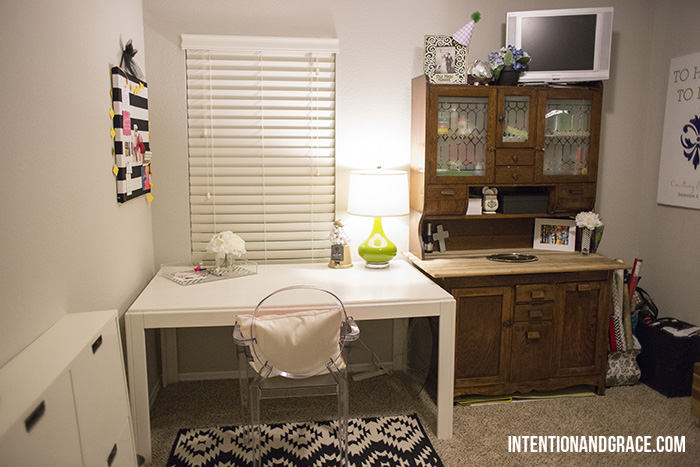
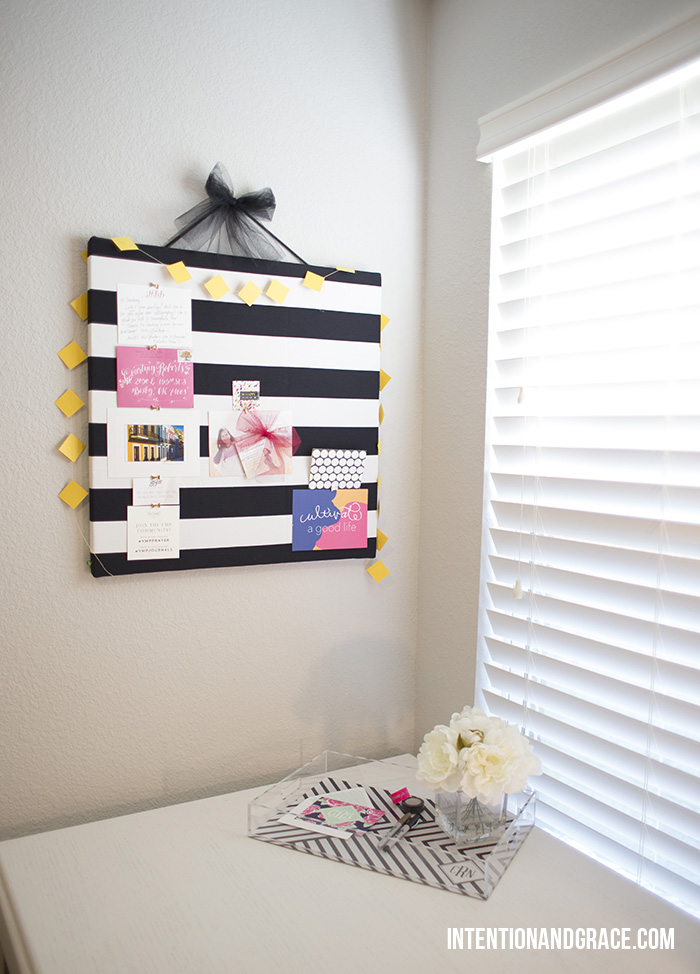
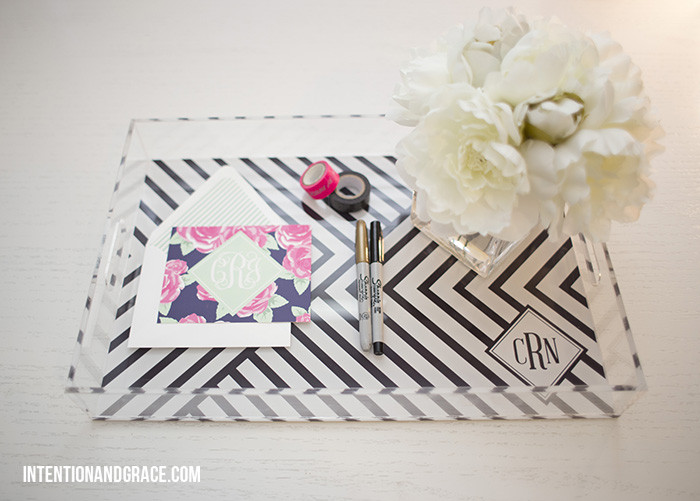
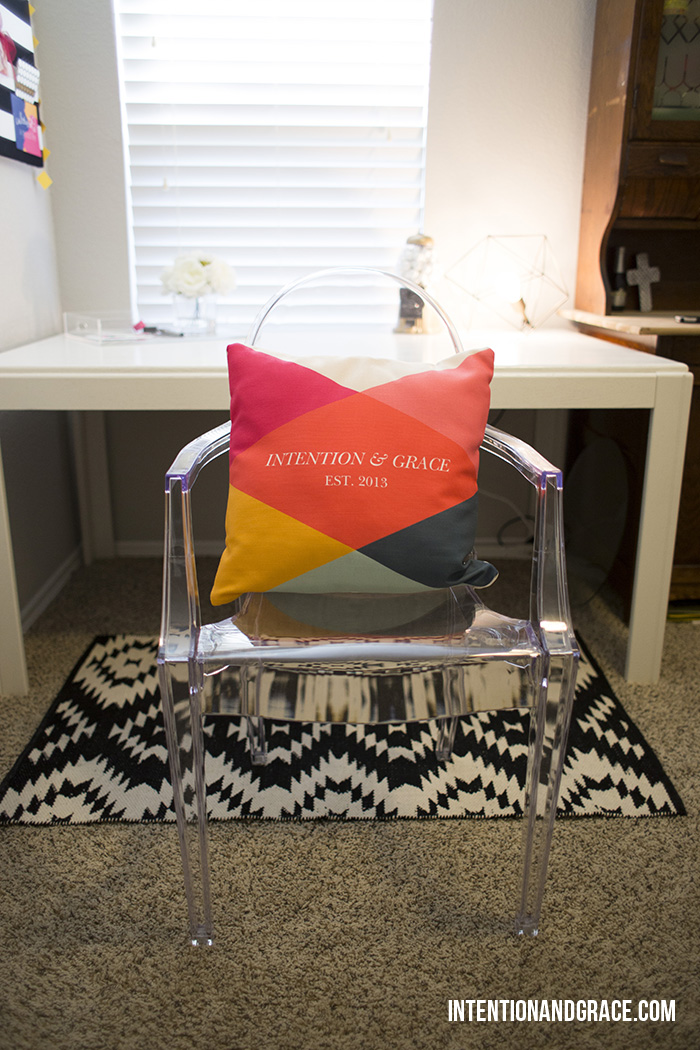
I did add a couple extra pieces to my desk to give it that girly, glam feel I wanted. My favorite one is probably this amazing acrylic tray from Tiny Prints. I had been searching for one for months, but they were either not the right style, didn’t have handles (which was a deal breaker for me), or were some weird color that wouldn’t work in my space. I was thrilled to find that Tiny Prints offered customizable options, but instead of choosing a single photo for my design, I created something myself and uploaded that to be printed. I was able to get exactly what I wanted and couldn’t be happier with the outcome.
If you don’t have the design tools like I have available, places like Veer, Shutterstock, or iStock all offer downloadable patterns and images that give you a greater variety of options than most custom companies offer on their on.
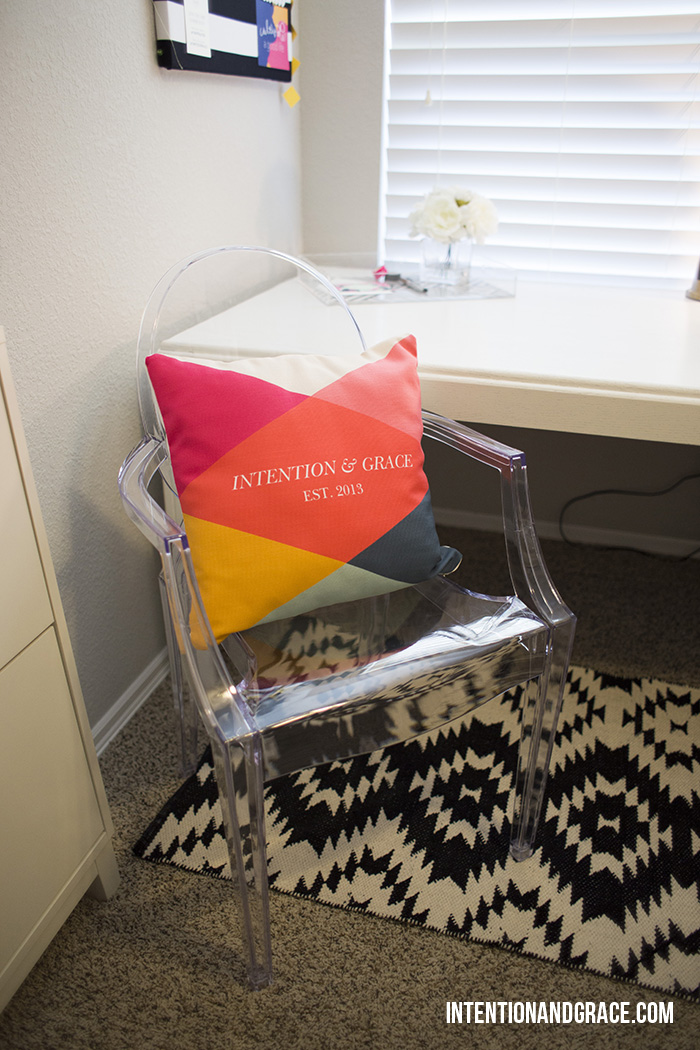
My big splurge was this acrylic chair from Amazon, but I treated myself because, how can you resist its beauty, right? Plus it’s actually super comfortable, and I feel better about life when I sit in it, if we’re going to be honest. ;)
Please share some of your storage solutions with me. What is your favorite craft solution?
Oct. 28, 2014
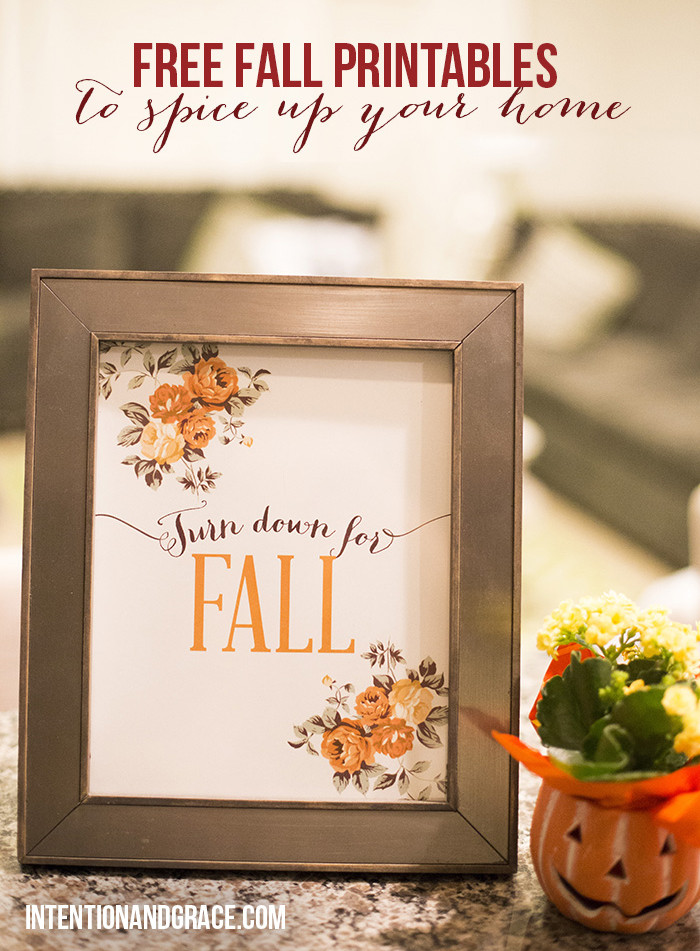 Excited to share four new printables to spice up your home for the holidays. All four come in 8×10 or 5×7 sizes, easy to fit into frames you already have around your home or office. Simply download the PDF below and share with friends and family. A framed print would even make a great gift for an upcoming holiday party or housewarming. Enjoy!
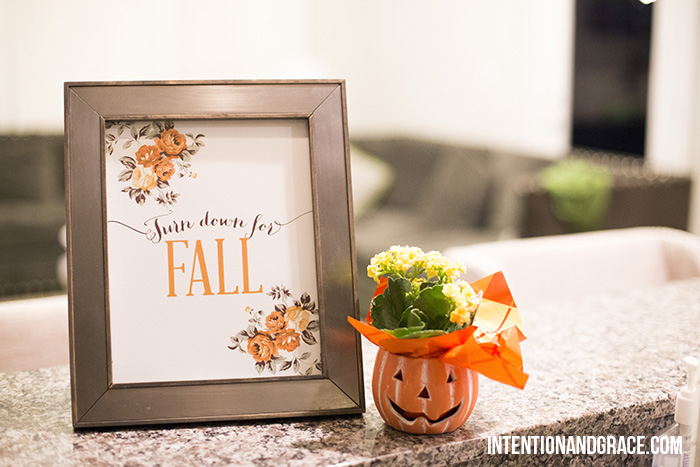
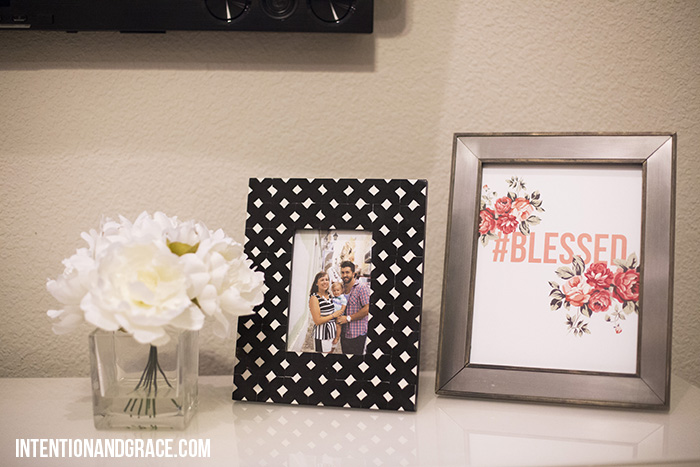
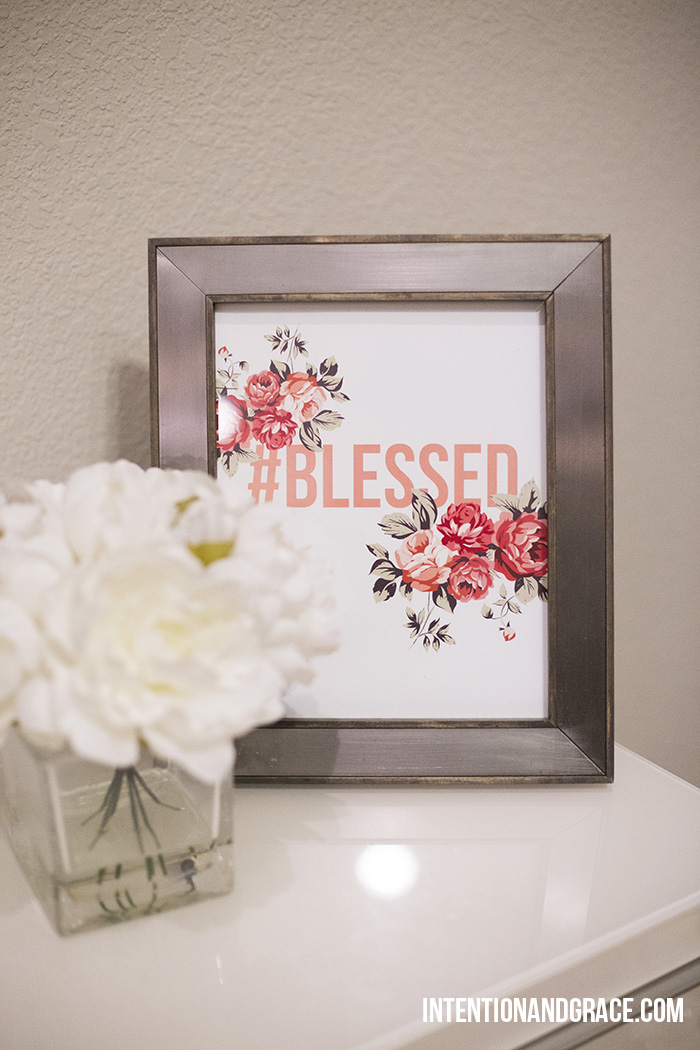

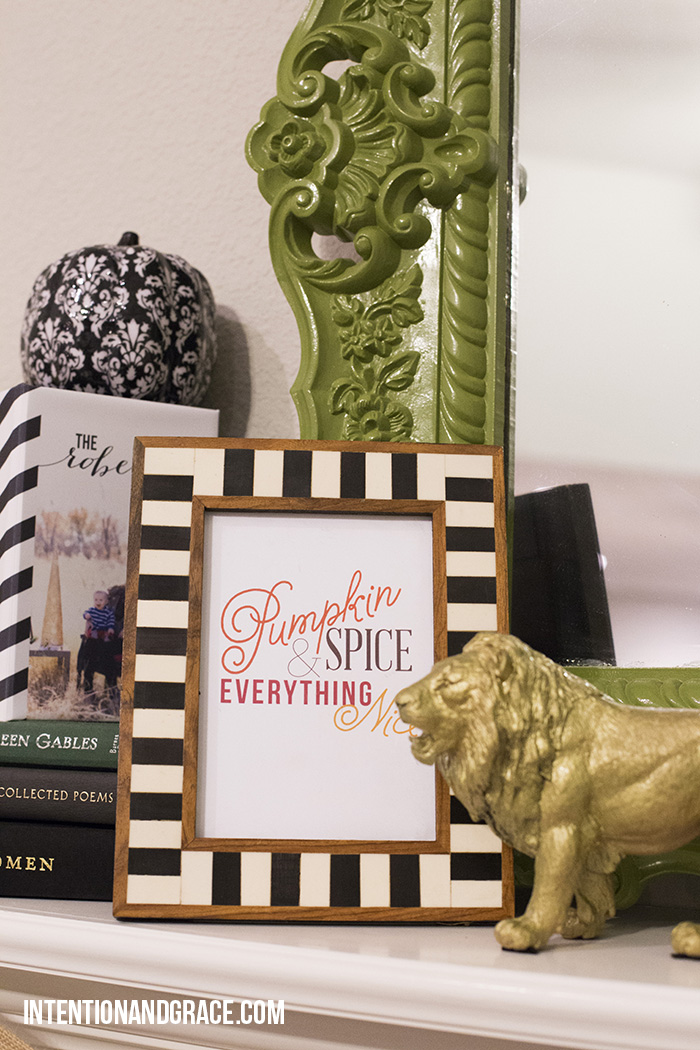 Download all four by clicking HERE! Please share on facebook or instagram how you are using your printables with the hashtag #intentionandgraceprints

