Oct. 7, 2014
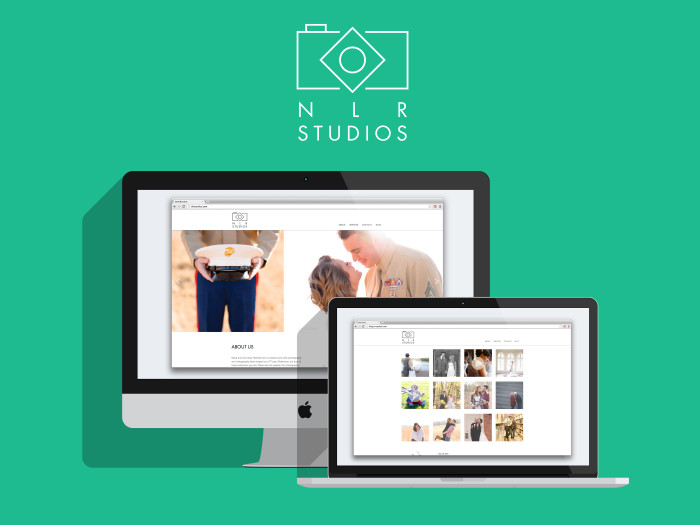
I’m back! Sorry for the hiatus this past month…I’ve been working on some personal projects that took up the rest of what little spare time I had. :) Mostly, the new website for our photography and videography business, NLR studios. Although I am a graphic designer during the day, programming my designs definitely comes a little slower to me, so I wanted to take on the challenge of not only creating the look and feel for our new logo and website, but to program it myself as well. It is such a great accomplishment for me and I hope you enjoy.
For those of you who don’t know about our little family business, my husband Nace and I joined forces after we married in 2011. I was a graphic designer, and he was a photographer by hobby, but once we got going our ideas quickly blossomed into what is now a thriving and busy business. We call our weekend weddings “date nights” and truly enjoy seeing couples commit to one another on a regular basis. It is a true passion of ours and we couldn’t be happier to be a part of documenting life for our clients.
Because our business grew so organically we did not ever spend much time preparing a logo or website for ourselves, so these past few months I set about to create something that showcased our work in a more professional way.
If you or anyone you know needs a photographer or videographer in the Tulsa area, we would be honored to help out! Check out the website below and have a great week!
Aug. 22, 2014
Although my son Maddax has been off of formula for a while now, I still had some containers sitting around the house. I have been trying to figure out how I could use them. Hoarder much? Then about a week ago, I got so sick of my ugly old nail polish container ruining our newly decorated master bedroom aesthetic I knew I had to change it up a bit. Enter genius idea #1: just wrap it with some adorable wrapping paper, duh!
It went from baby pink middle school weirdness, to a much more chic and modern box to store all my favorite colors in. And it only took about 5 minutes to do!

I immediately knew I had to use this technique in other areas around our home. Enter genius idea #2: wrap some old formula containers. Not only are they a great size for storage, but they have lids. So, if I did want to store something perishable like nuts, cereal, or flour, I could easily do so. And they are also cute enough I could just keep them on the shelf as simple office supply storage.
So here is how I did it:
You will need:
1. Some easy containers to wrap. Round or square it shouldn’t matter. You can find some photo storage boxes at any local craft store (I got 5 for $2 each) or online. They come in tons of colors and would be very easy to cover.
2. Some cute wrapping paper. I love the ones in the $1 shop at Target. They are usually thinner than more expensive papers making them easier to work with. Plus, they generally have some pretty trendy and cute patterns to work from.
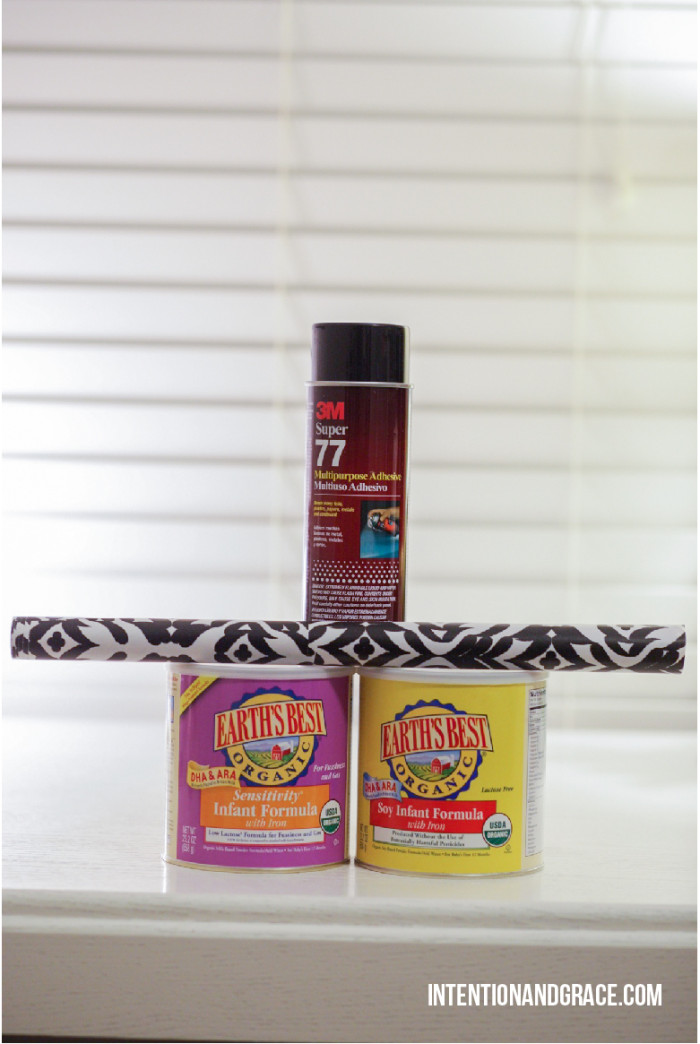
3. Spray mount glue. I love Super 77, but there are all kinds of multi-purpose adhesives out there to choose from.
Also, a piece of cardboard for the spray area and a pair of scissors would be helpful.
First, I took off the wrapping from my containers so they had a clean surface.
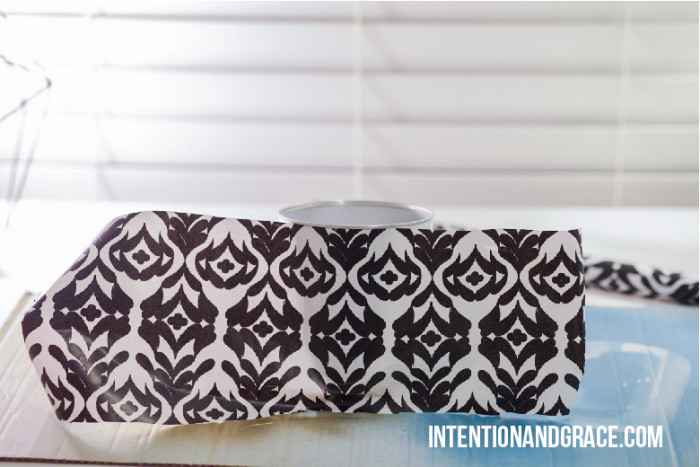
Then I very roughly cut the paper to the height and circumference of my container. This doesn’t have to be perfect at all, you won’t notice the cut edge as long as one edge is clean.
Then I sprayed the center of my paper so I could work my way around towards the seams. I don’t recommend spraying too heavy so if you need to adjust the paper it gives you a little give to pull off and reapply. Align the clean edge toward the top of the container so it aligns with the top or lip of the bin and wrap around the remainder of the container, spraying as you go.
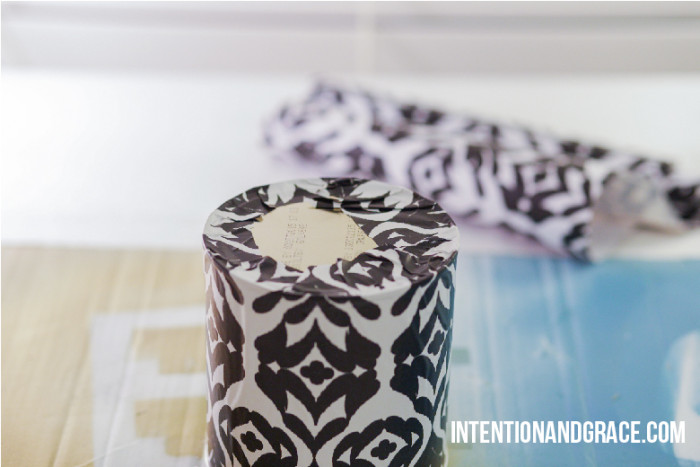
Once you have everything placed as you want turn it over and wrap the edges onto the bottom of the container. You can cut them if you prefer but I think cutting out a circular shape can be tricky and I wanted my edges to look as clean and crisp as possible.
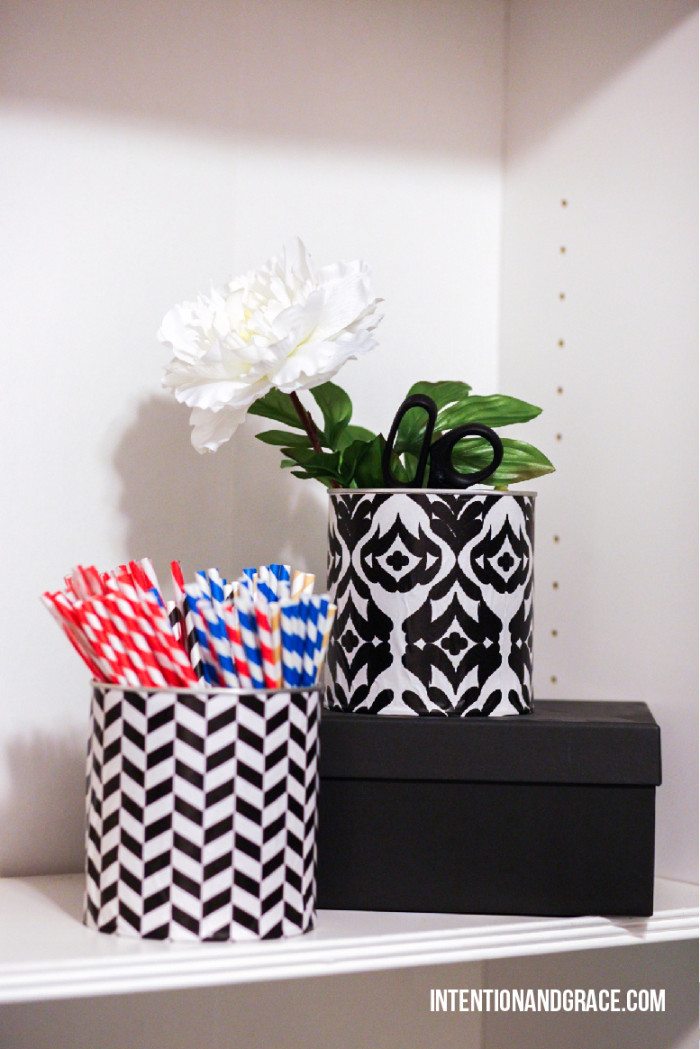
And viola! You’re done. And you have some adorable containers to show for your 5 minutes of hard work.

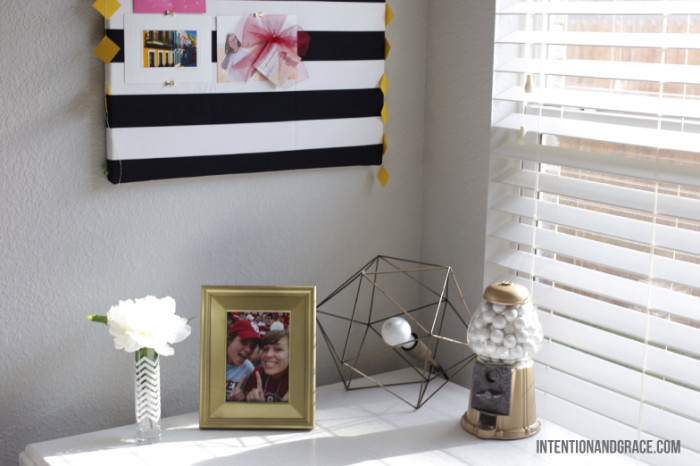
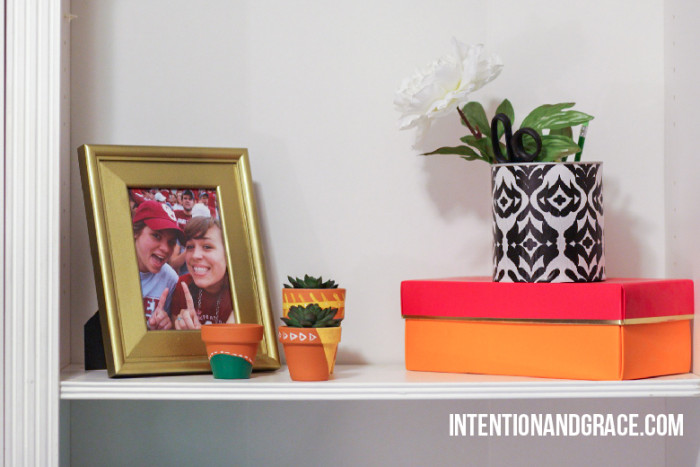
Stick them in a pantry to fancy it up a bit, or in an office space like show below, but either way they will be a practically free, one of a kind container to use all around the house. How will you use your cute containers?
Aug. 13, 2014
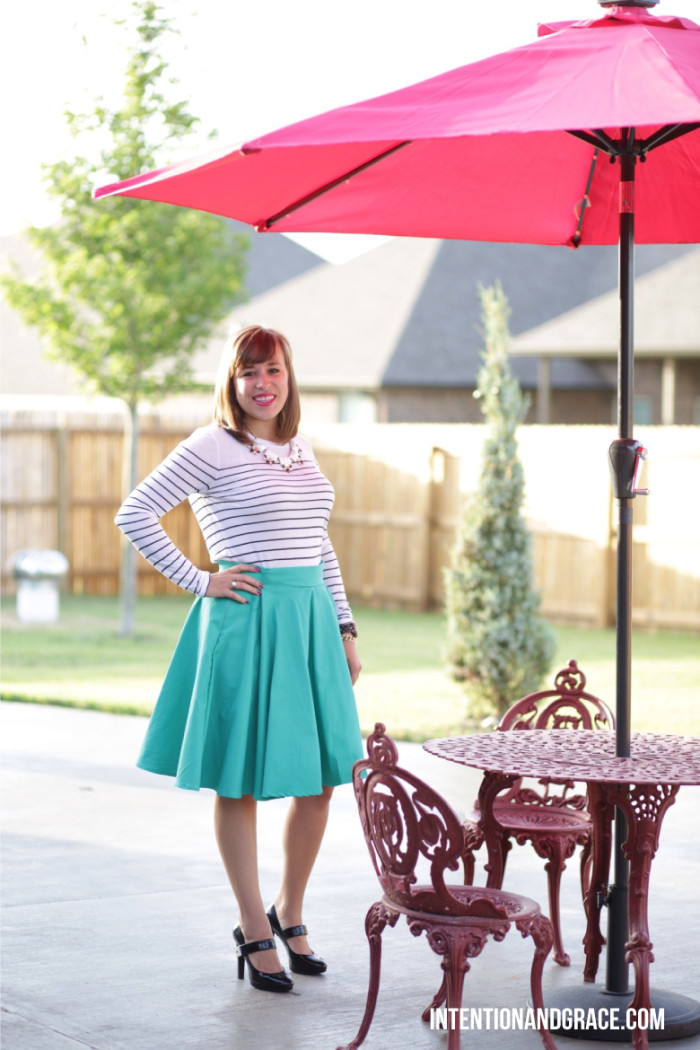
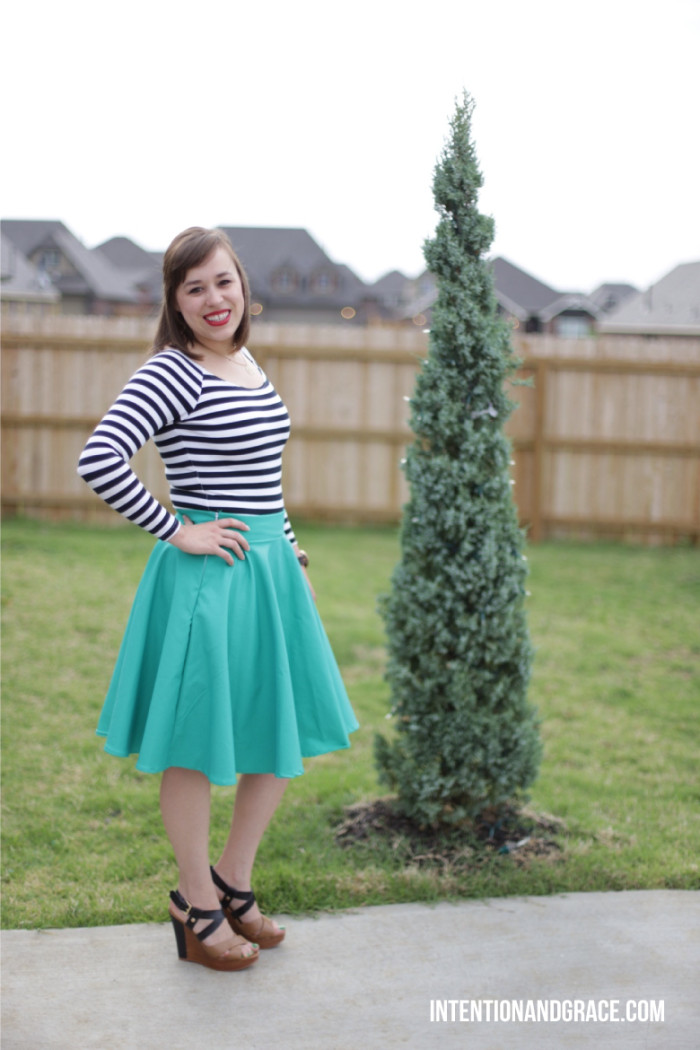
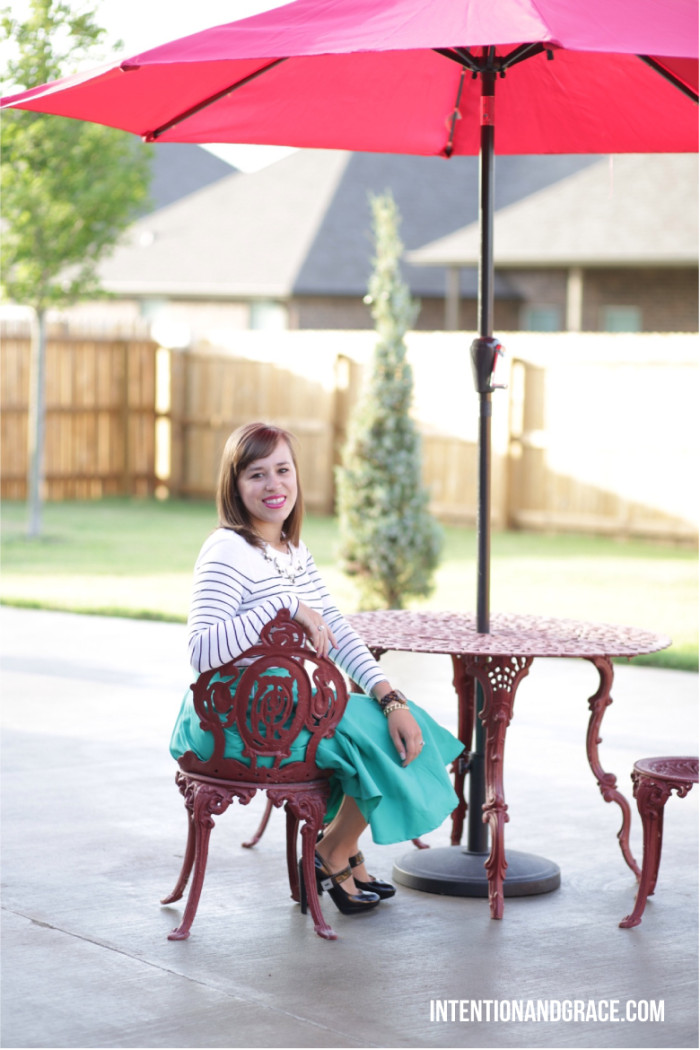
A few months ago I posted about my recent obsession with midi skirts and set out on a mission to find one. Although there are plenty of adorable options out there, I couldn’t find any in the style I was hoping for and also in my budget, so I decided to make my own. I searched the web for a circle skirt pattern and found this gorgeous version of just what I was looking for from Cotton + Curls:
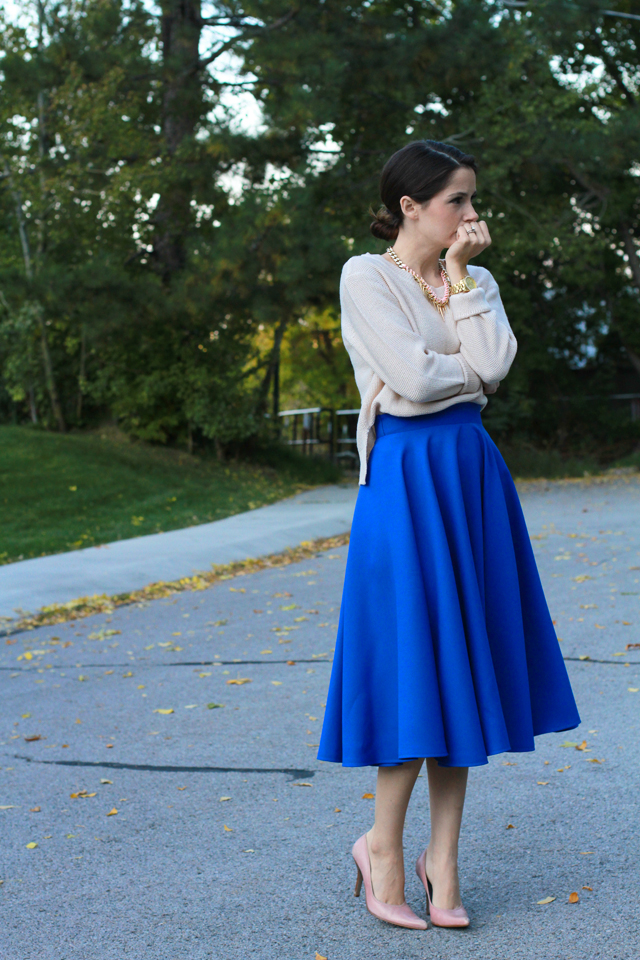
I had previously made circle skirts for my bridesmaids dresses so I knew it was definitely something doable. Note: It literally is just a circle! I really think almost any one could do it. Some fabrics are of course easier to work with than others, but this stretchy teal fabric I picked up at Joanns was perfect for the project! Only down side is, I didn’t pay attention to the fabric width. I wish it was a bit longer than it turned out to be, but overall I love how it turned out. Its a fun lil skirt to throw on for a wedding, date night, or evening out with friends and easily dresses up a simple t-shirt.
Since making it I have worn it twice (both very similar outfits, we all know I love stripes) and snapped a few photos to share. Hope you enjoy!
Jul. 31, 2014
New moms ask me all the time what my go-to items are, and what items I would stay from as they plan for the arrival of their new little ones. Although I really think that each mom will realize what works best for them and stick to those, these are some of our favorite toddler items that have made our lives as parents much easier!
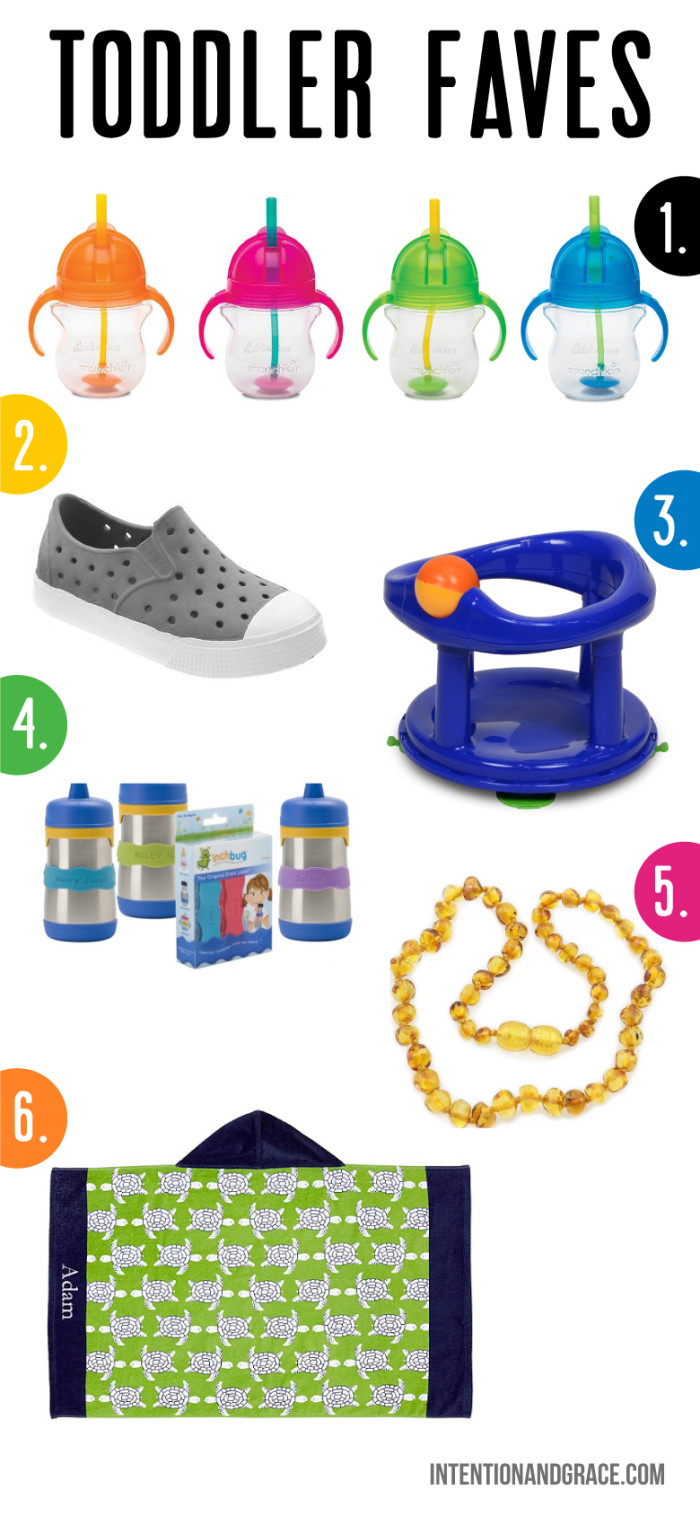
1. These munchkin cups are the BEST sippy straw cups there are! We encouraged Maddax to use a straw when he was pretty young because we felt like it was more practical when we were out and about at restaurants and just didn’t want him to get attached to a sippy cup if it wasn’t a necessary in between. After trying some of the adorable character options from Target we realized that each time they dropped on the floor the lids would pop off and make a huge mess. From there we tried several other options before finally coming across these Munchkin cups. The best part? That little circle at the bottom of the straw is a weight! It is the perfect way to transition your babe from a bottle or sippy cup to a straw. No matter what angle he is drinking the cups, they don’t spill or leak and he can always get water. We couldn’t be happier!
2. This summer we purchased some of these rubber shoes from Old Navy. They have been AMAZING! I love that they are cute enough he can wear them to school with a nice pair of shorts, or he can thrown them on with his swim suit to head to the pool. We took them with us on our trip to the beach this summer and they were the best. I feel like cloth water shoes get full of sand and dirt and are impossible to fully clean out, but these simply rinsed clean the first time. Some other similar options are these Crocs, or these amazing Native Shoes that I have my eye on when ours wear out.
3. When Maddax outgrew his baby bath we had the hardest time finding a new seat for him to use. It didn’t seem like there were any options for a baby that is a little rocky at holding himself up, but too big for a newborn bath seat. After trying an inflatable version that was hard to clean out, slippery and clumsy and a plastic laundry basket, that he did NOT want to sit in, we received this bath seat off Amazon as a christmas gift.
4. Maddax got these AMAZING Inchbug Orbit Labels from his Aunt Lacy last year for Christmas and we have loved them every day since! Gone are the days where I am peeling masking tape off of bottles and cups before washing them, or making sure all his cups are clearly labeled. Just stretch these bad boys around any bottle or cup and it’s good to go. They are dishwasher safe and never need to be removed for separate cleaning. Plus, they come in lots of different colors so if you have more than one kiddo you can easily distinguish whose is whose!
5. Okay, I know these sound crazy, and I was skeptical at first, but the Amber Teething Necklace has saved us so many tears, tantrums, and drool covered shirts over the last few months. Our lil guy was a water faucet before we purchased one of these necklaces off Etsy, but every time he wears it he rarely drools, doesn’t get a fever and his teeth seem to pop through! Before the necklace it felt like cutting a tooth would drag on for days and weeks, but last month he cut four molars with barely a groan or cry. AMAZING! Everyone should at least give it a try.
6. Of course we love pottery barn, how could you NOT?! But these Monogrammed Hooded Beach Towels are so nice! We use ours everywhere! The bath, the beach, the pool, they are great on every occasion, wash well and come in several cute designs.
What are you favorites for your little boy or girl? Share them with me by leaving a comment below!
Jul. 25, 2014
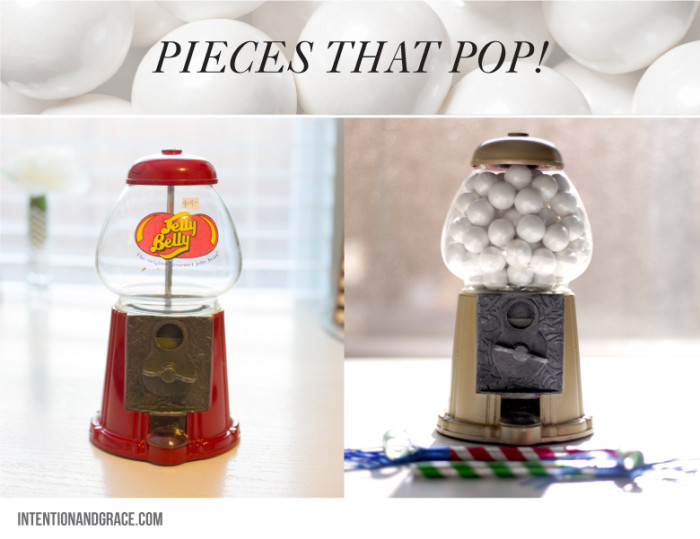
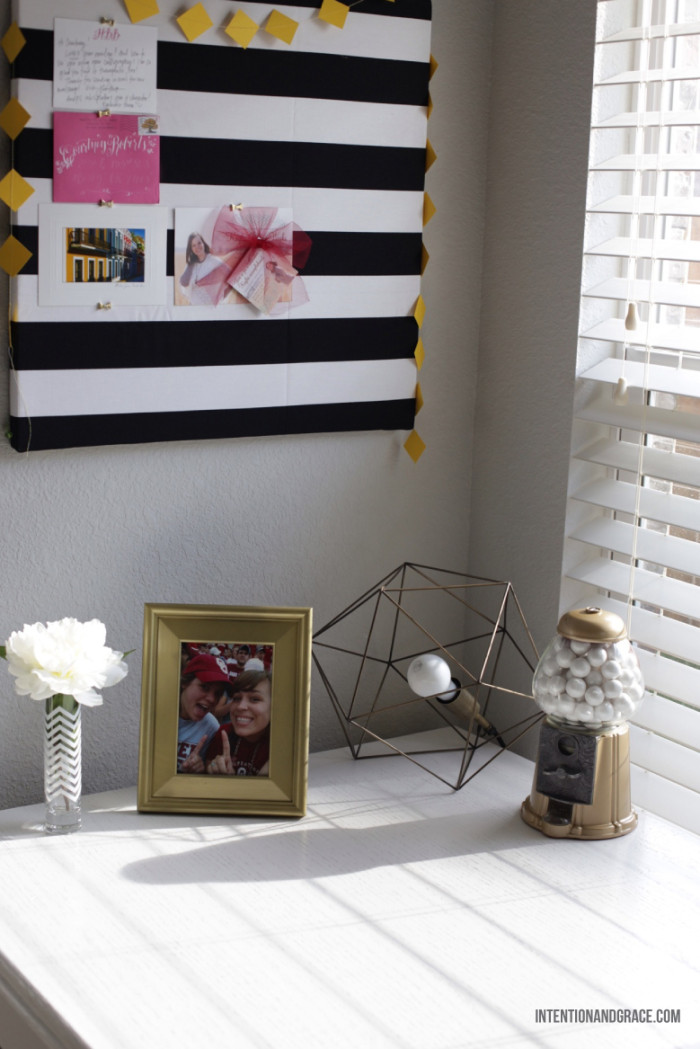
While heading to pick up lunch one day with some friends we impulsively stopped by an estate sale on the way (I find them so hard to refuse). Lucky me, it was the last day of the sale and everything was half off sticker price. I snagged up this adorable Jelly Belly machine for only $10. I was beyond excited since I have always wanted one but could never seem to find one in my price range.
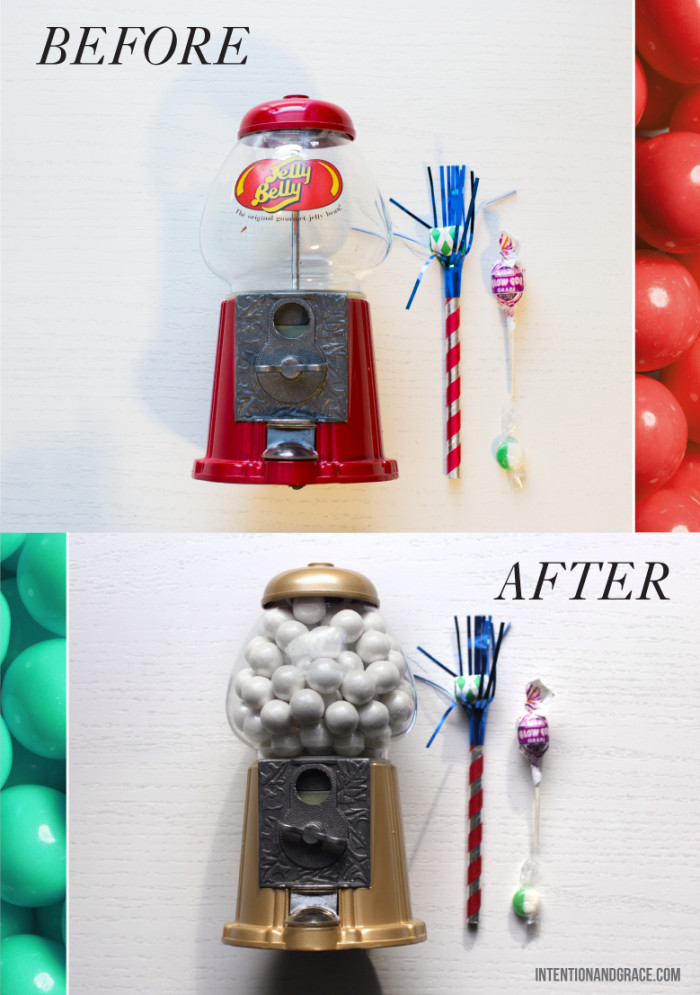
It was so simple to take a part, all of the pieces detached leaving me with the red base alone and red cap on top, so no taping was even necessary. Which is a good thing, because I hate taping and I’m pretty half hearted about it which usually gets me into some sort of trouble.
After a couple coats of gold spray paint I left this bad boy to dry on the porch while I ran to Target to get some of their amazing pearlescent gum balls I saw in the party section the week before. If you have a fun party to plan, you should check them out. They come in several colors and are super sweet to fill a glass vase or jar with as decor.
I think for the time being this lil redo is going to hang out on my work space because it just brightens my day when I see it and I love how it turned out!