Nov. 6, 2014
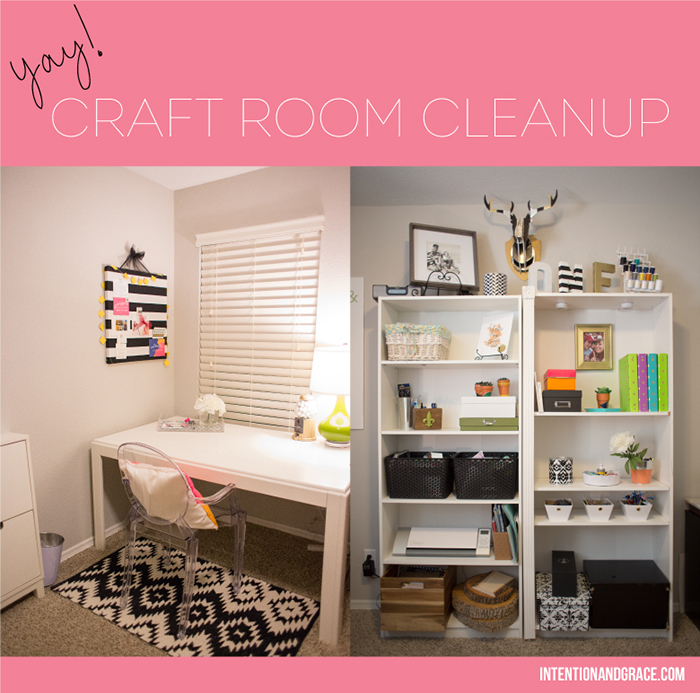
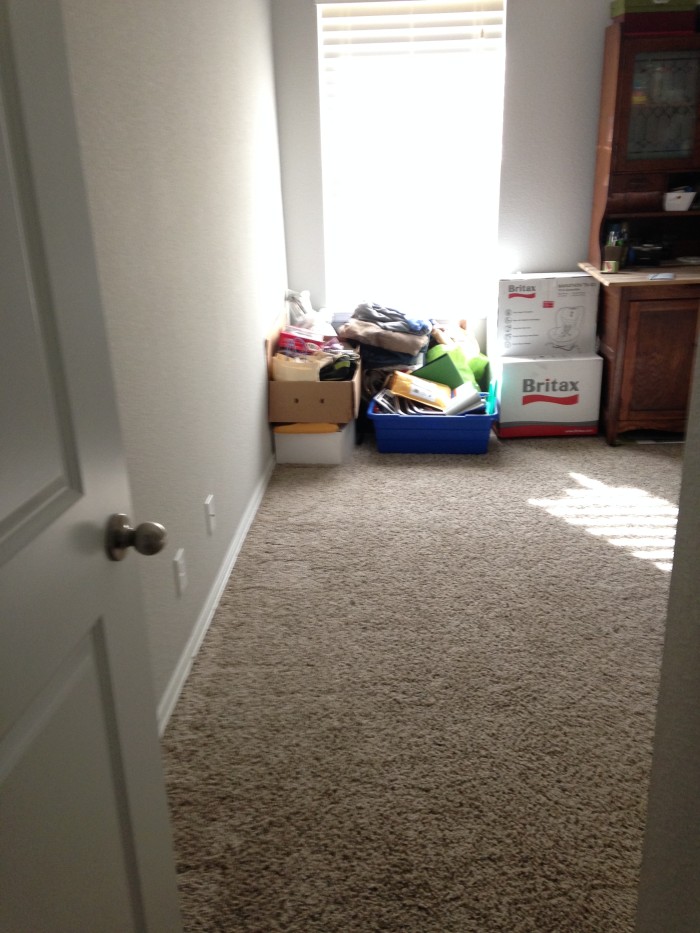
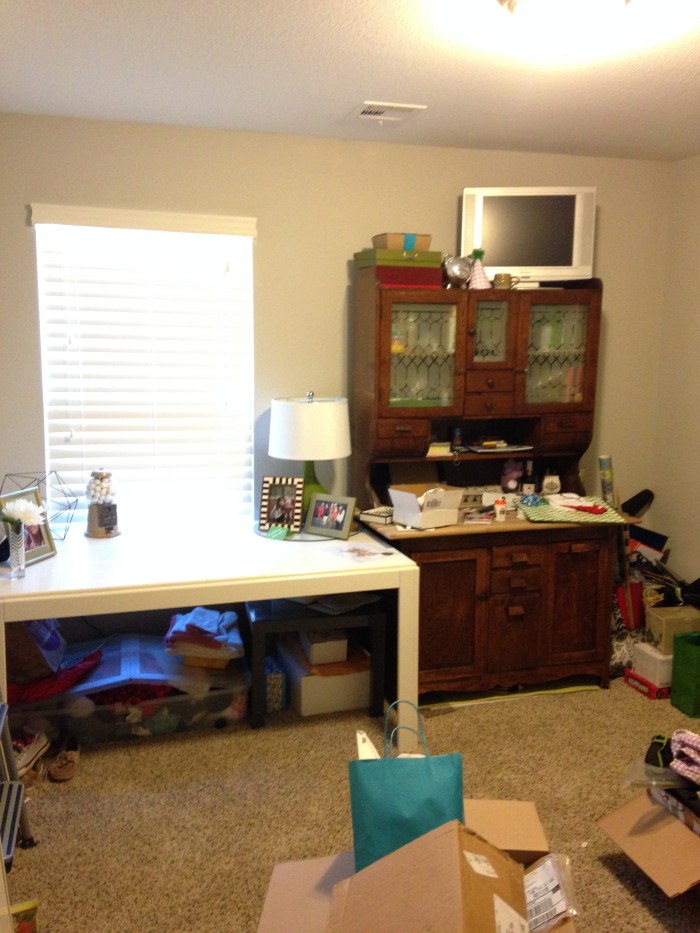
After moving into our house last year, our spare bedroom became a catch-all for stuff I wasn’t ready to unpack, junk I didn’t know what to do with, and craft supplies. Every few months I would take an hour and clean it up the best I could, but it always seemed to get back to a state of complete madness and messiness that slowly started to consume the whole room. It was so easy to just throw things in there, shut the door, run away and hide, and not think about it for a few weeks. See below. Yuck!
But every time a project would come along and I’d find myself standing at the kitchen counter sewing for hours, or stretching the hot glue gun across the living room floor to reach whatever needed glueing that day, I would think to myself, “This is ridiculous. You just burned yourself twice! Get it together and clean up that awesome room over there!” So finally I did. It has been a work in progress, and still is, but it’s SO nice to have a space to work in at home now!
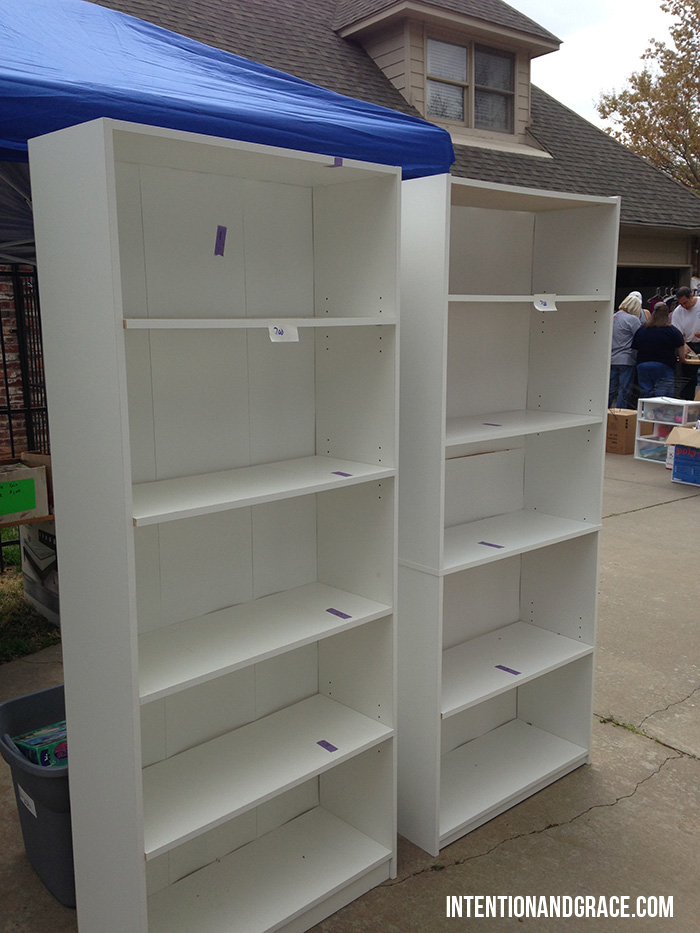
Because this isn’t a space I work in daily, I didn’t want to spend much money on cleaning it up; it just didn’t seem practical. So when I came across these great white storage shelves at a garage sale for $5 each, I snatched them up, knowing they would work great to help get things off my floor and organized.
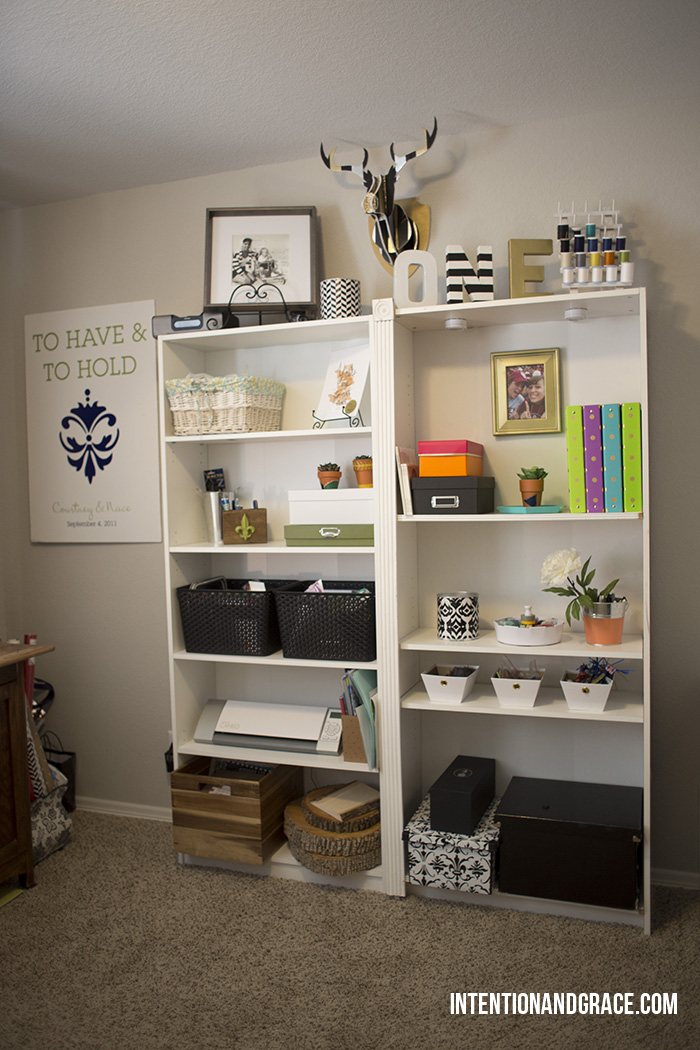
And boy, did they help! I’ve seen so many pictures of great craft room storage solutions like here, here, or even a great closet solution here, but finally having my own is seriously like a dream come true, as cheesy as that is. It’s one of my favorite places in our home and somewhere I can really go to be creative.
Along the way I tried to repurpose things I had around the house to make storage more convenient. These are all things you can do in a space as large as mine, or something much smaller like a hall closet.
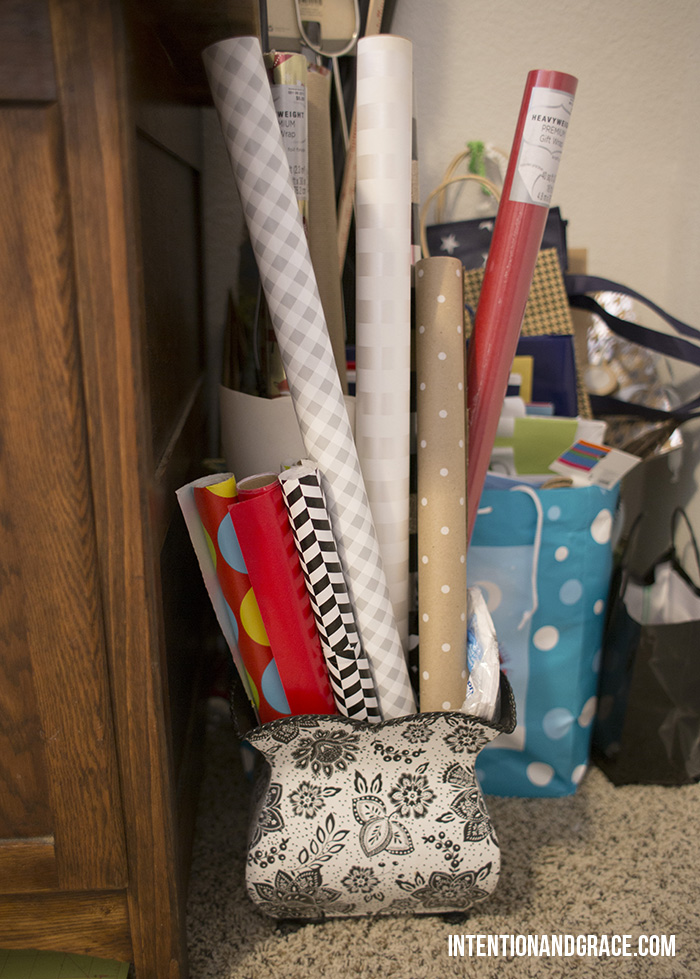
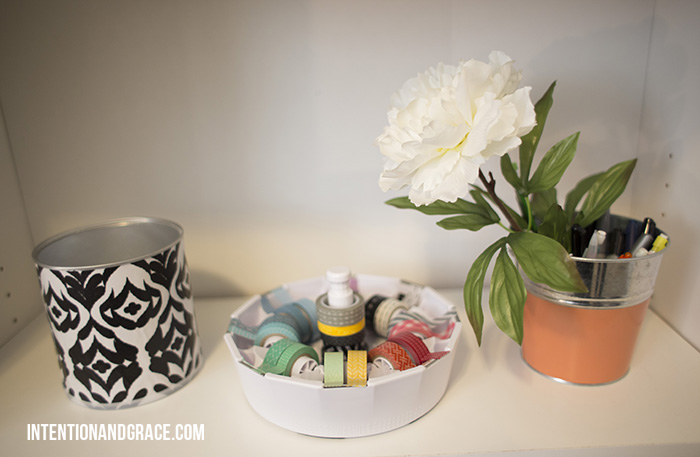
For wrapping paper, I took an old tin planter that I was no longer using and simply stacked them inside. It works great, and I love that I can see them all at a glance so it’s easy to know which paper I want to use.
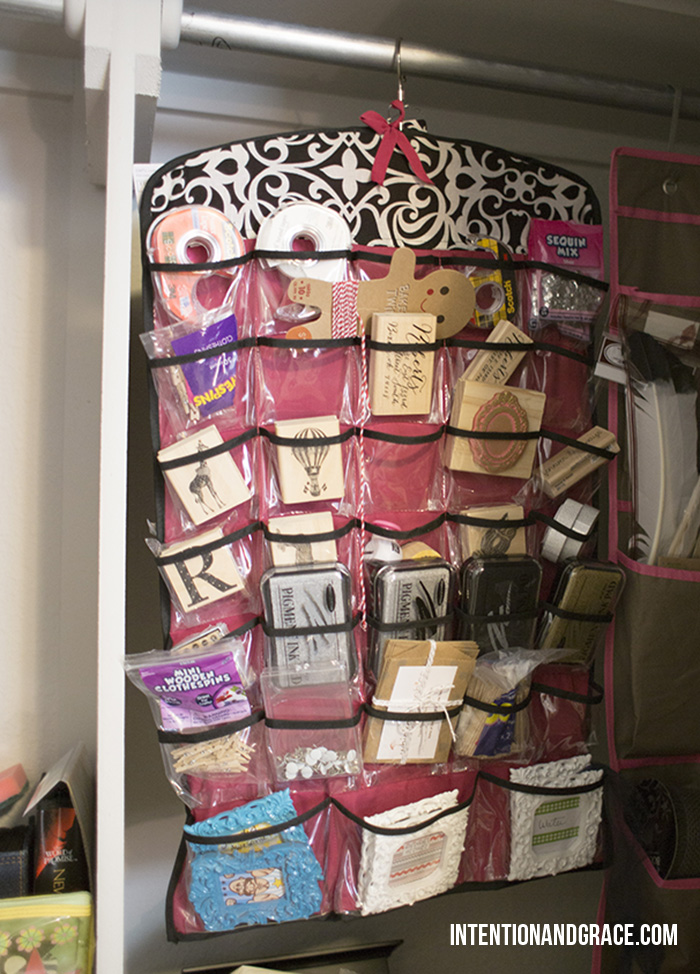
If you’ve been to the Dollar Spot at Target, you probably have a bunch of adorable little things lying around like I did. Twine, tape, stamps, small frames, etc. all got jumbled up in a drawer or box before, but I took this jewelry organizer from my closet and utilized all the little pockets. This allows me to see each item individually without rummaging through a box or drawer to find it. I think that I actually use these items much more efficiently now that they are displayed this way, because I don’t forget that I have them!
It’s not pictured well here, but beside this display, I have a door shoe hanger that I used in college. It has much larger pockets that I use for things like feathers, straws, tulle, etc. that are larger. These pocketed systems are seriously great, and I bet many of you have them lying around in your house too. If not, I see them at places like Marshalls or TJ Maxx all the time for less than $10.
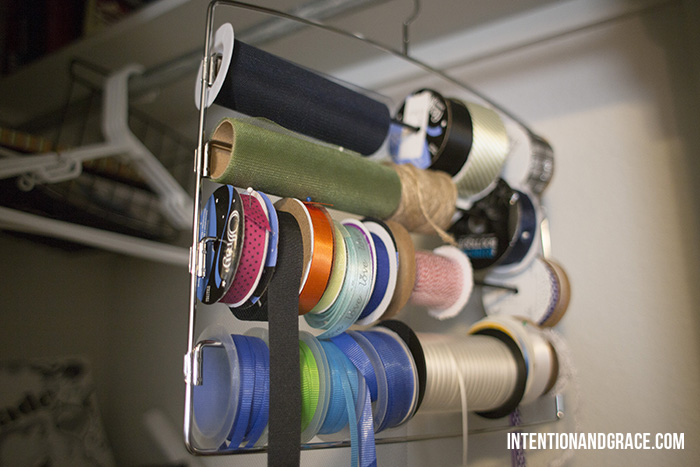
For ribbons I took a layered pant hanger from our closet. It is designed to hold several pairs of pants at once, but because it opens at one end, I was able to pop the bar off and slide ribbon on instead. Now I simply pull some out to the length desired and cut. So easy!
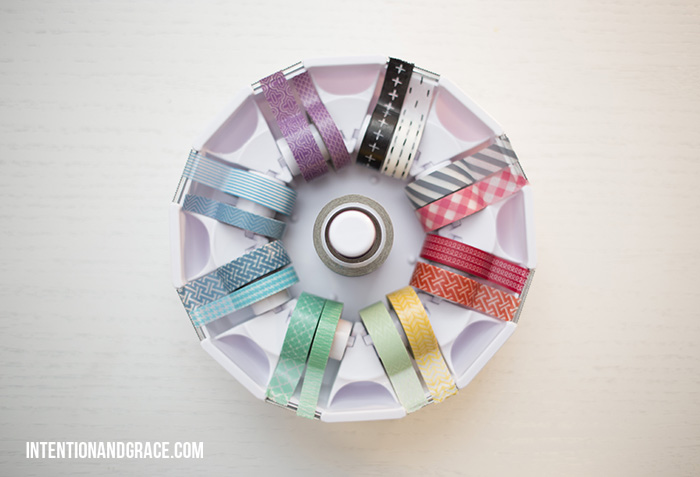
This is one of my favorite (and prettiest) storage solutions by We R Memory Keepers. I pretty much use Washi on everything—gifts, mail, packaging, or labels—I can just grab a piece of my favorite shade at any time. Plus it spins. It’s just the coolest.
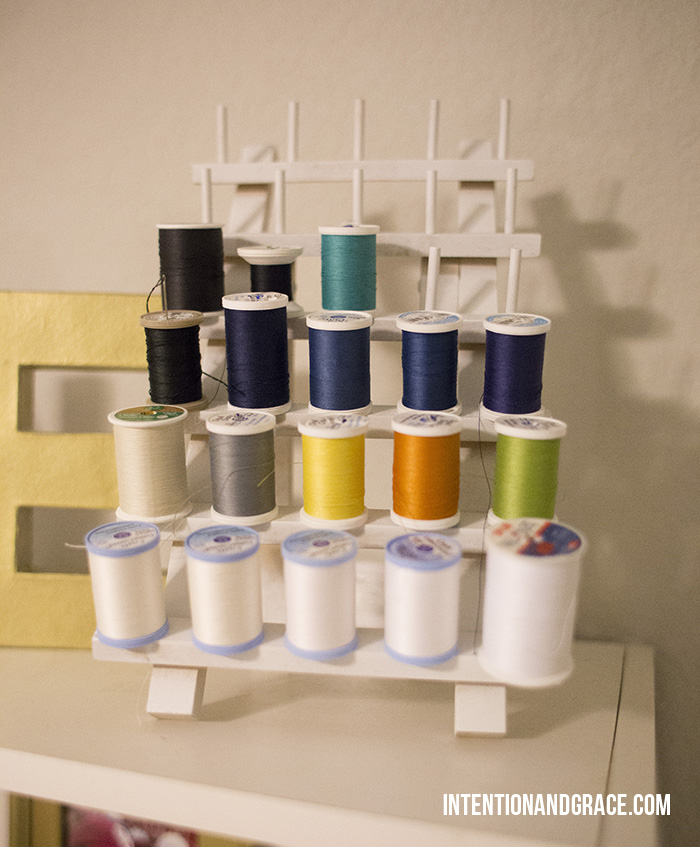
I have always wanted to display thread in a beautiful rainbow of colors like this pretty picture, but since I couldn’t find something in my budget as beautiful, I simply got this raw thread spool at JoAnns fabric and spray painted it white. It was under $10 with my weekly coupon, and I just used some paint I had lying around from other projects. It’s nice to see all the colors I have at a glance, because each time I started a new project in the past, I would grab some thread to match, unsure if I already had some at home (which is why I have four navy spools).
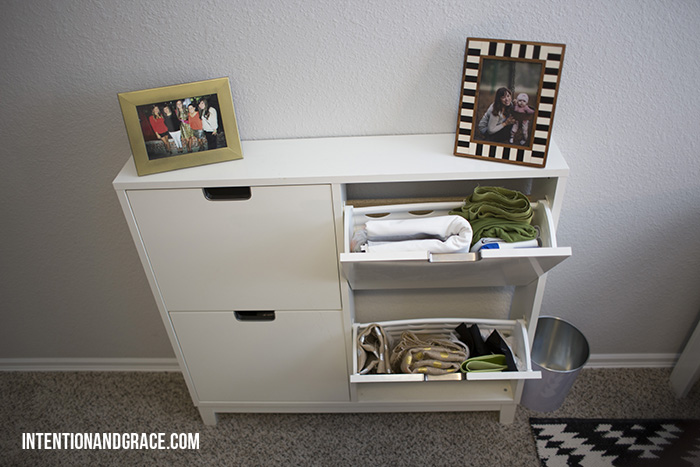
One of my favorite pieces in the craft room is this great IKEA STALL shoe storage container. If you don’t have one, I highly recommend it! We used it at our previous house for shoes, but now it is repurposed to hold all my spare fabric. I just roll it up and drop it in there and I can easily see what colors I have by pulling a drawer open. So great!
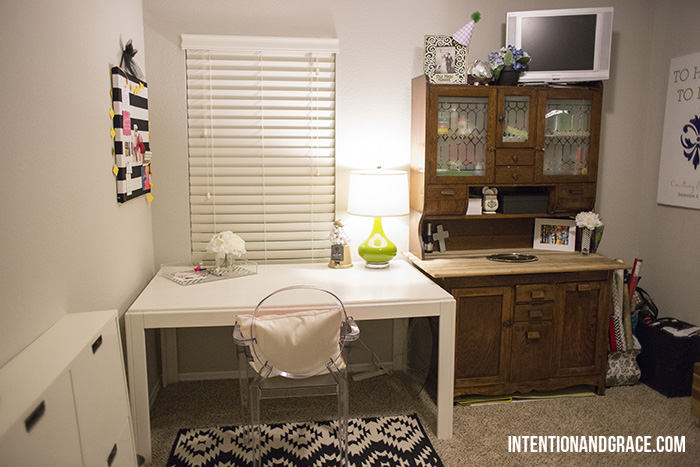
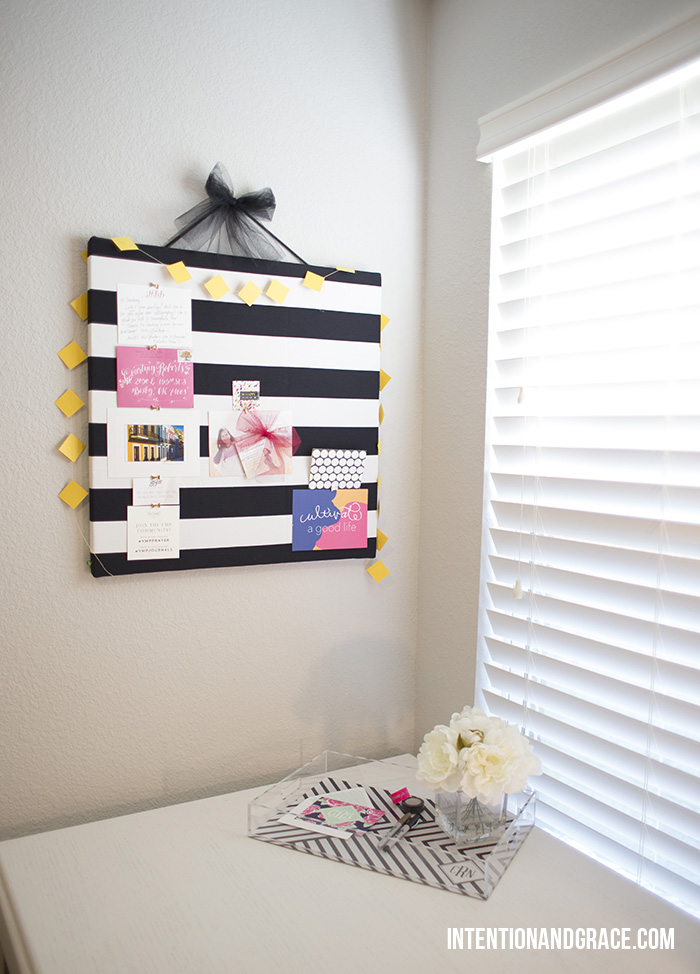
I think it turned out very functional and useful, and I love that I no longer have to sew while standing.
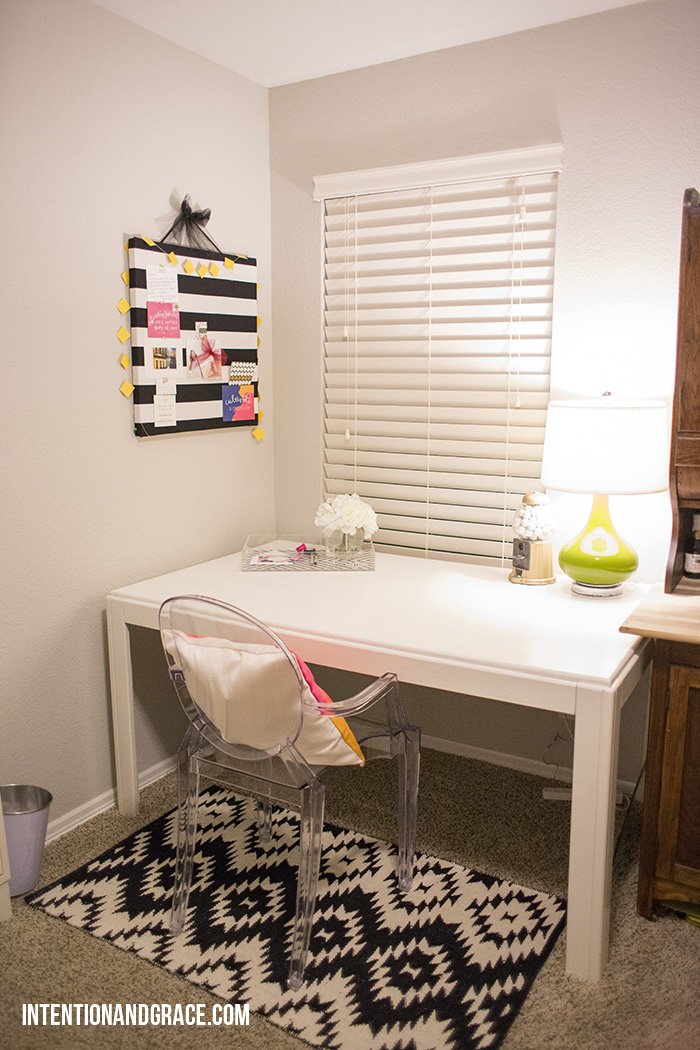
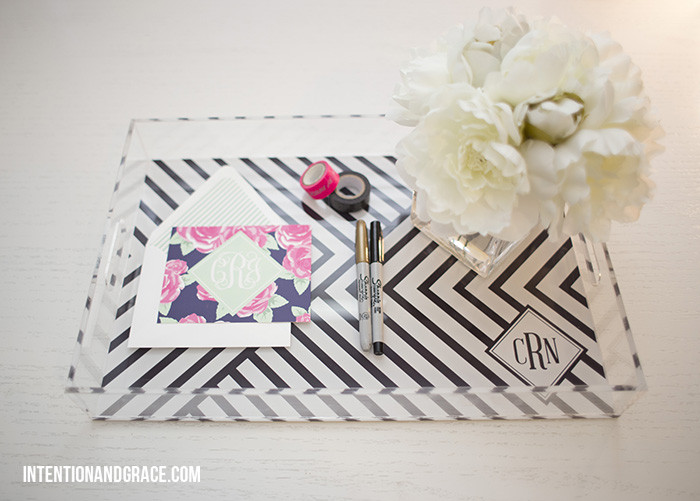
I did add a couple extra pieces to my desk to give it that girly, glam feel I wanted. My favorite one is probably this amazing acrylic tray from Tiny Prints. I had been searching for one for months, but they were either not the right style, didn’t have handles (which was a deal breaker for me), or were some weird color that wouldn’t work in my space. I was thrilled to find that Tiny Prints offered customizable options, but instead of choosing a single photo for my design, I created something myself and uploaded that to be printed. I was able to get exactly what I wanted and couldn’t be happier with the outcome.
If you don’t have the design tools like I have available, places like Veer, Shutterstock, or iStock all offer downloadable patterns and images that give you a greater variety of options than most custom companies offer on their on.
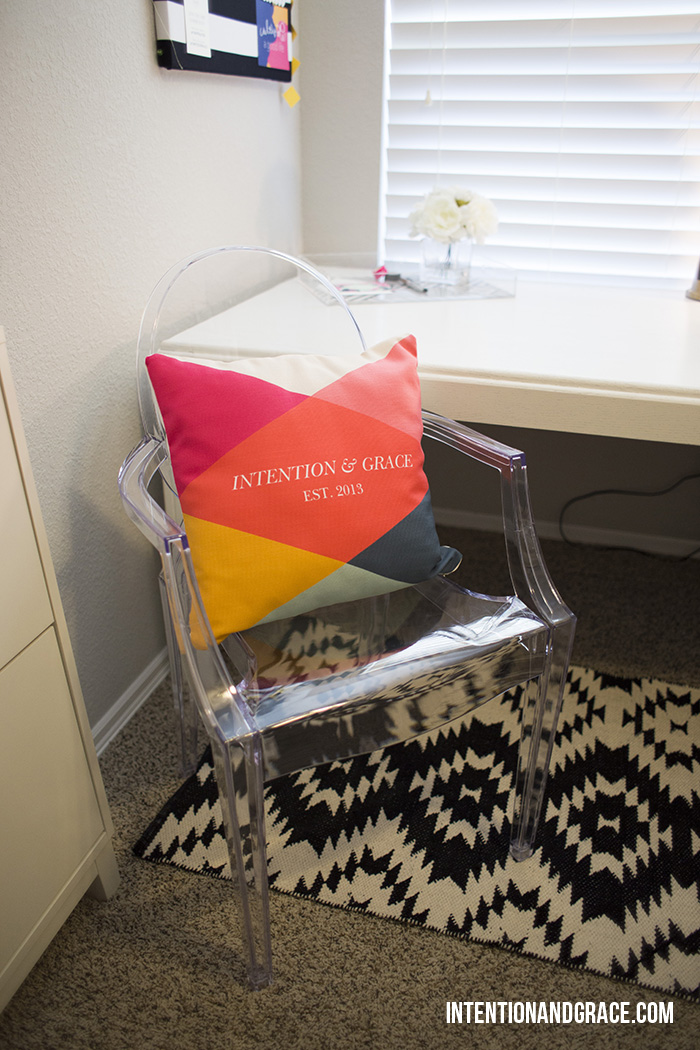
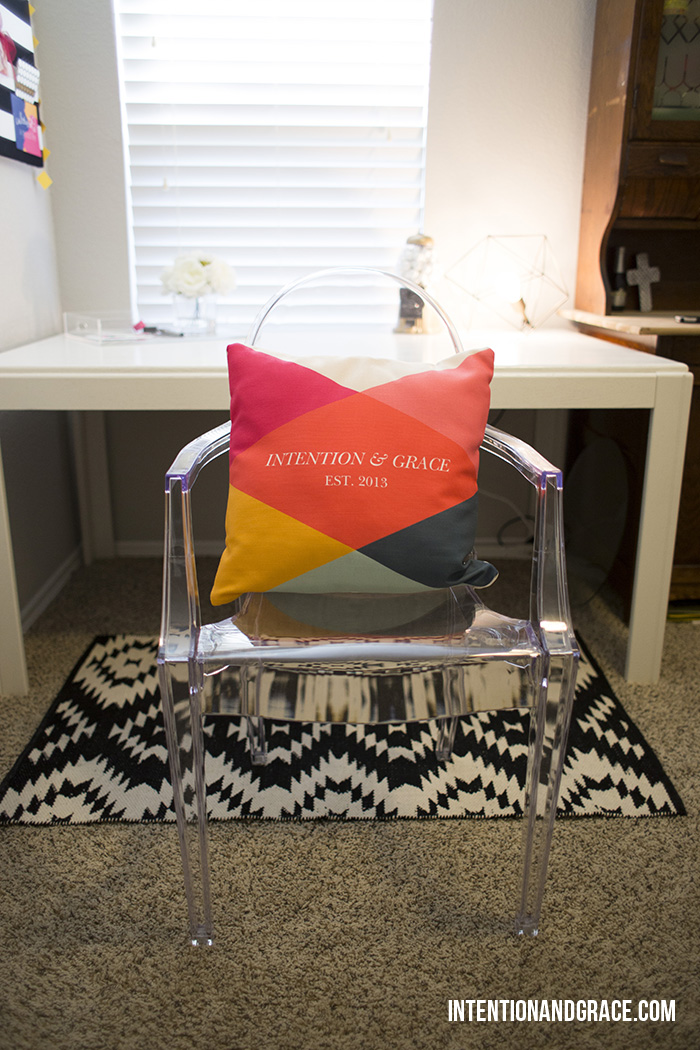
My big splurge was this acrylic chair from Amazon, but I treated myself because, how can you resist its beauty, right? Plus it’s actually super comfortable, and I feel better about life when I sit in it, if we’re going to be honest. ;)
Please share some of your storage solutions with me. What is your favorite craft solution?
Aug. 22, 2014
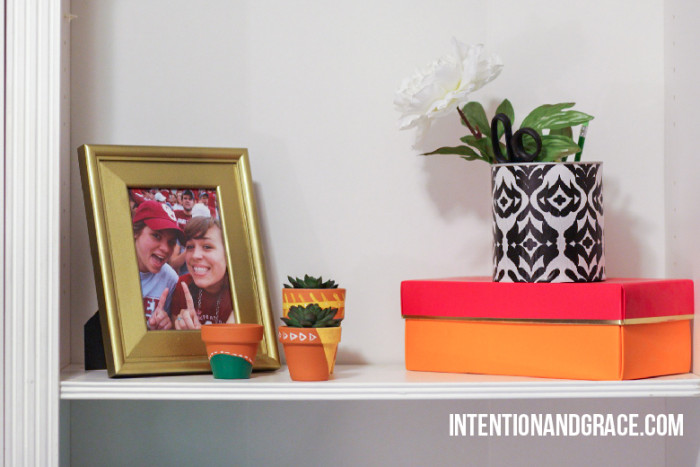
Although my son Maddax has been off of formula for a while now, I still had some containers sitting around the house. I have been trying to figure out how I could use them. Hoarder much? Then about a week ago, I got so sick of my ugly old nail polish container ruining our newly decorated master bedroom aesthetic I knew I had to change it up a bit. Enter genius idea #1: just wrap it with some adorable wrapping paper, duh!
It went from baby pink middle school weirdness, to a much more chic and modern box to store all my favorite colors in. And it only took about 5 minutes to do!

I immediately knew I had to use this technique in other areas around our home. Enter genius idea #2: wrap some old formula containers. Not only are they a great size for storage, but they have lids. So, if I did want to store something perishable like nuts, cereal, or flour, I could easily do so. And they are also cute enough I could just keep them on the shelf as simple office supply storage.
So here is how I did it:
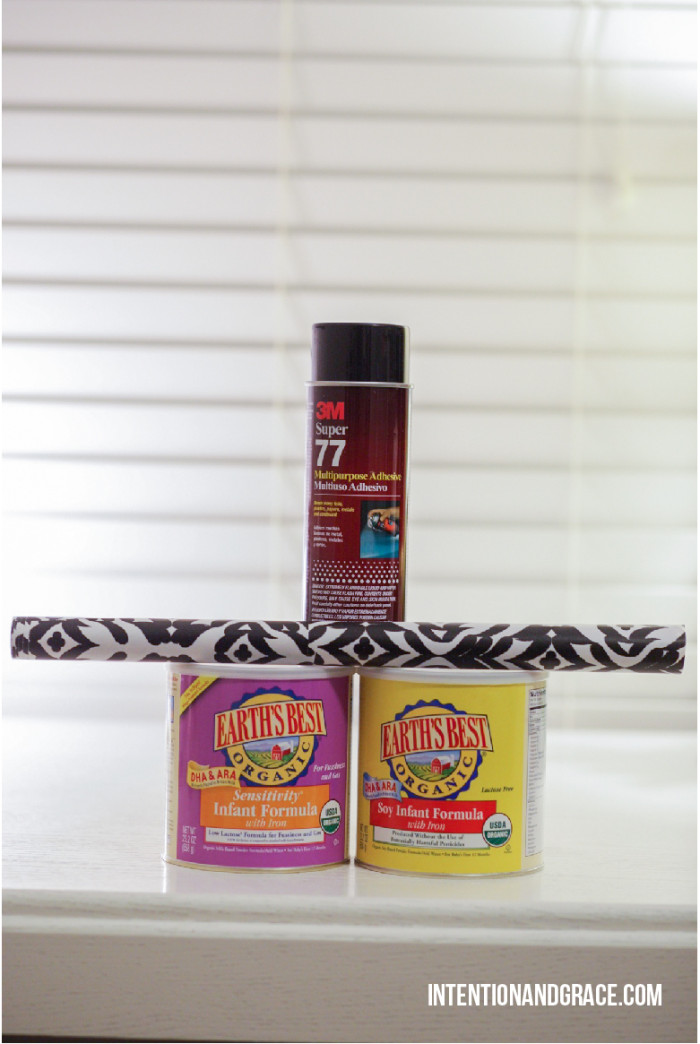
You will need:
1. Some easy containers to wrap. Round or square it shouldn’t matter. You can find some photo storage boxes at any local craft store (I got 5 for $2 each) or online. They come in tons of colors and would be very easy to cover.
2. Some cute wrapping paper. I love the ones in the $1 shop at Target. They are usually thinner than more expensive papers making them easier to work with. Plus, they generally have some pretty trendy and cute patterns to work from.
3. Spray mount glue. I love Super 77, but there are all kinds of multi-purpose adhesives out there to choose from.
Also, a piece of cardboard for the spray area and a pair of scissors would be helpful.
First, I took off the wrapping from my containers so they had a clean surface.
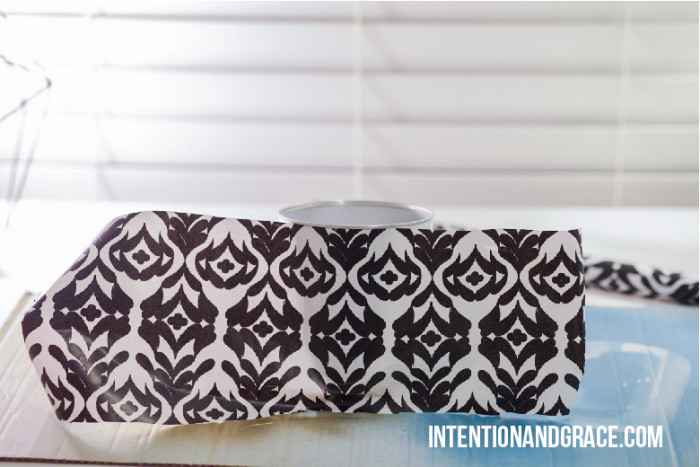
Then I very roughly cut the paper to the height and circumference of my container. This doesn’t have to be perfect at all, you won’t notice the cut edge as long as one edge is clean.
Then I sprayed the center of my paper so I could work my way around towards the seams. I don’t recommend spraying too heavy so if you need to adjust the paper it gives you a little give to pull off and reapply. Align the clean edge toward the top of the container so it aligns with the top or lip of the bin and wrap around the remainder of the container, spraying as you go.
Once you have everything placed as you want turn it over and wrap the edges onto the bottom of the container. You can cut them if you prefer but I think cutting out a circular shape can be tricky and I wanted my edges to look as clean and crisp as possible.
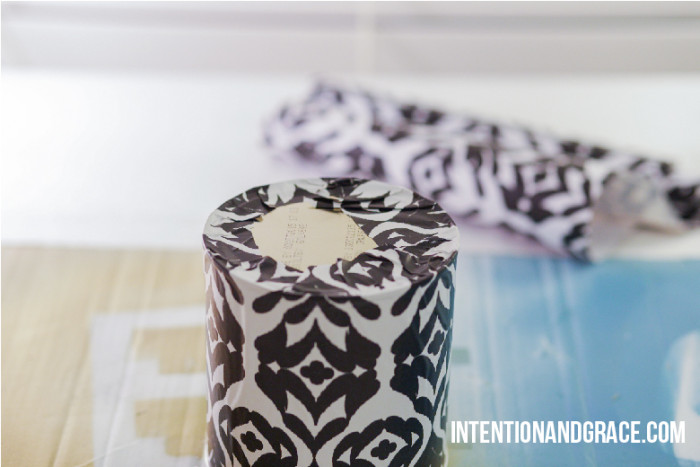
And viola! You’re done. And you have some adorable containers to show for your 5 minutes of hard work.

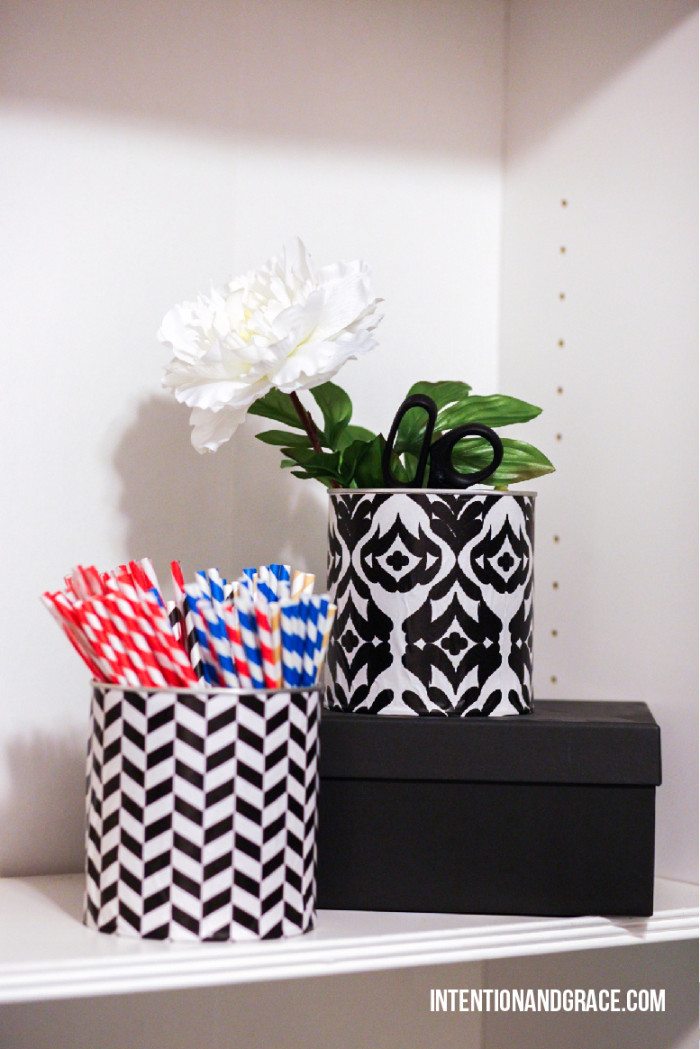
Stick them in a pantry to fancy it up a bit, or in an office space like show below, but either way they will be a practically free, one of a kind container to use all around the house. How will you use your cute containers?
Aug. 13, 2014
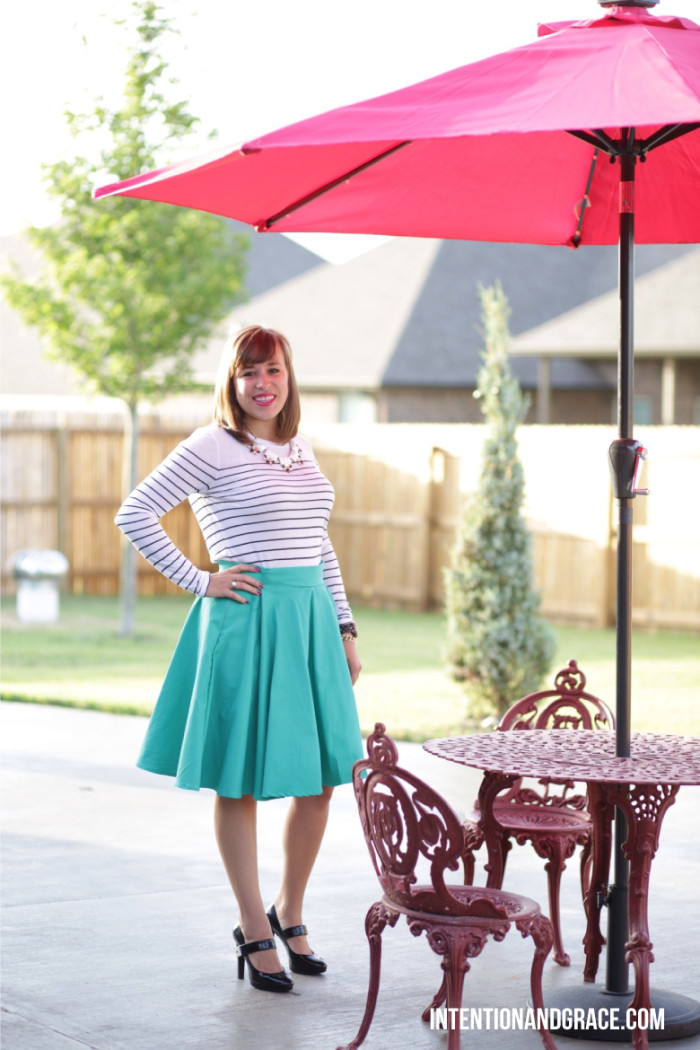
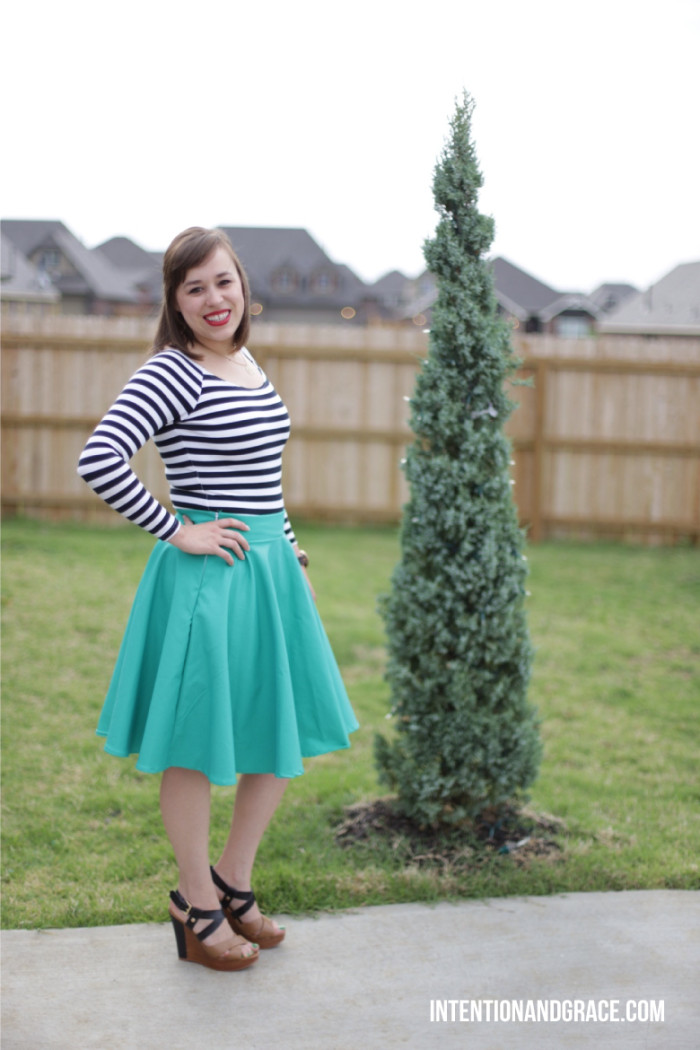
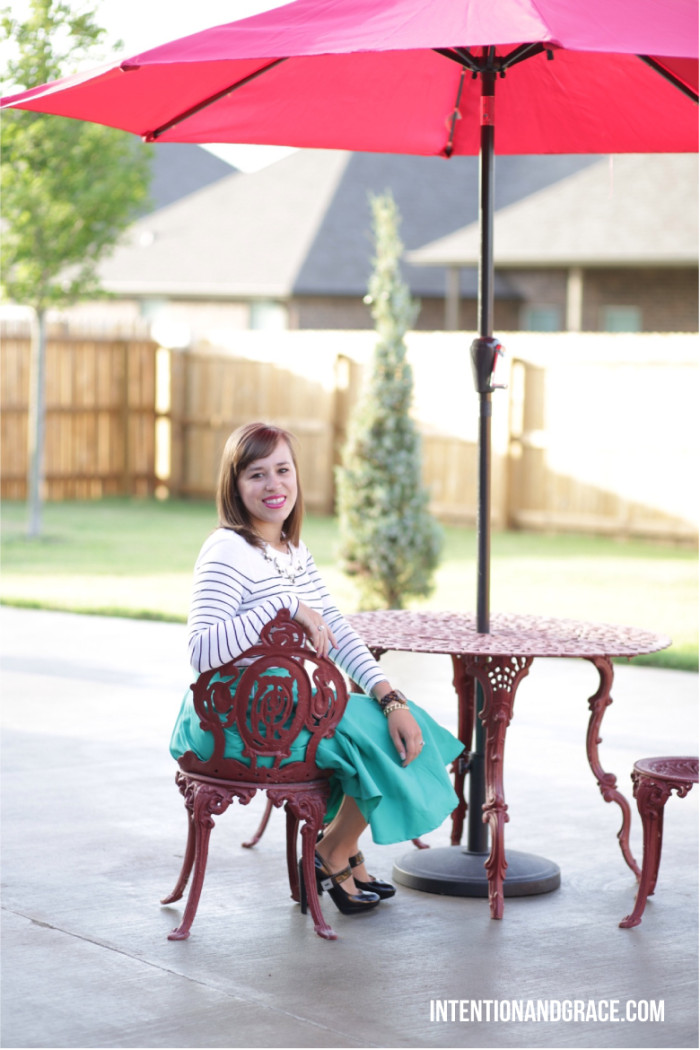
A few months ago I posted about my recent obsession with midi skirts and set out on a mission to find one. Although there are plenty of adorable options out there, I couldn’t find any in the style I was hoping for and also in my budget, so I decided to make my own. I searched the web for a circle skirt pattern and found this gorgeous version of just what I was looking for from Cotton + Curls:

I had previously made circle skirts for my bridesmaids dresses so I knew it was definitely something doable. Note: It literally is just a circle! I really think almost any one could do it. Some fabrics are of course easier to work with than others, but this stretchy teal fabric I picked up at Joanns was perfect for the project! Only down side is, I didn’t pay attention to the fabric width. I wish it was a bit longer than it turned out to be, but overall I love how it turned out. Its a fun lil skirt to throw on for a wedding, date night, or evening out with friends and easily dresses up a simple t-shirt.
Since making it I have worn it twice (both very similar outfits, we all know I love stripes) and snapped a few photos to share. Hope you enjoy!
Jul. 25, 2014
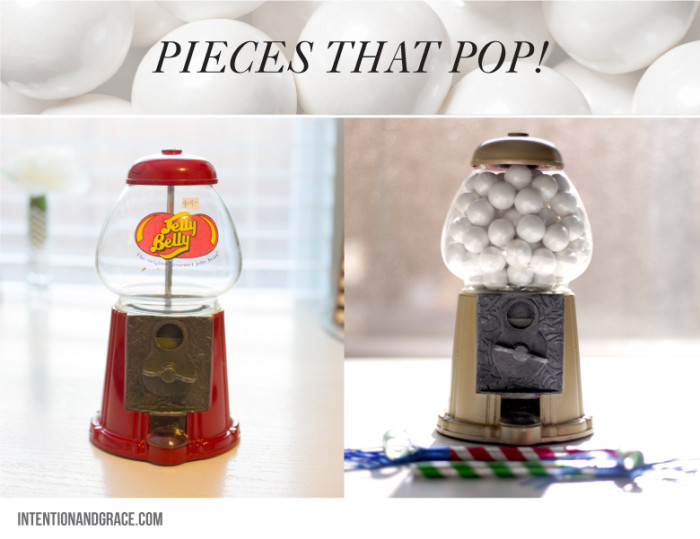
While heading to pick up lunch one day with some friends we impulsively stopped by an estate sale on the way (I find them so hard to refuse). Lucky me, it was the last day of the sale and everything was half off sticker price. I snagged up this adorable Jelly Belly machine for only $10. I was beyond excited since I have always wanted one but could never seem to find one in my price range.
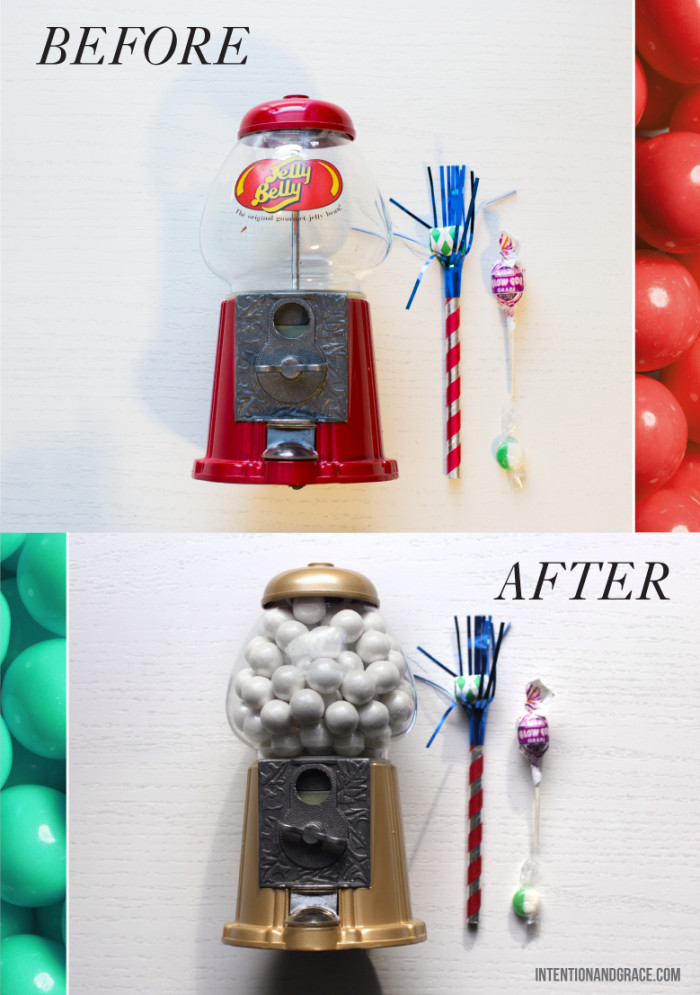
It was so simple to take a part, all of the pieces detached leaving me with the red base alone and red cap on top, so no taping was even necessary. Which is a good thing, because I hate taping and I’m pretty half hearted about it which usually gets me into some sort of trouble.
After a couple coats of gold spray paint I left this bad boy to dry on the porch while I ran to Target to get some of their amazing pearlescent gum balls I saw in the party section the week before. If you have a fun party to plan, you should check them out. They come in several colors and are super sweet to fill a glass vase or jar with as decor.
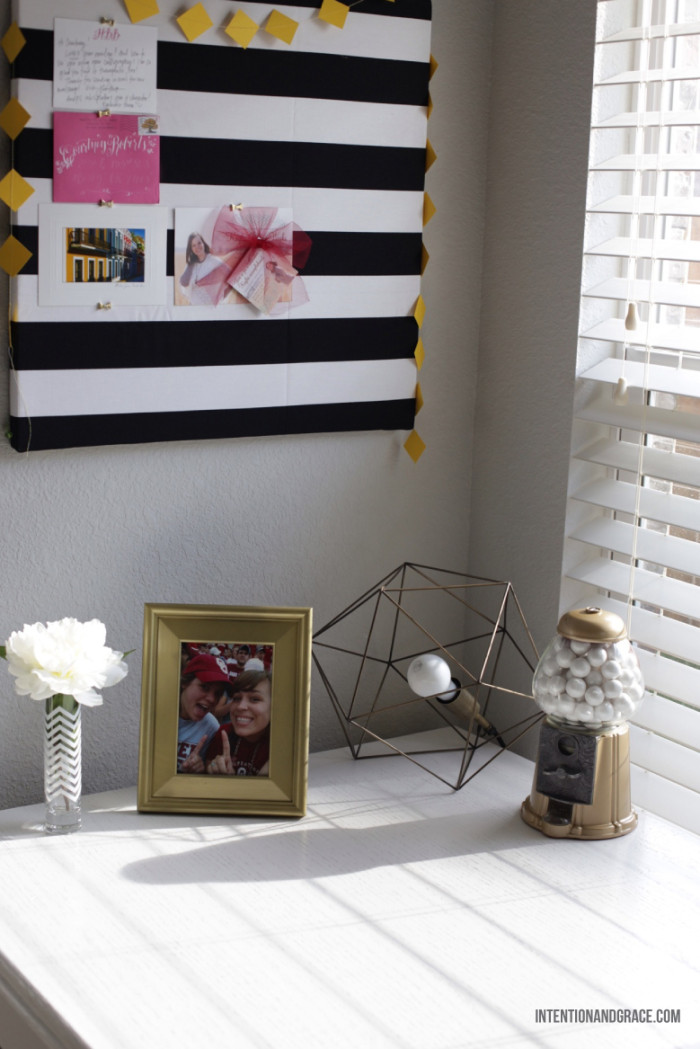
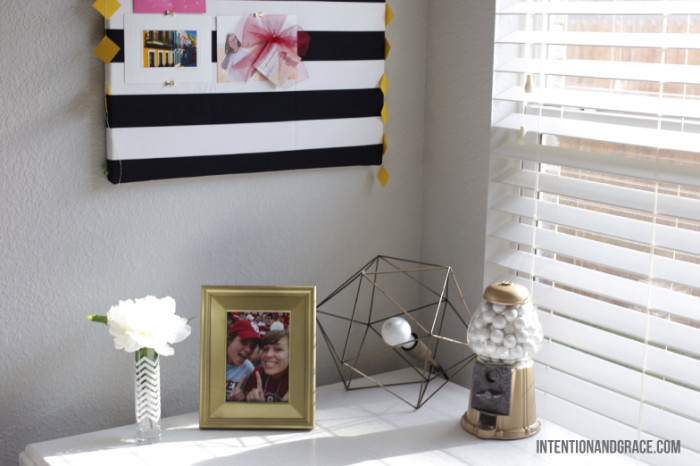
I think for the time being this lil redo is going to hang out on my work space because it just brightens my day when I see it and I love how it turned out!
Jul. 9, 2014
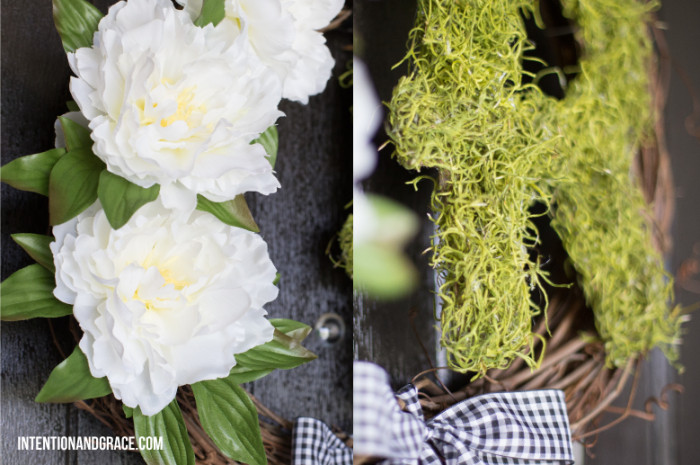
I am so overly picky when it comes to the wreaths we put on our home, and for no good reason. I just can’t seem to find one I love enough to look at day after day or I fall deeply in love with the absolute coolest wreath but it’s $100 and will probably die within the month…but I just love how sweet and welcoming wreaths can be to our guests.
Our last wreath often got in the way of the peep hole and swung too and fro each time we shut the door, so I wanted something a bit more sturdy that would stay in place when the wind picked up as it generally does in Oklahoma. On a whim (as it usually happens for me) I ran into Old Time Pottery here in Tulsa and found lots of goodies to make this wreath happen. All of which you could find at your local craft store like Hobby Lobby or Michaels.
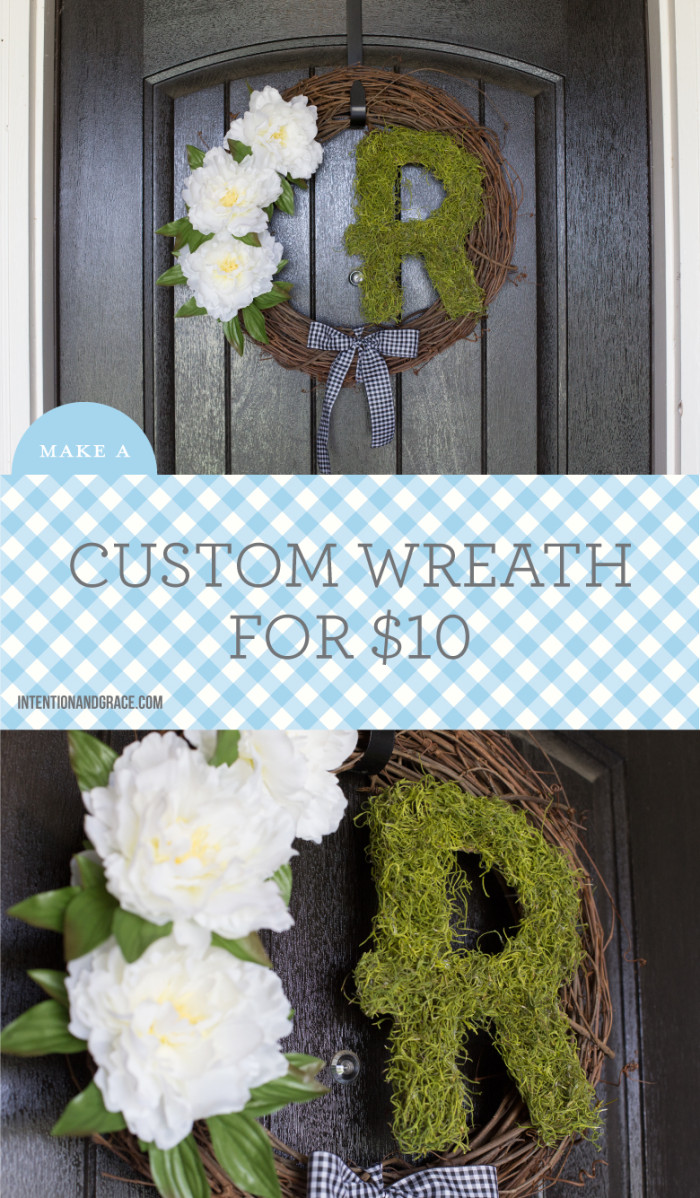
My materials:
One wicker wreath – $5
One bushel of fake white flowers – $3
One bag of moss – $2
Cardboard – Free
Ribbon – I had some on hand, so Free.
Hot Glue Gun
Scissors or Xacto Knife
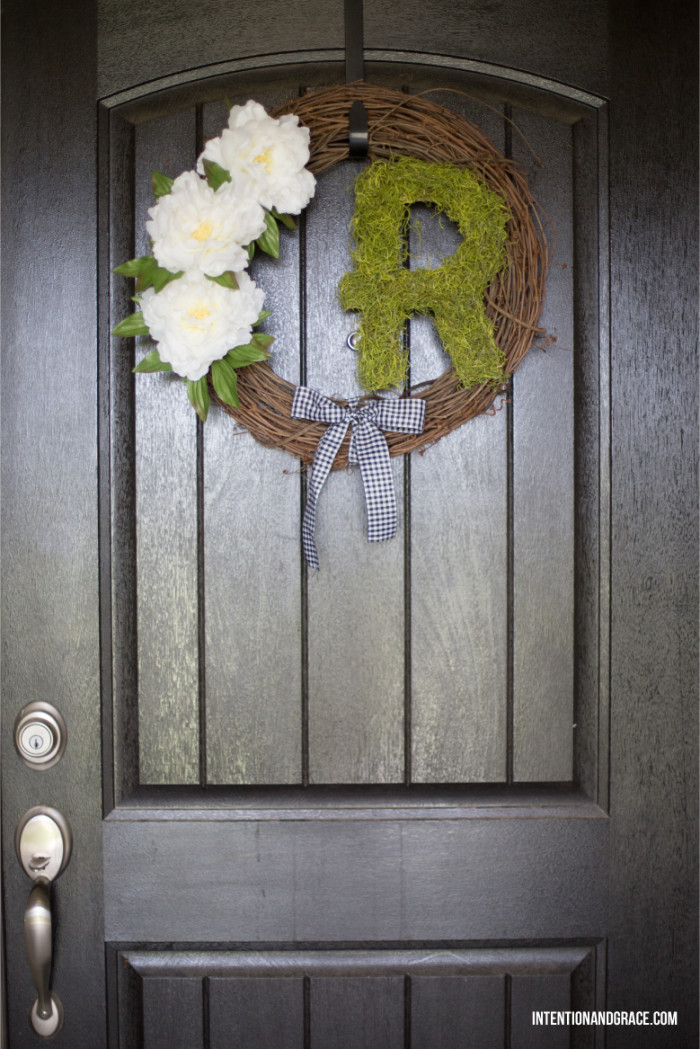
I found a piece of cardboard large enough to cut an R out on and traced out the shape I desired, then grabbed an Xacto knife and cut it out. Once my hot glue gun was hot I covered the letter one section at a time with glue and carefully placed the moss over the letter wrapping it around the edges. If there were bare spots I went over with a second layer of glue and moss to until no cardboard was showing. Then I simply glued it and the three flowers to the wicker frame and tied some ribbon at the base. The whole project probably took me 30-45 minutes total and I love how it freshened up the front of our home.
Share your home made wreath with me! I would love to see all your great ideas too.