Dec. 17, 2015
This next DIY is still sort of a work in progress for me. I would really like to add a bit more color, maybe an accent wall or some wallpaper and new lighting, but I wanted to share the progress thus far with you guys.

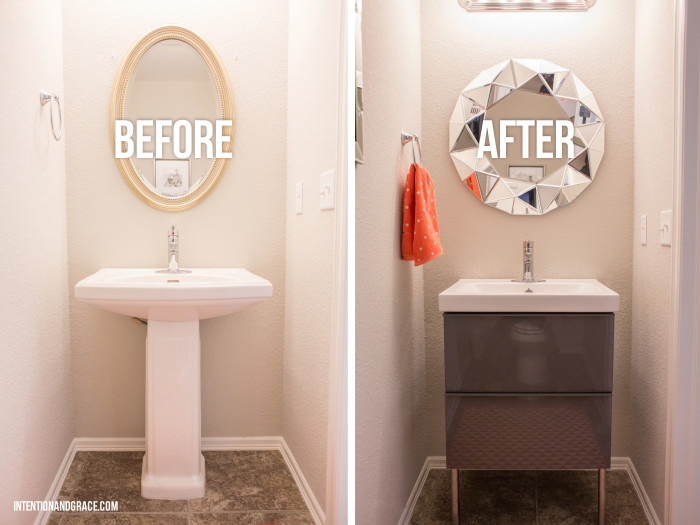
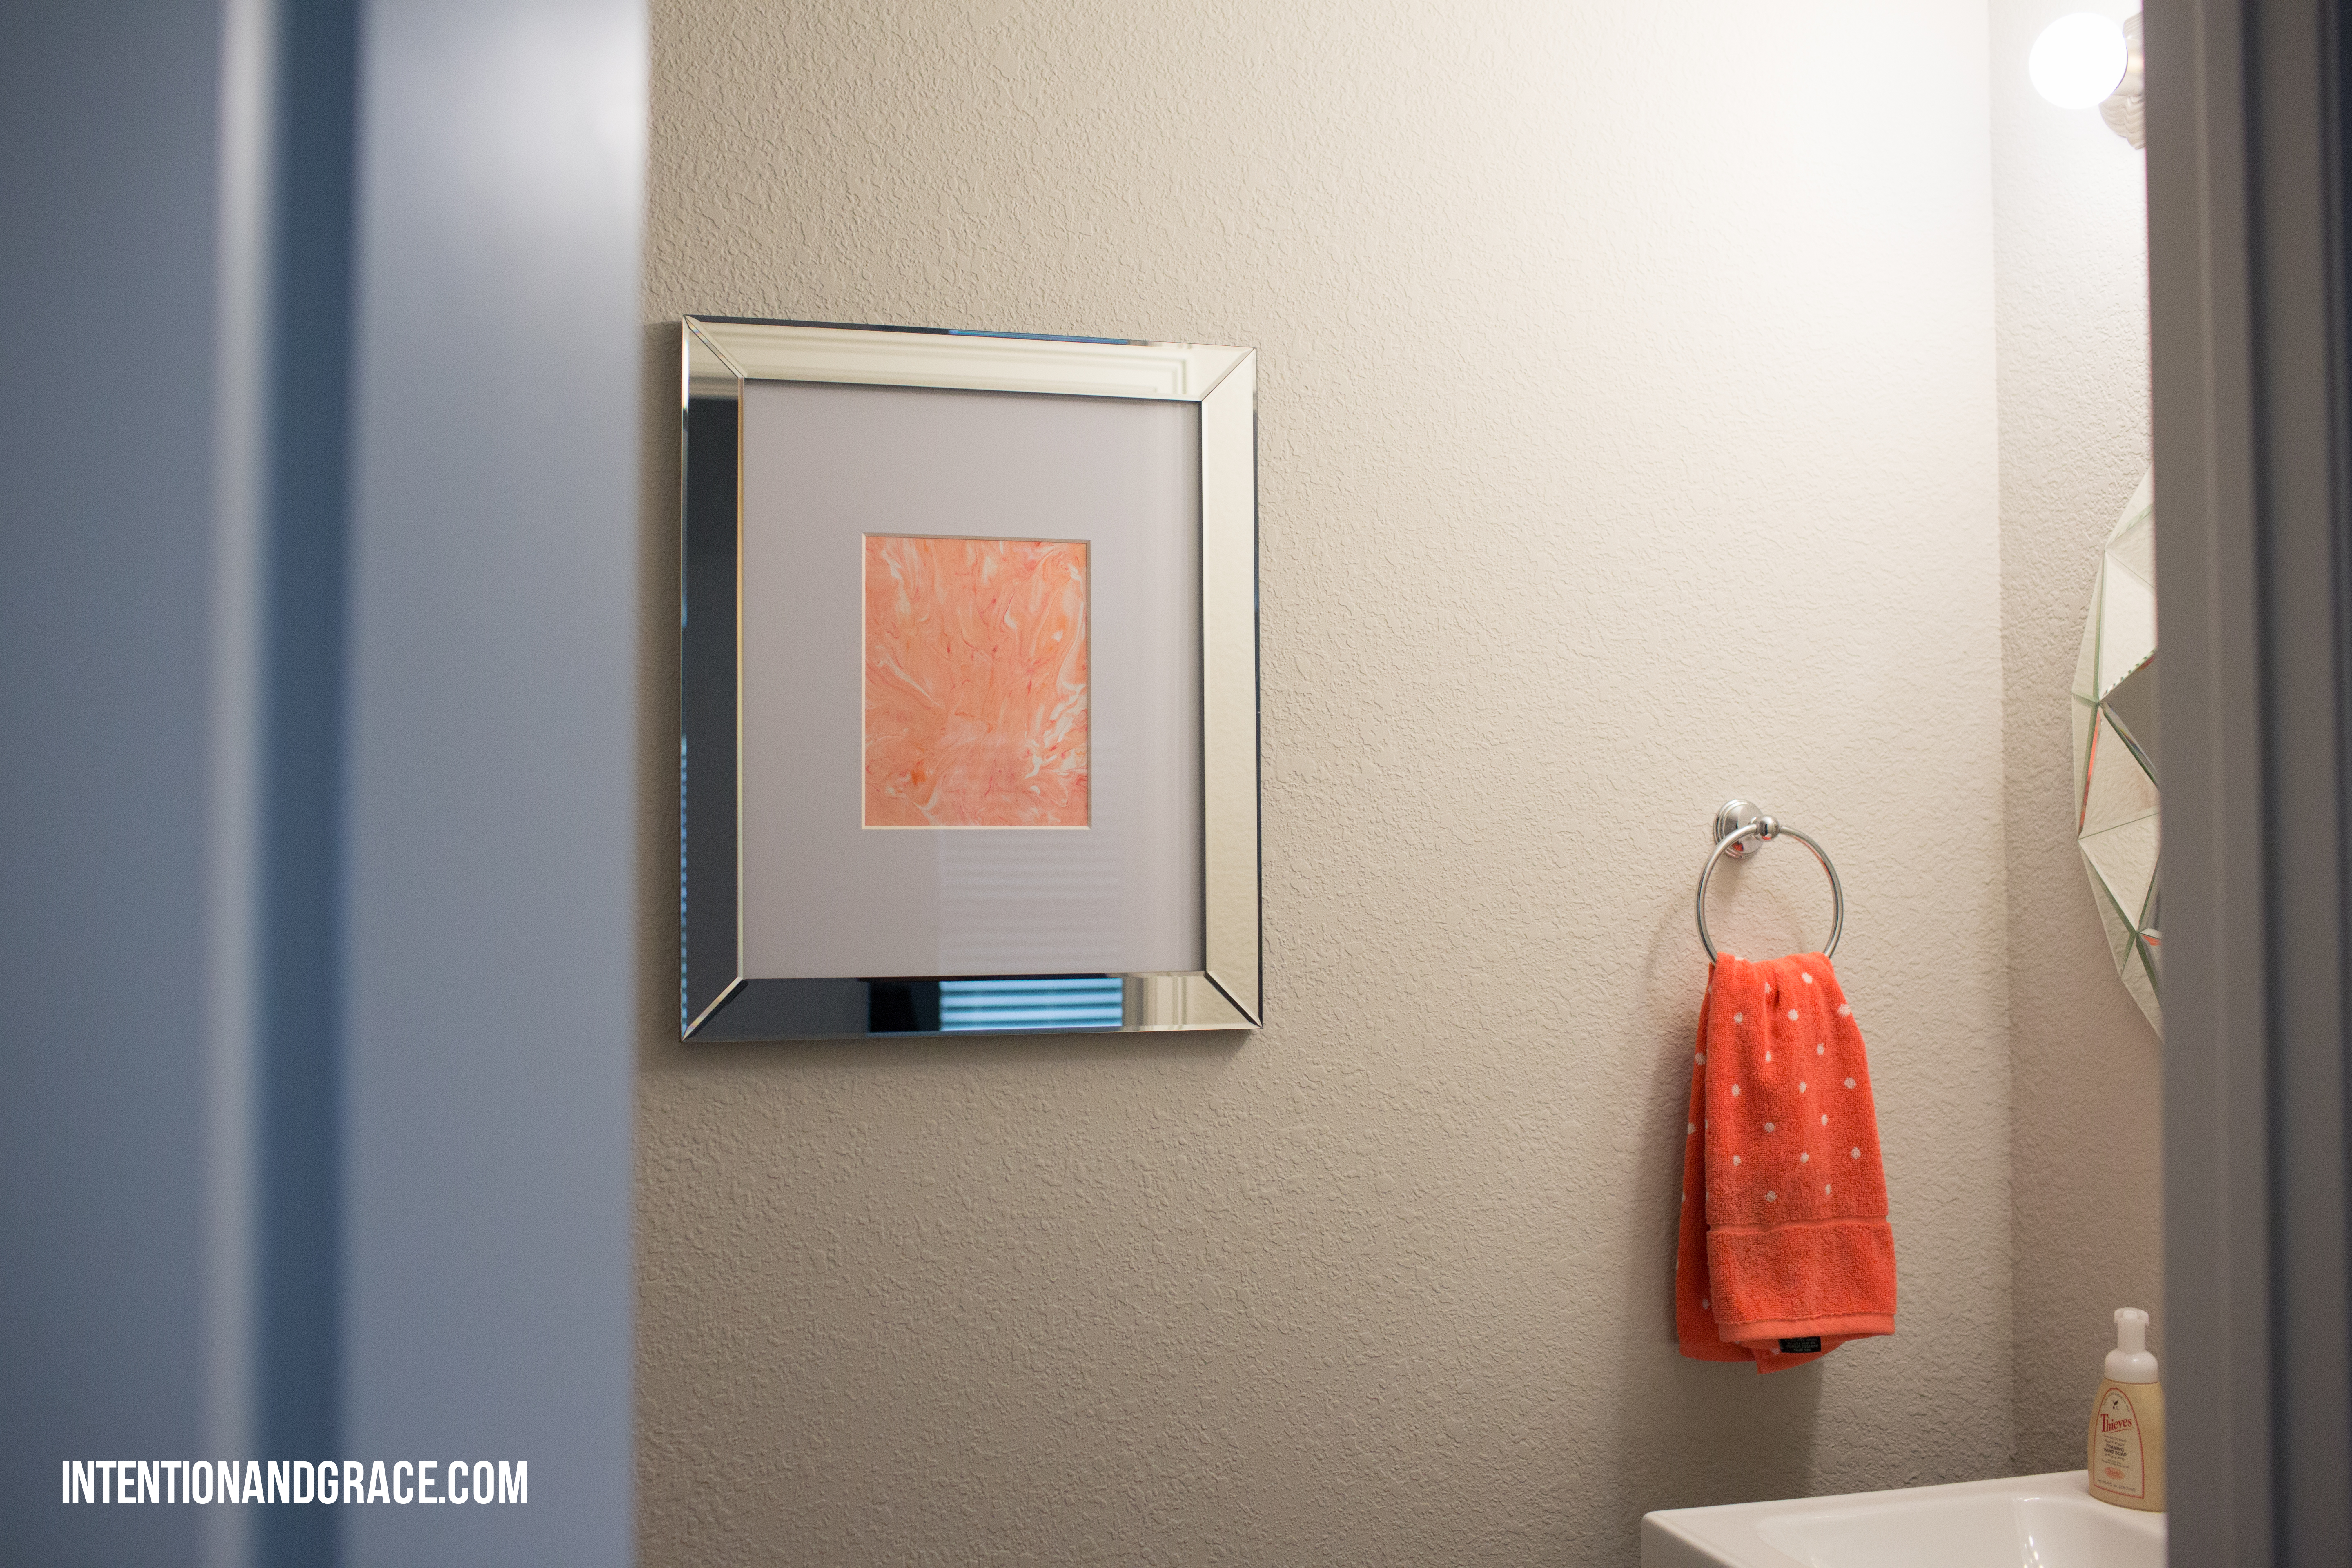
The original mirror and pedestal sink were standard with our home, but after moving in we quickly realized this left us with no storage space, and it wasn’t exactly the style we had hoped to achieve before building. So we got a pretty new gray sink (cause we love ALL THE GRAY things) from IKEA and I scored this lovely mirror (obsessed) from Hob Lob for 50% off!
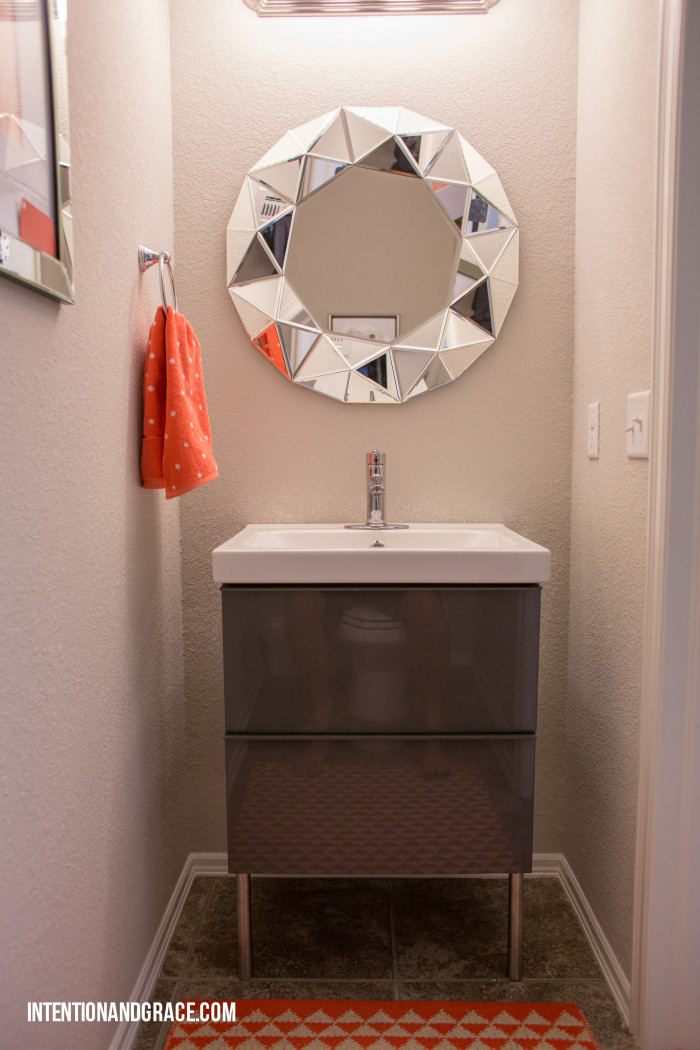
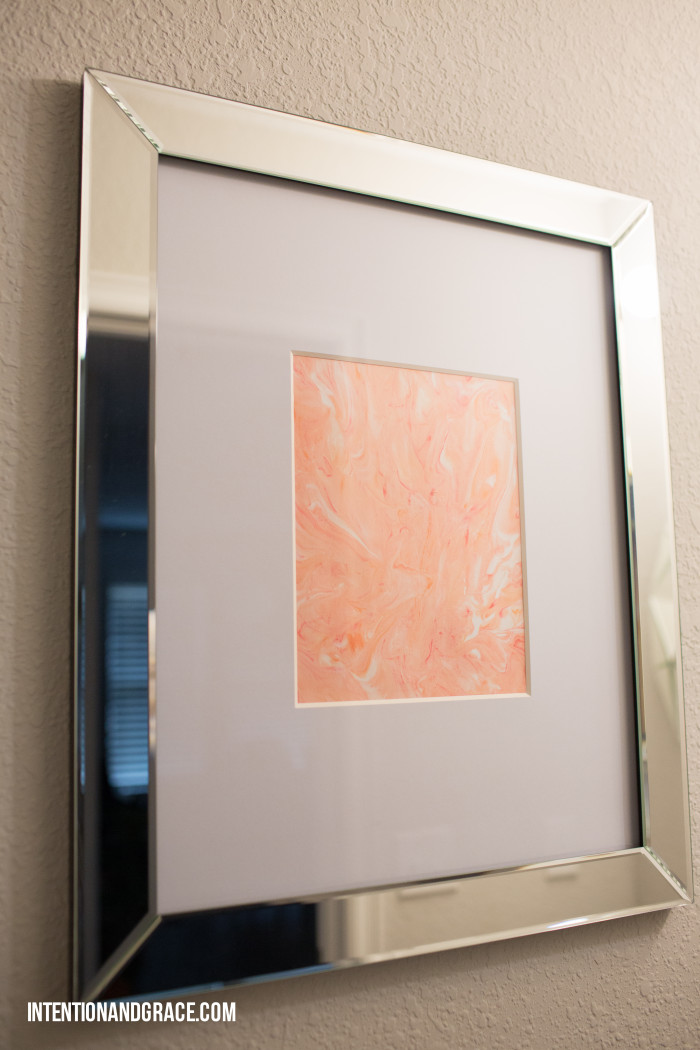
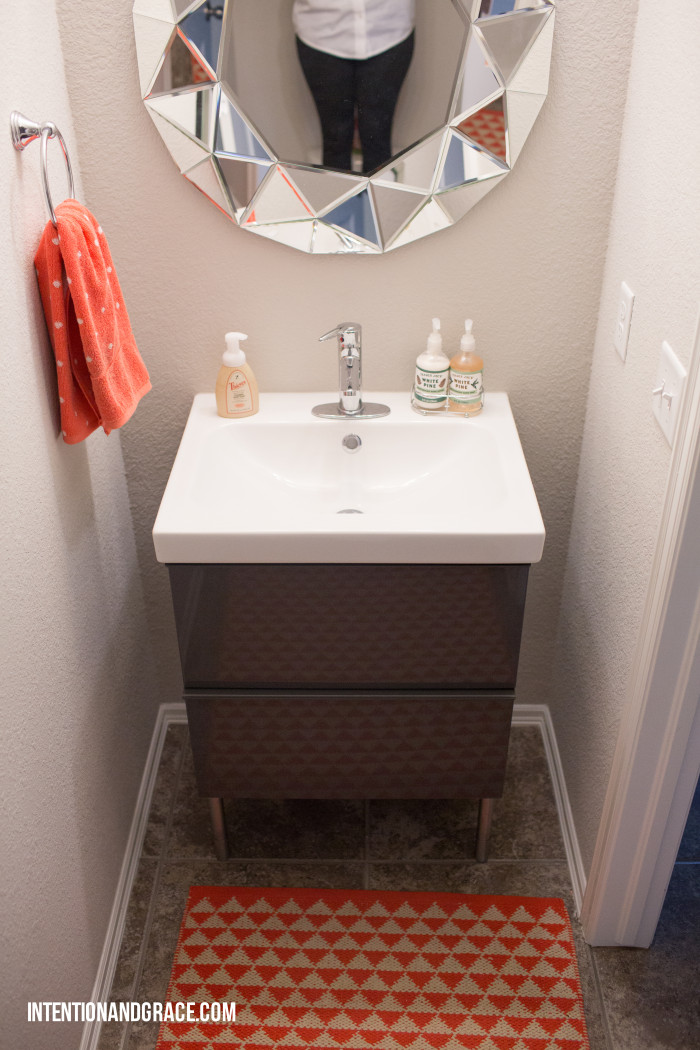
I styled the space by adding some pops of color with a geometric rug and polka dot hand towel and made some custom marble artwork using this DIY paper marbling technique. Maddax loved helping me with this, and we ended up adding a few pieces like this around our home.

Dec. 4, 2015
Hi guys! I’m back with some updates as to what has been keeping us so busy these past several months. First up, our fireplace!
When we built our home a few years ago there were a few major items that either weren’t available from the builder like we had hoped, or were too pricey to consider at the time. One of those items was our fireplace.
We knew that we wanted a hearth, but the options provided were either full brick (that matched the outside of our house) with a hearth or a wood and tile mantel with no hearth. We had a pretty good vision for what we wanted, so we chose the option with the hearth and decided we would upgrade it ourselves at a later time.
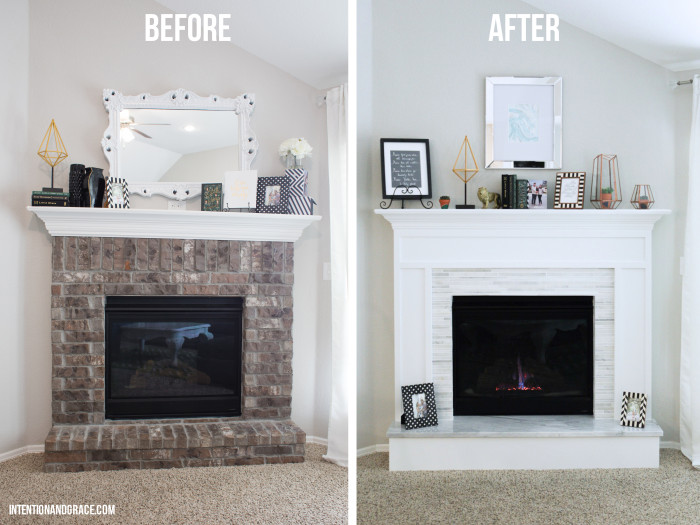
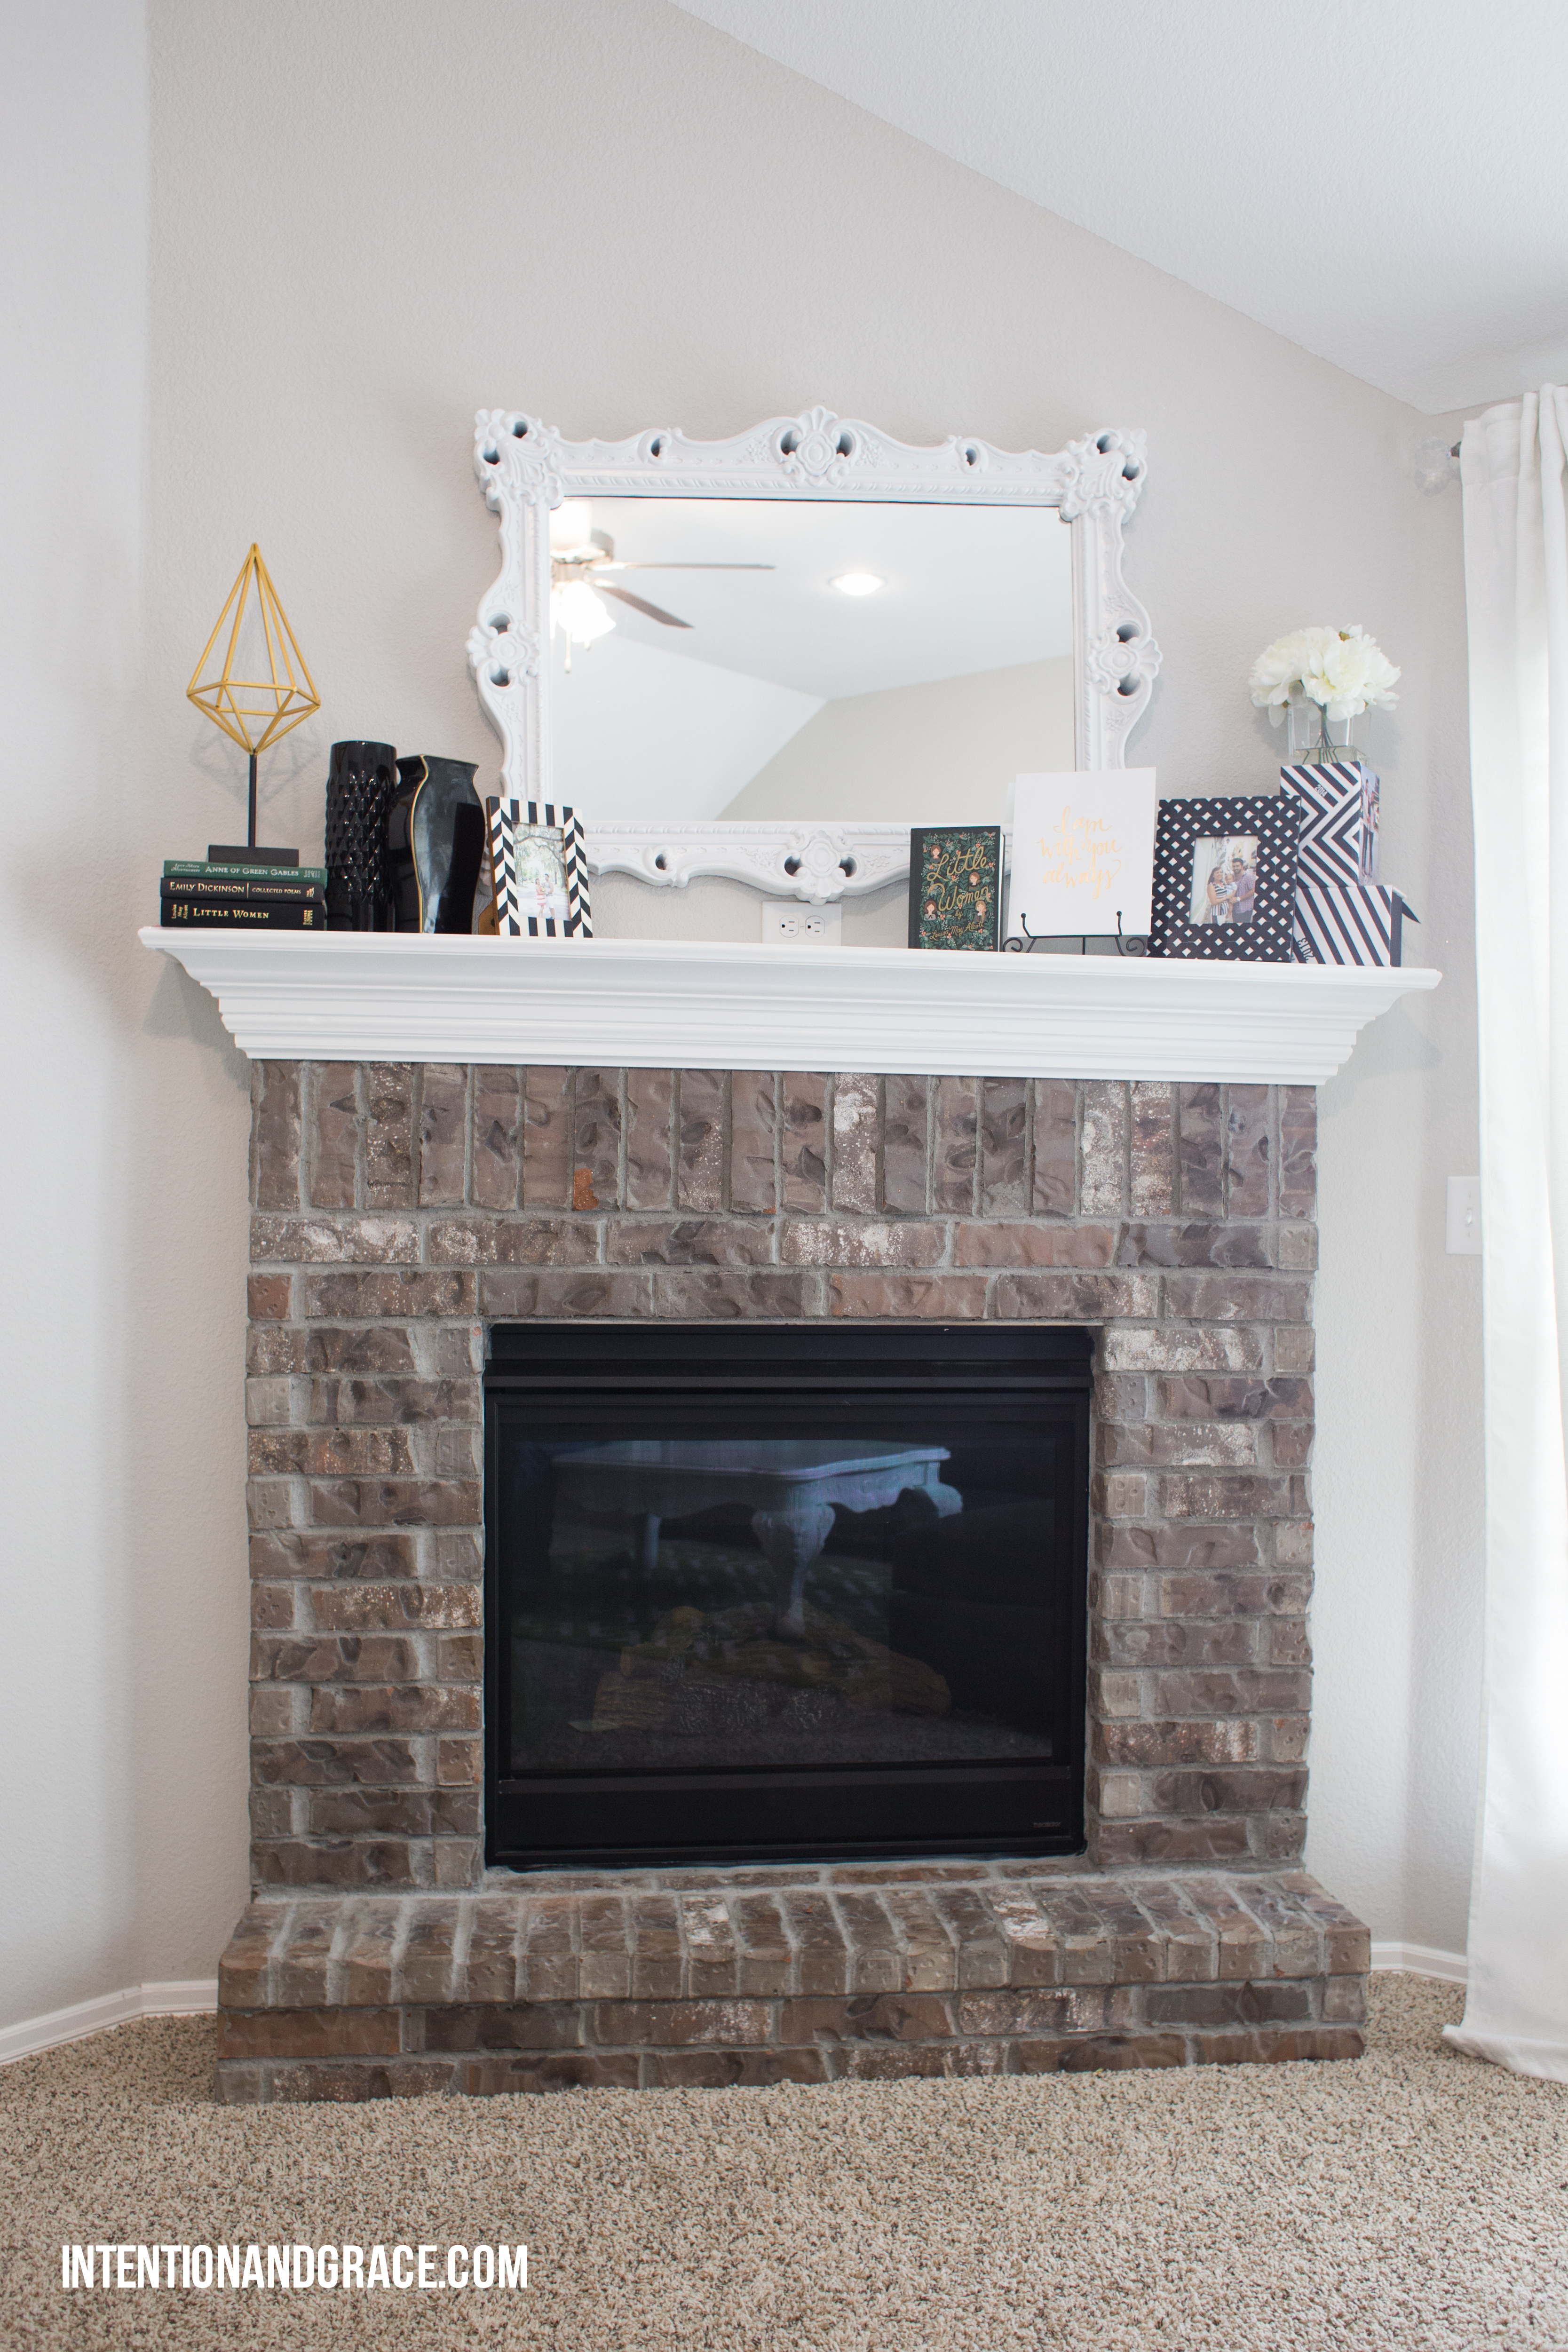
Well this fall it finally happened, and I am so pleased with how it turned out. It may be my new happy spot in our house, especially now that its getting cold outside!
We had intended this to be a full DIY project so we began documenting our entire process, but in all honesty, it turned out to be a bit more complicated than we had initially planned so the documenting fell to the back burner.
I do have a few “working” images below, but didn’t feel comfortable providing a full DIY because of all the unexpected twists and turns we dealt with. If you’re thinking of taking on a project like this, free free to email or message me with any and all questions. It wasn’t a super hard process, just more of a “I wish I knew then what I know now” kind of thing.
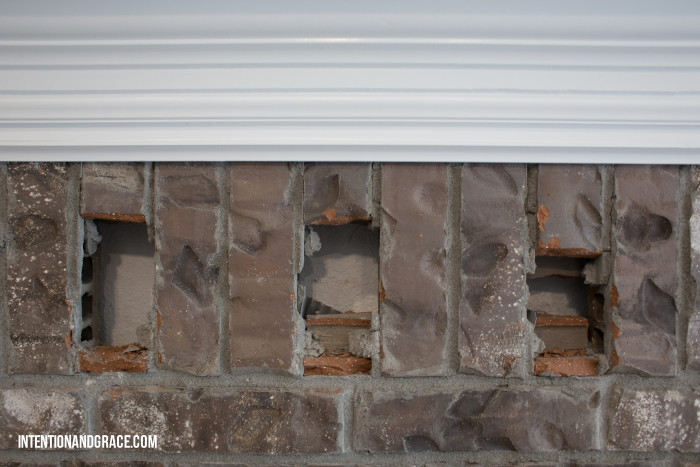
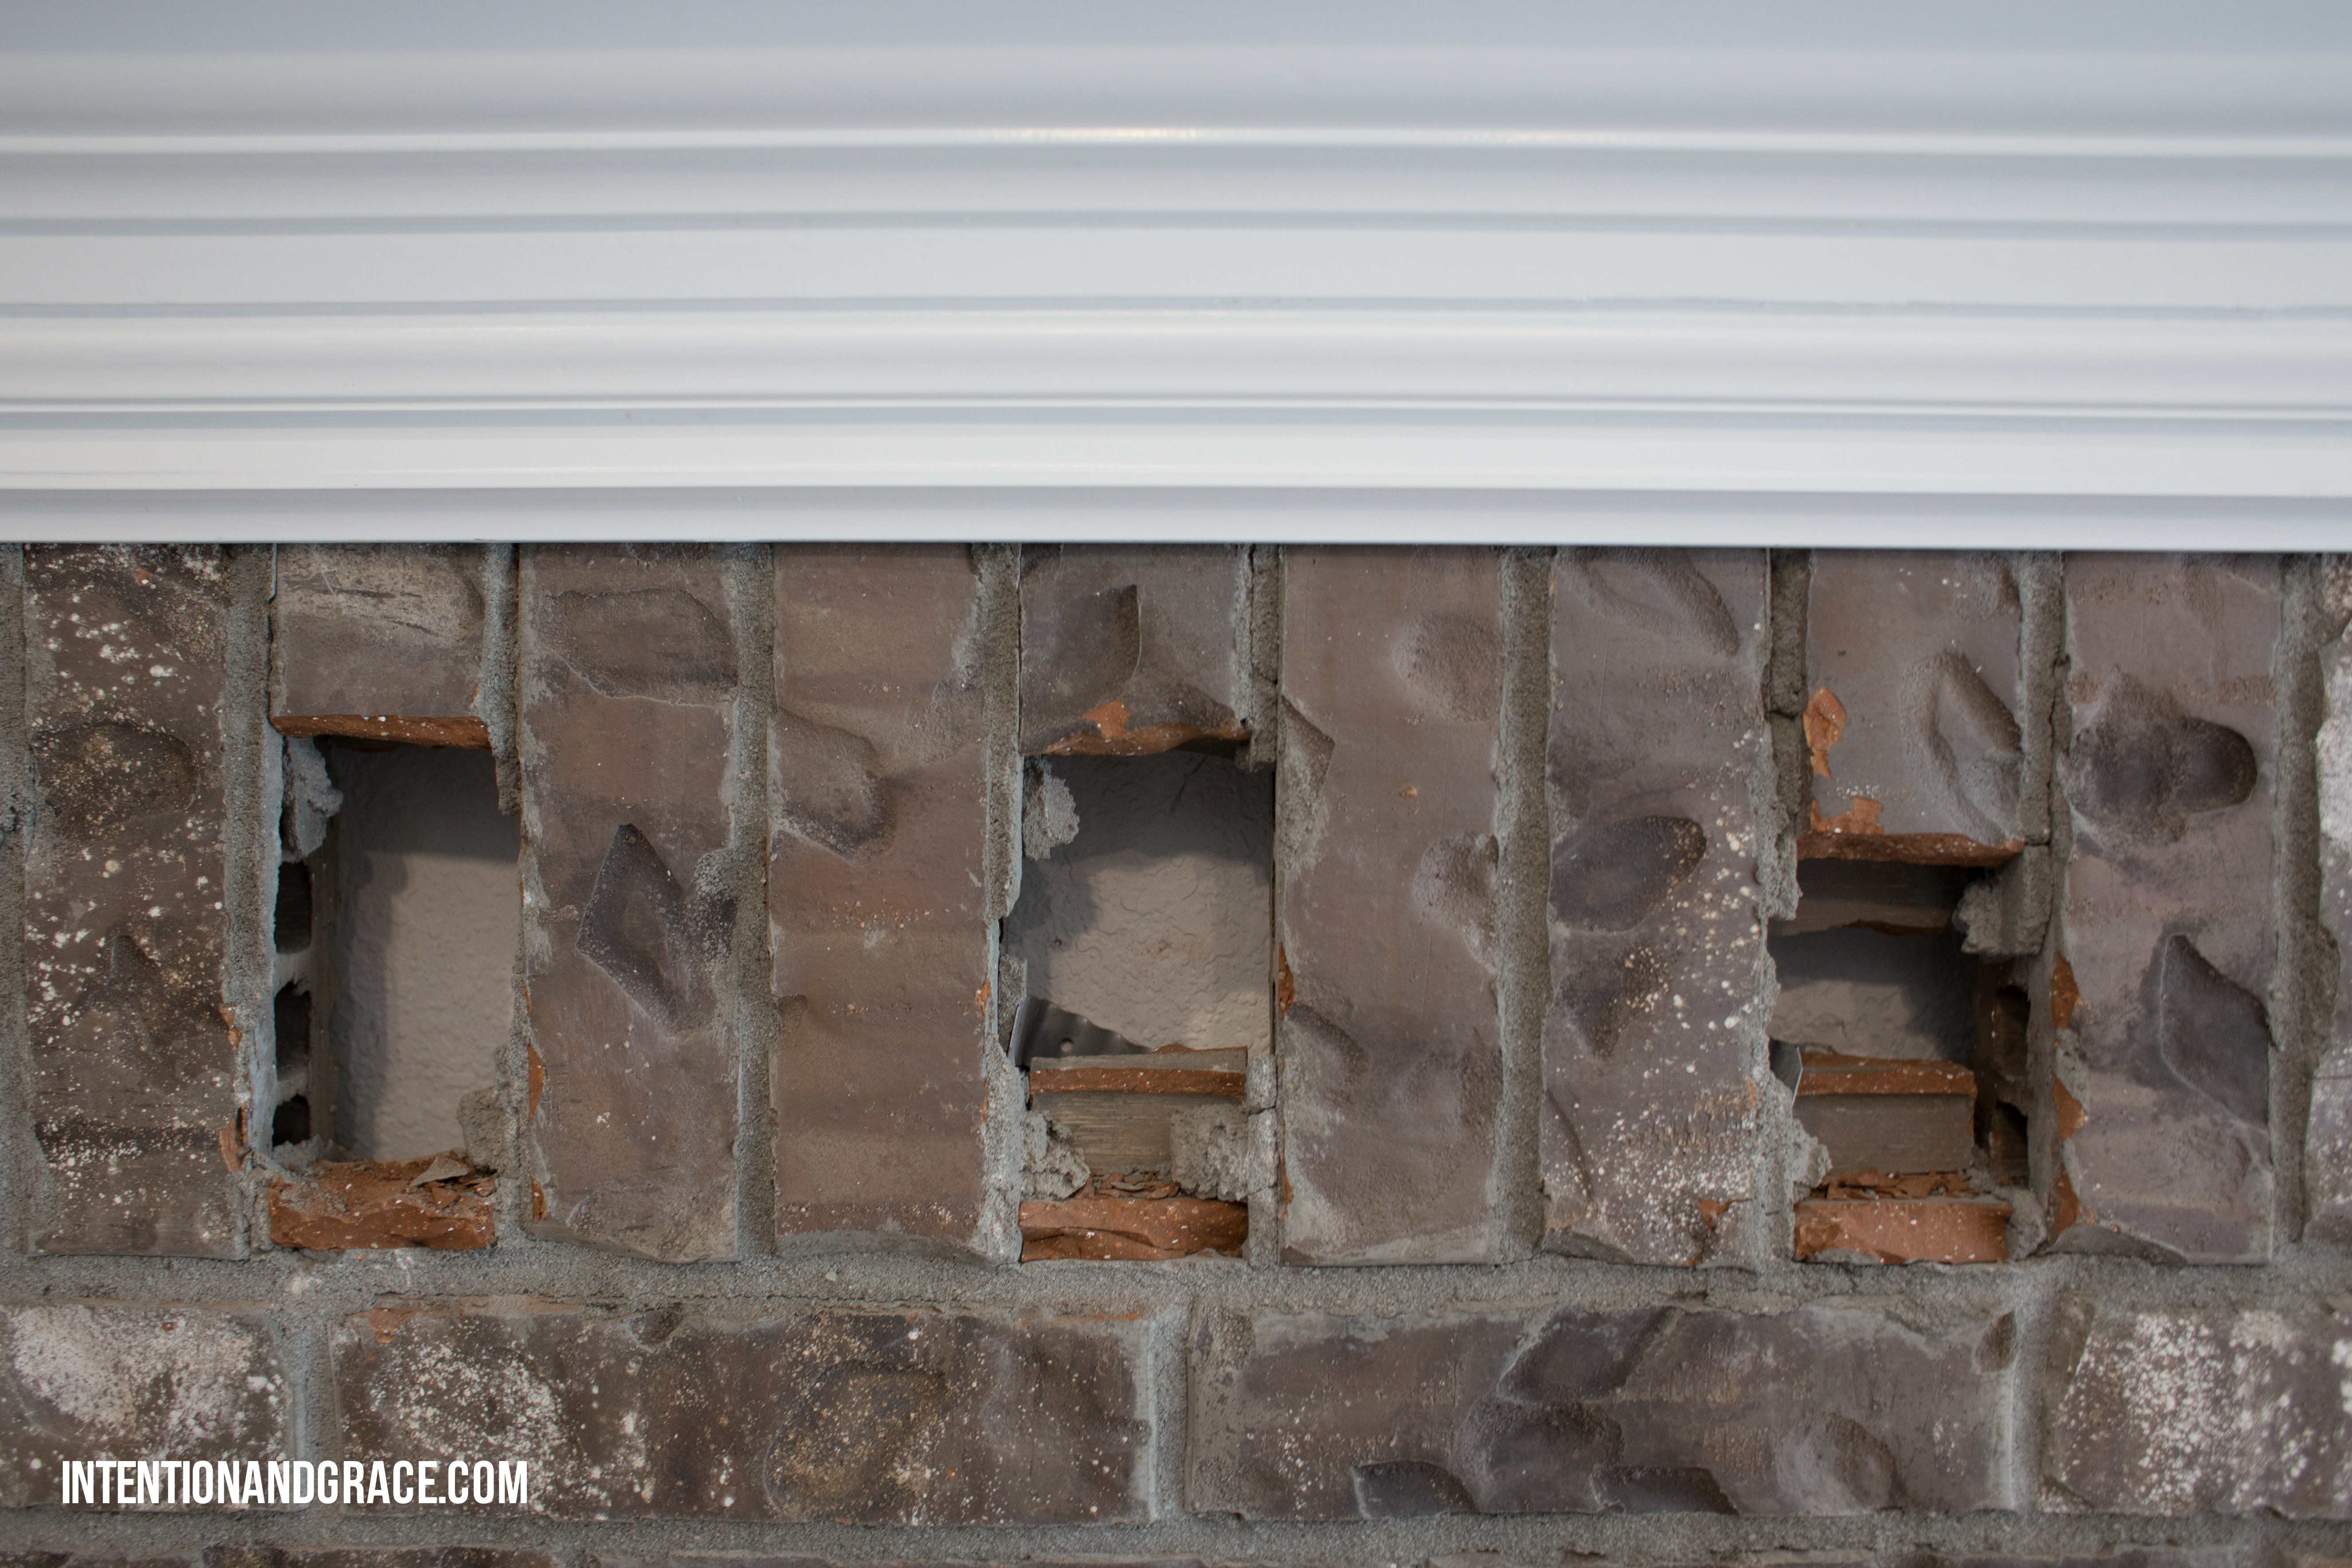
Before:

We chipped out the textured bricks that hung along the top row of our fireplace, so that all coverings could sit flush once we faced the fireplace with wood.
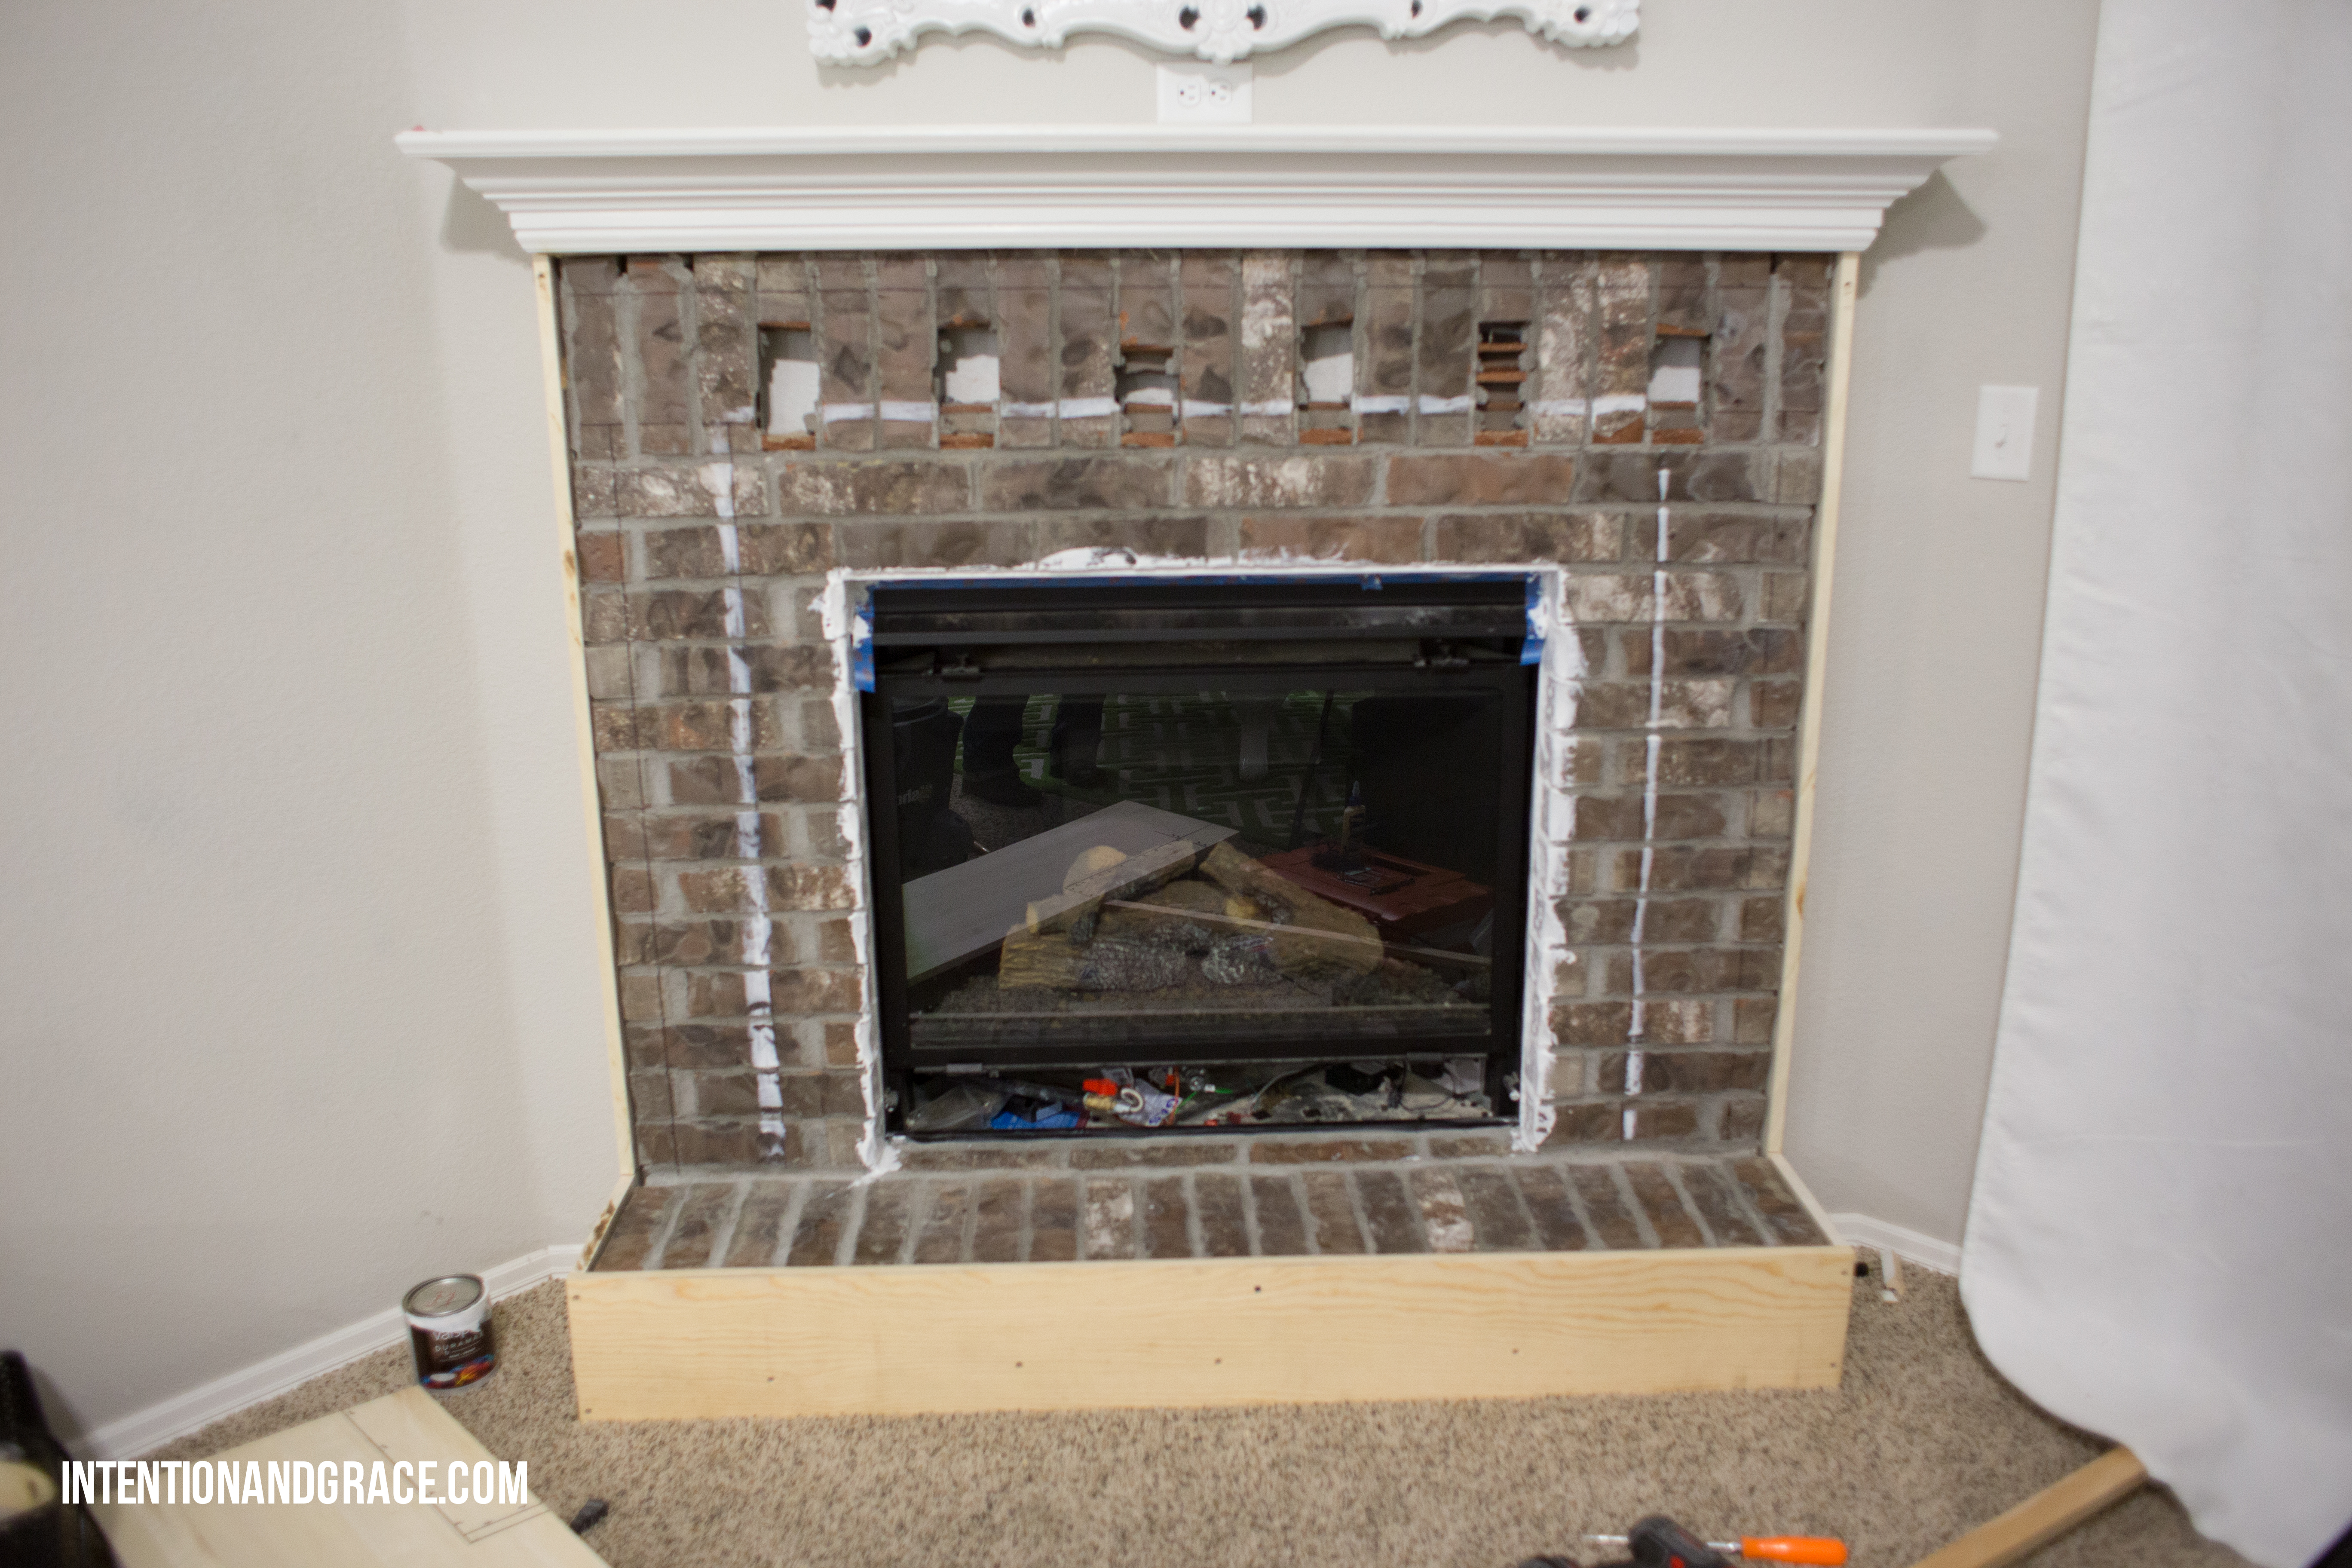
Then Nace measured everything out and marked it with paint to make sure it was proportioned how we imagined in our preliminary designs. And the framing of the fireplace began!
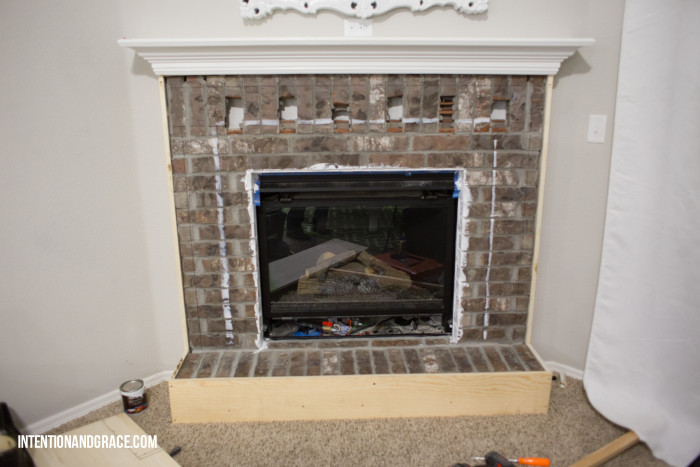
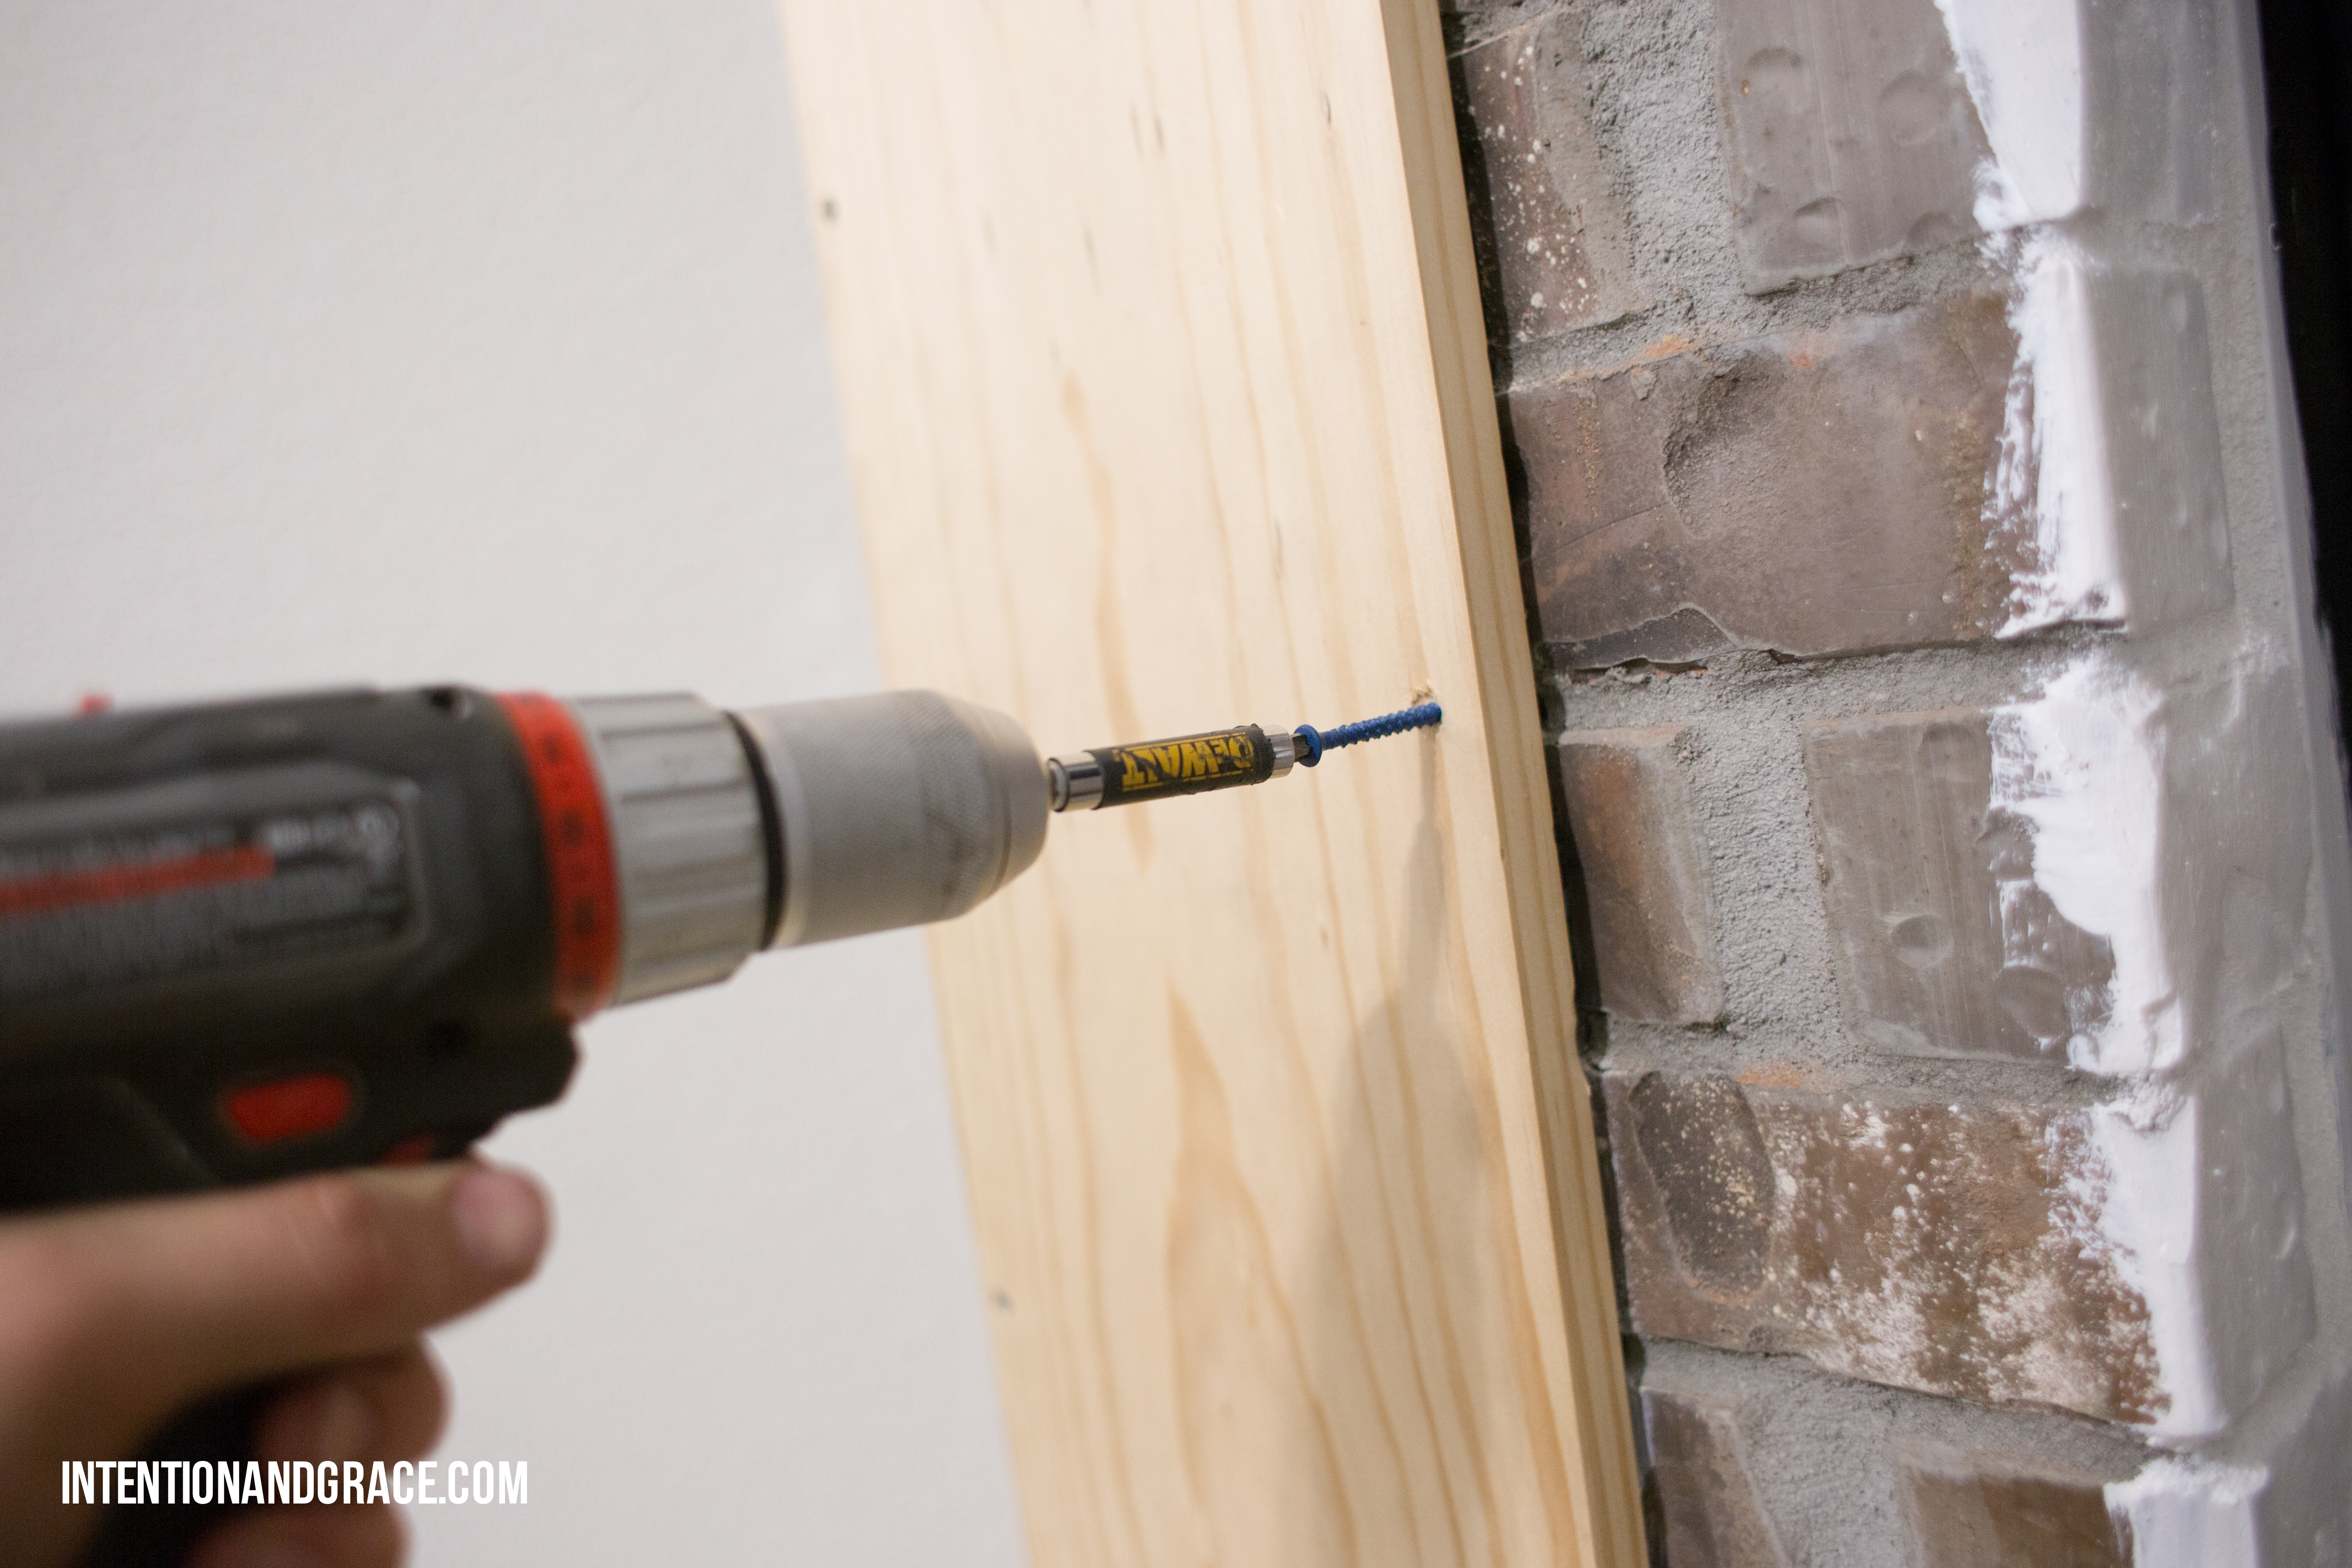
Using concrete screws, we attached the new frame directly to the brick.

Once everything was framed out as we hoped, the puttying and wood filling began.

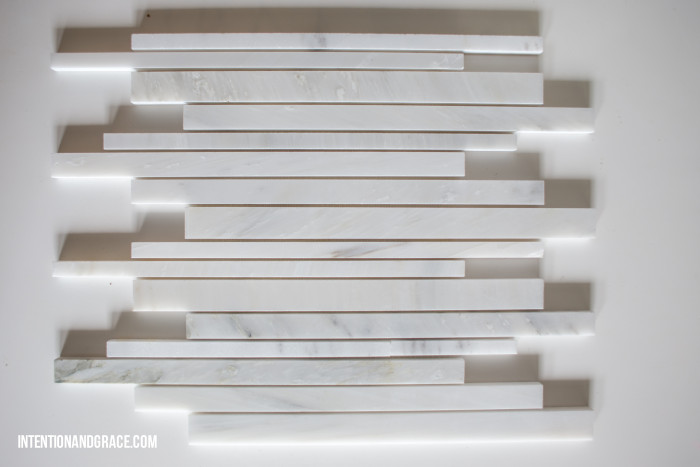
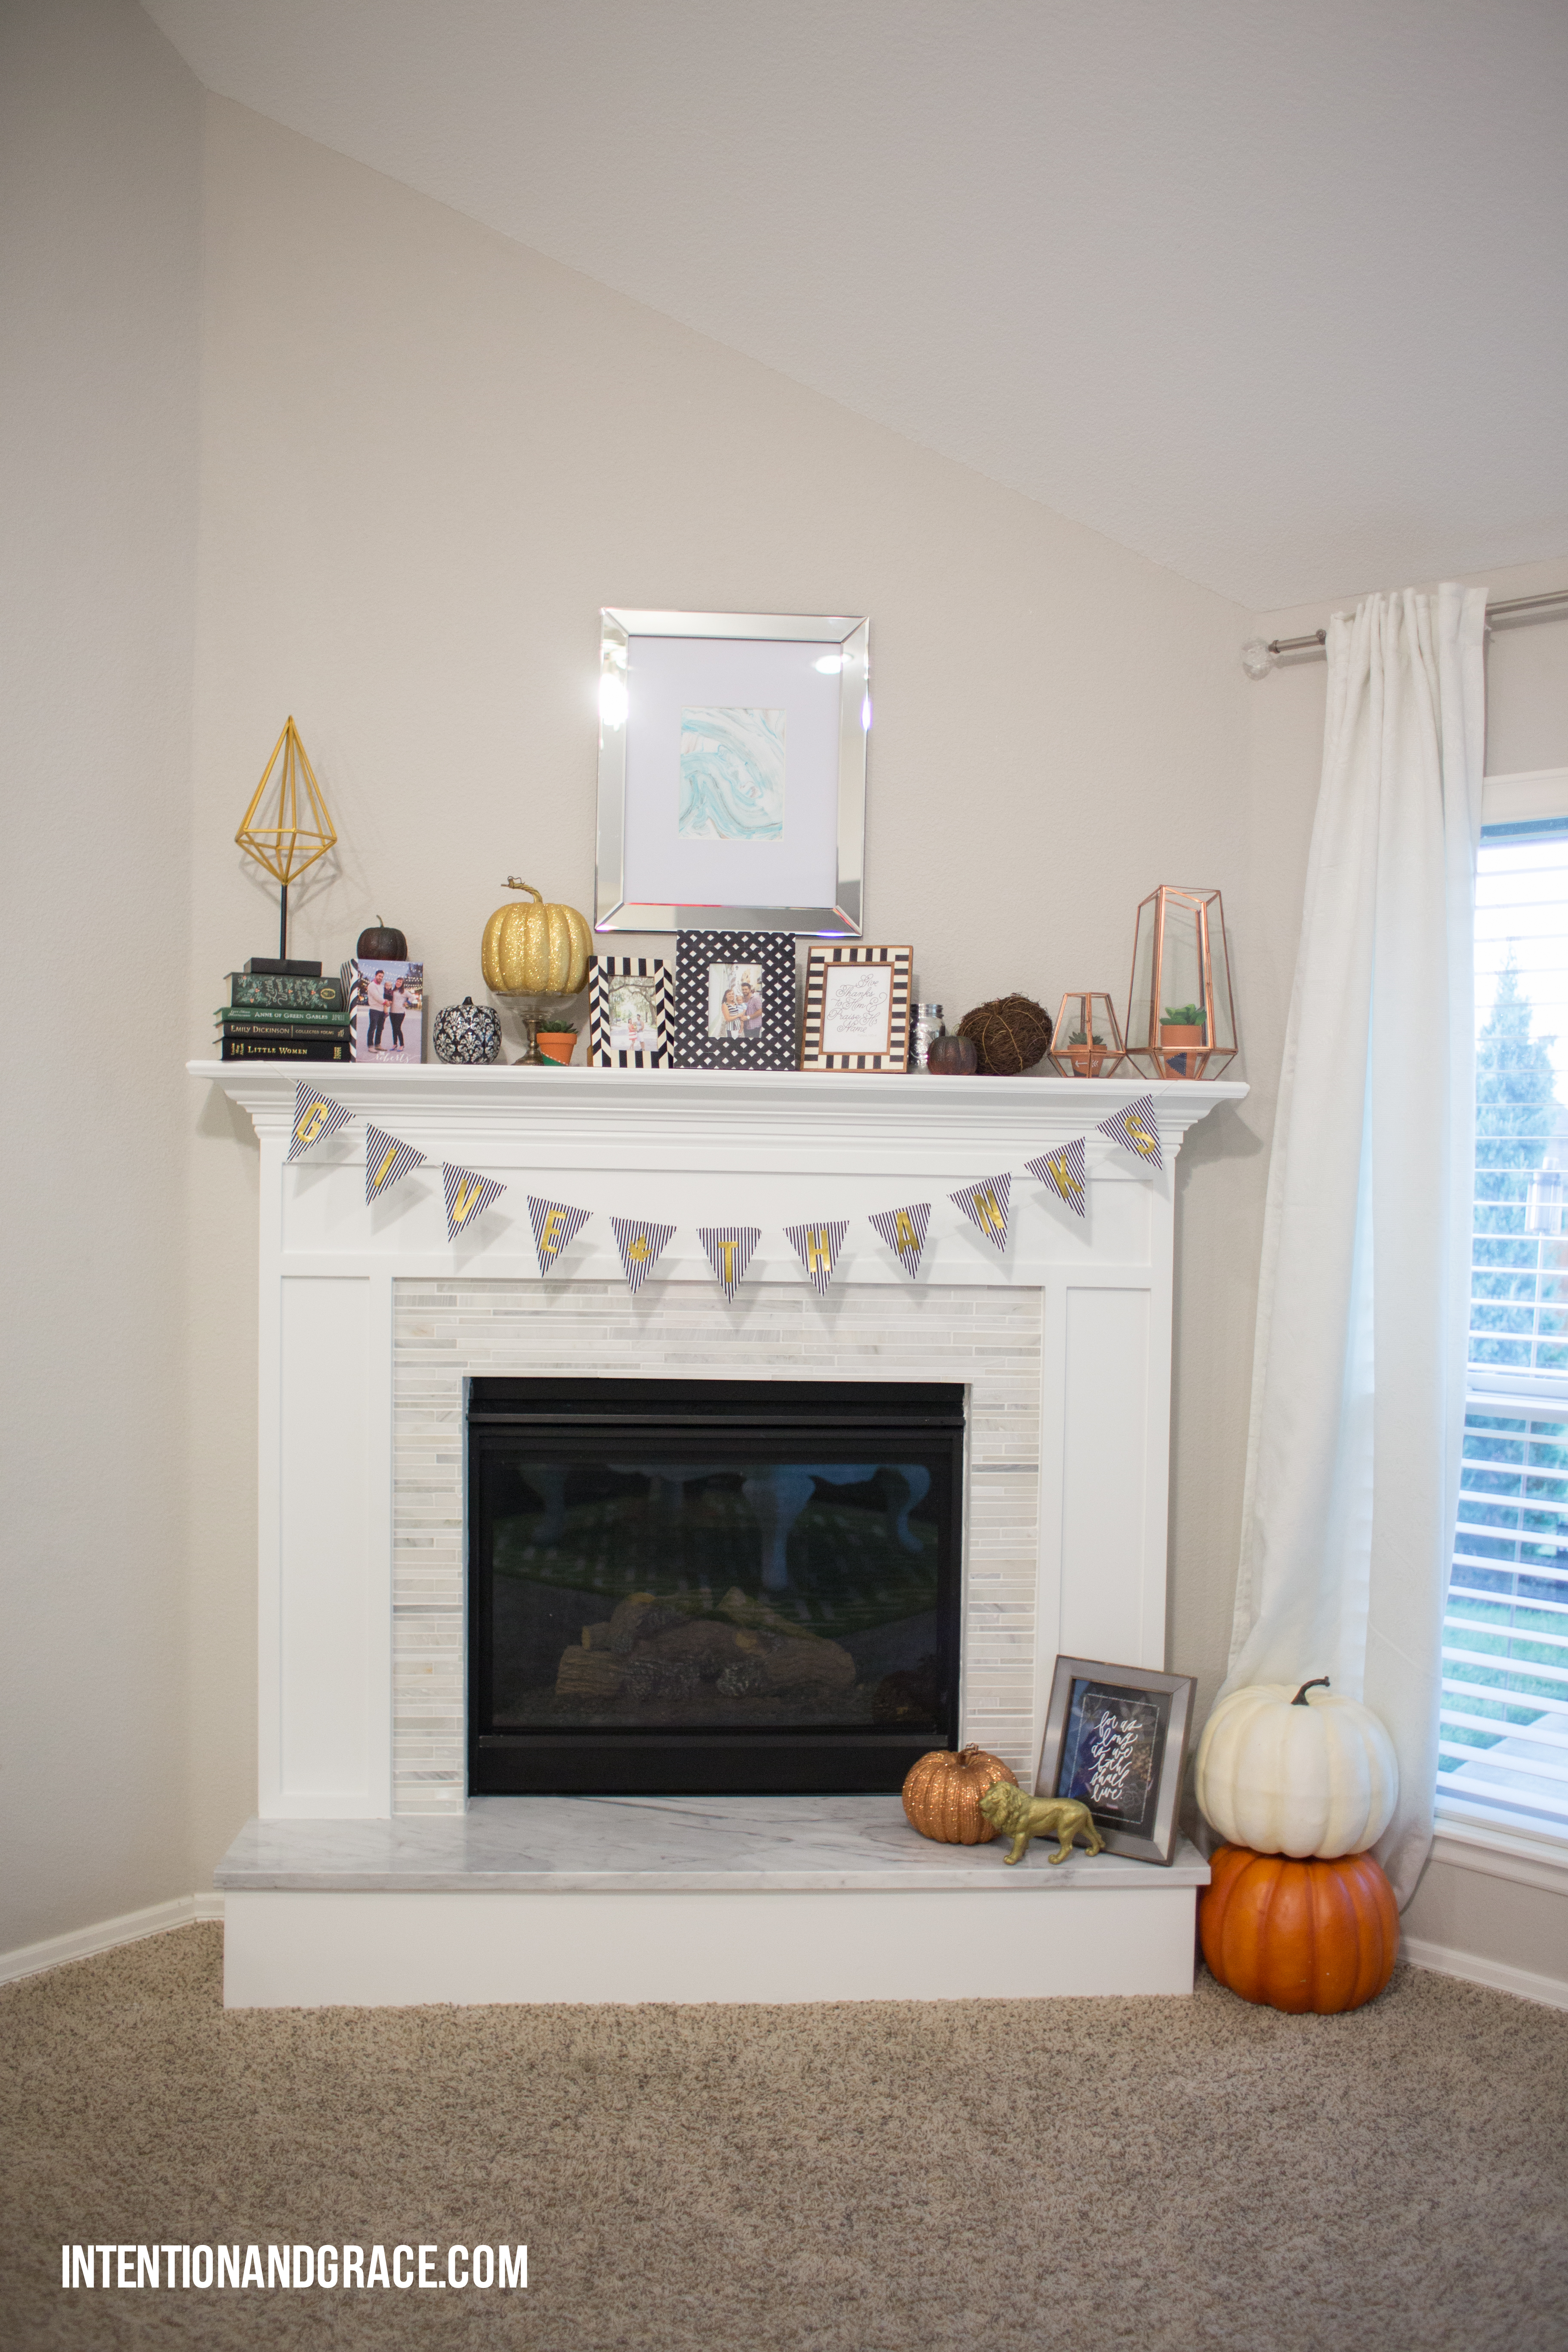
We also splurged a bit on some really beautiful marble tile from a local shop and faced the remaining inner area with tile and white grout. It was definitely the most tricky tile we have ever dealt with, but the finishing touch we were looking for!
After spraying the whole fireplace with a couple layers of paint, we added a matching marble hearth that we picked up super affordably from a local granite scrap yard. The material was free, we just had to pay to have it cut to size! A fraction of what ordering a new piece would have been. :)
Needless to say, we absolutely LOVE the turnout of our project!

Nov. 26, 2015
Attention: I interrupt this extremely extended blogging break to bring you an update and freebie.
I hope everyone is having a happy Thanksgiving and enjoying time with loved ones today. Chances are pretty high that, like you, I am stuffed to the brim with deliciousness right now, so I thought I’d share something fun and give a little update while we all sink deeper and deeper into our food coma’s today.
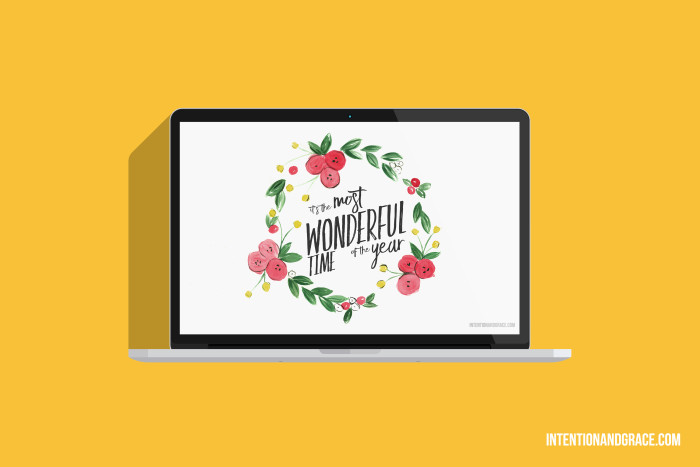
December is almost here, and I’ve been feeling extra crafty and creative with all the hustle and bustle of decorating for the season, so I thought I would drop off something special incase you are feeling extra fancy too. Grab this new beauty for your computer using the link below.
As for where Intention and Grace has been hiding? We’ve had a lot going on at the Robert’s household.
I promise I’m working on several new posts with some major before and after reveals. Nace and I have been working on some big things at the house these past several months, but as things go, they have proven to take up much more time and effort than we initially planned.
Cheers to more to come from Intention and Grace, and blessings for you.
xo
Courtney

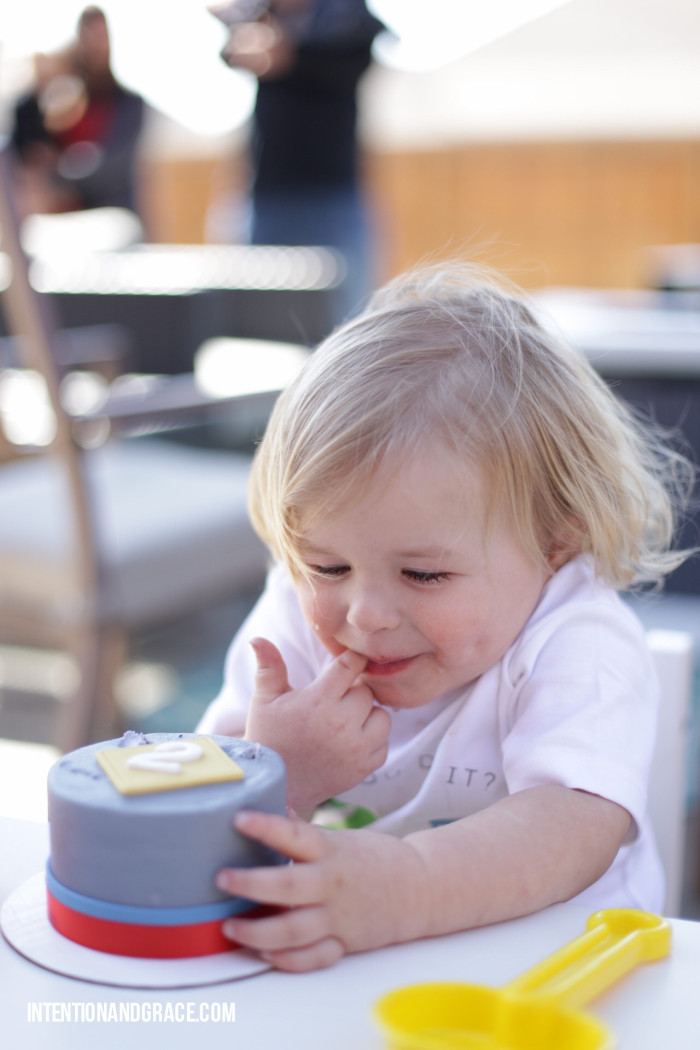
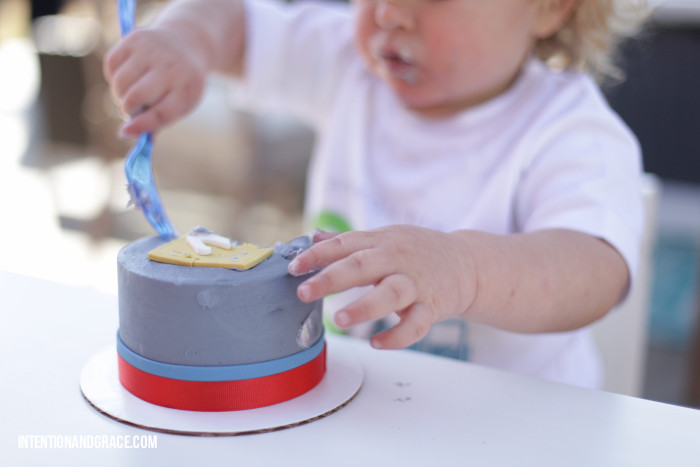
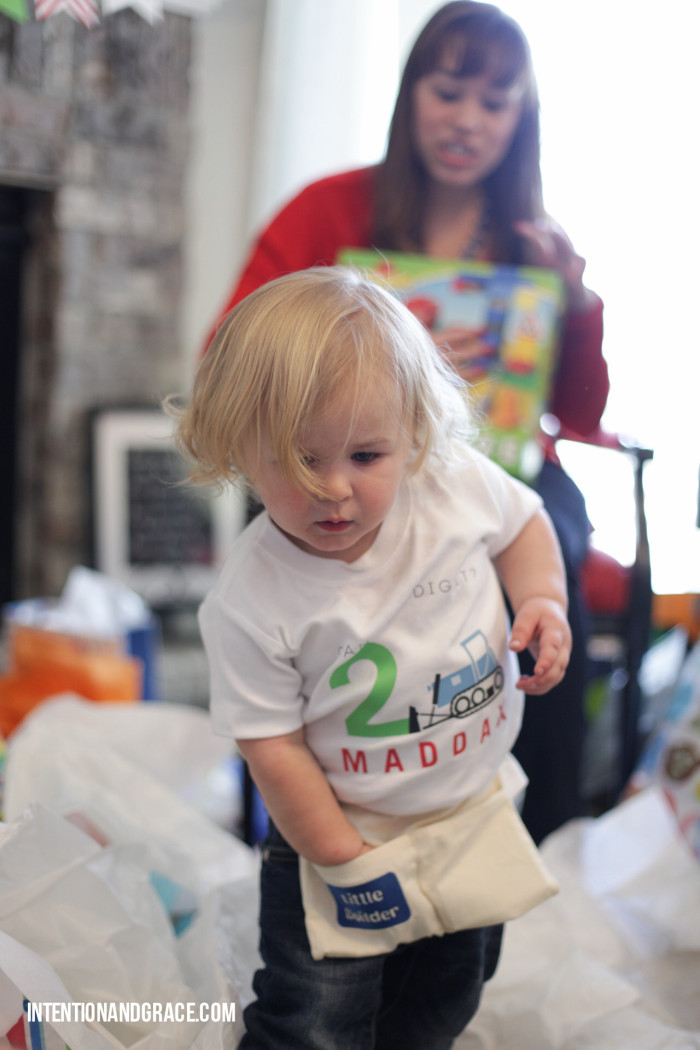
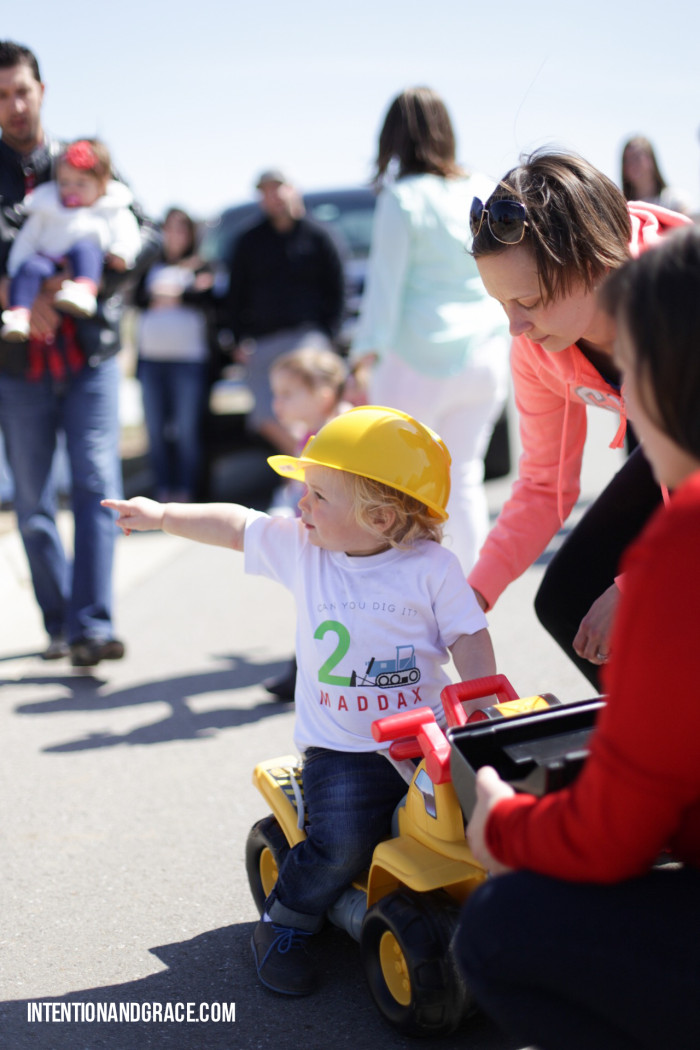
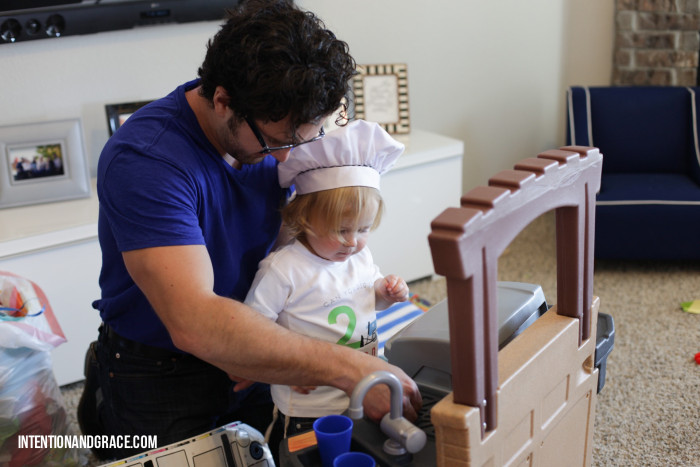
Apr. 3, 2015
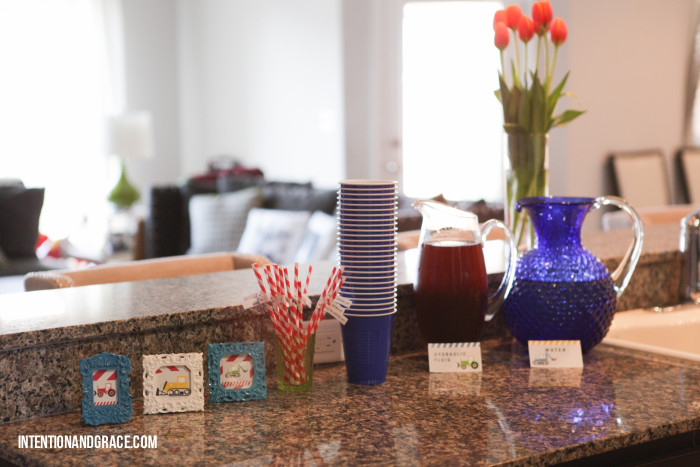
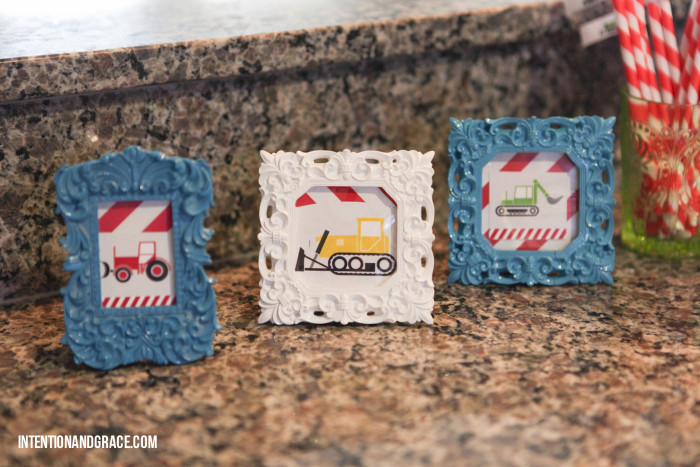
Last weekend our baby boy Maddax turned TWO! I just can’t believe it’s been two years since he was born. He has brought so much joy and laughter into our lives, and we loved being able to celebrate that with our sweet friends and family. We planned a fun tractor and truck themed birthday bash. This kid LOVES all things with wheels: tractors, trucks, trains, cars. Every time we drive anywhere, he points out any type of manly vehicle. By yelling at the top of his lungs. So this year I took this fun theme and ran with it. I hope you dig it!

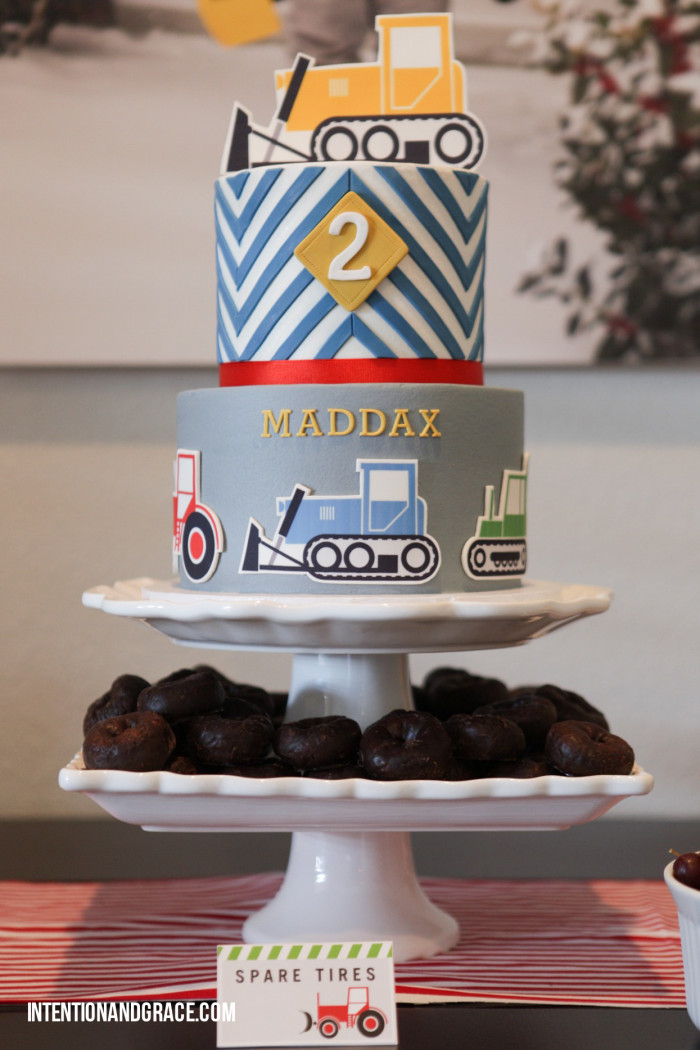
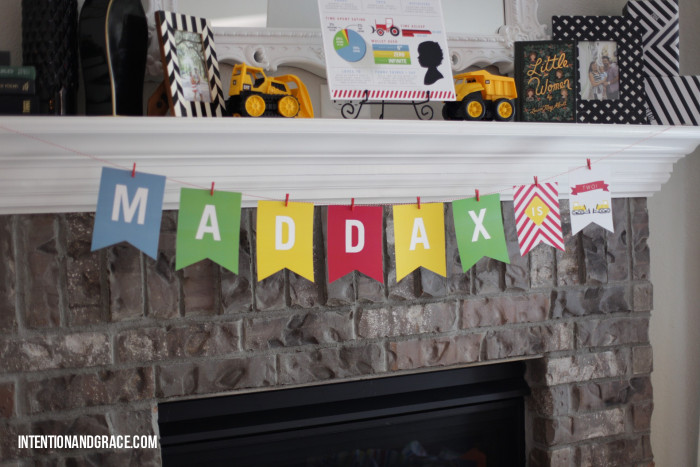
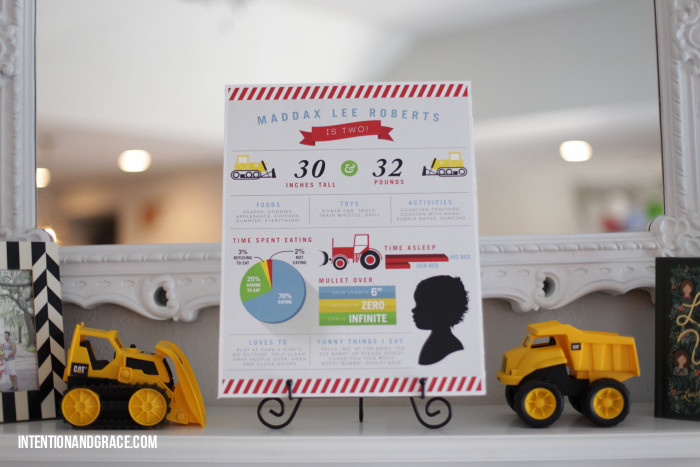
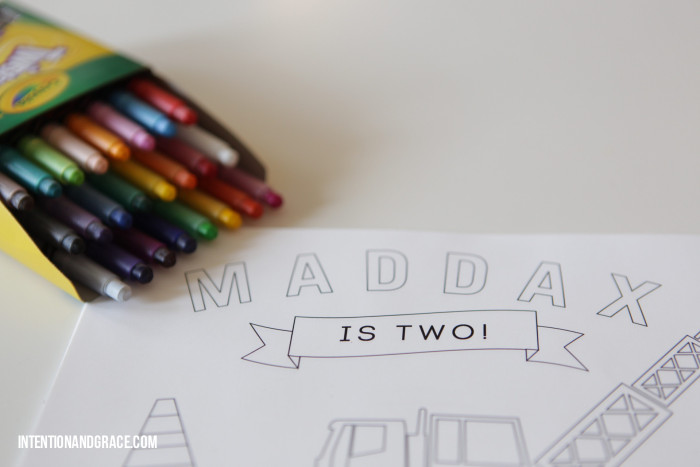
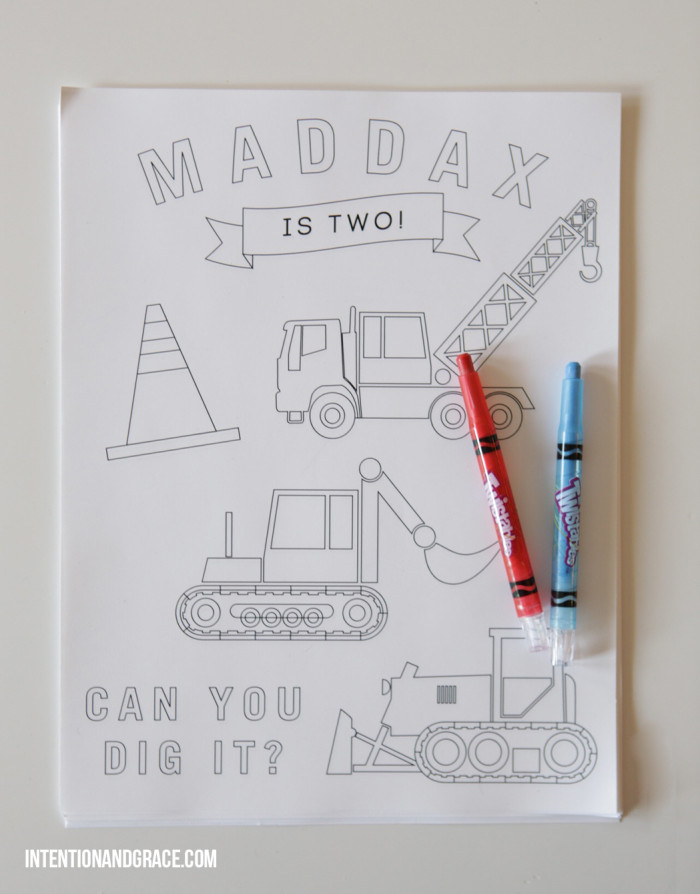

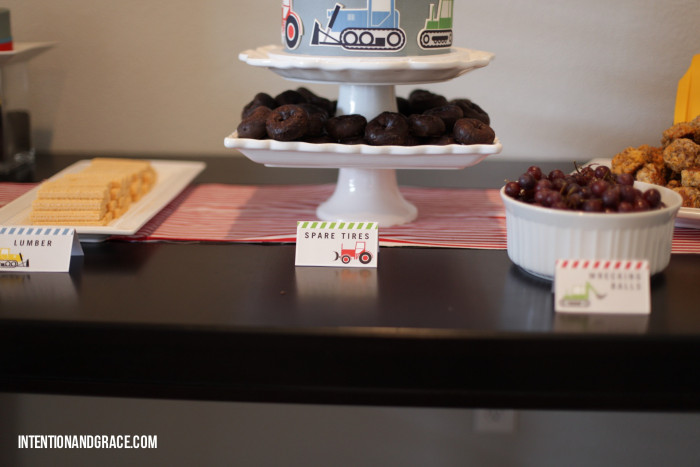
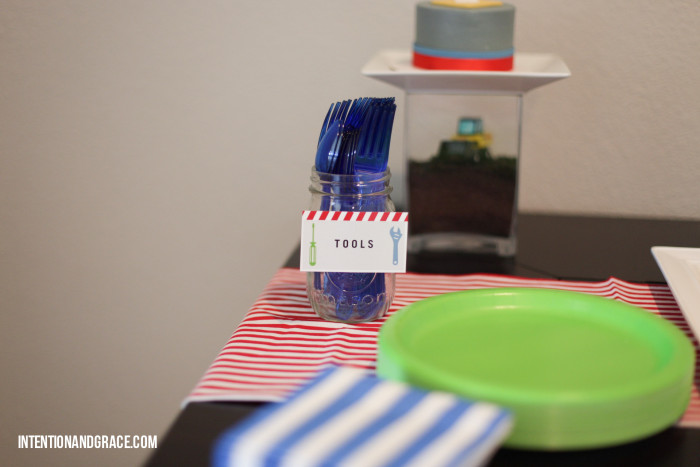


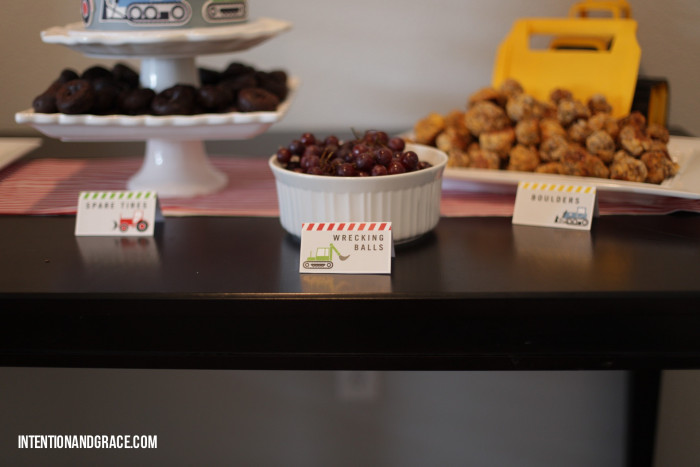
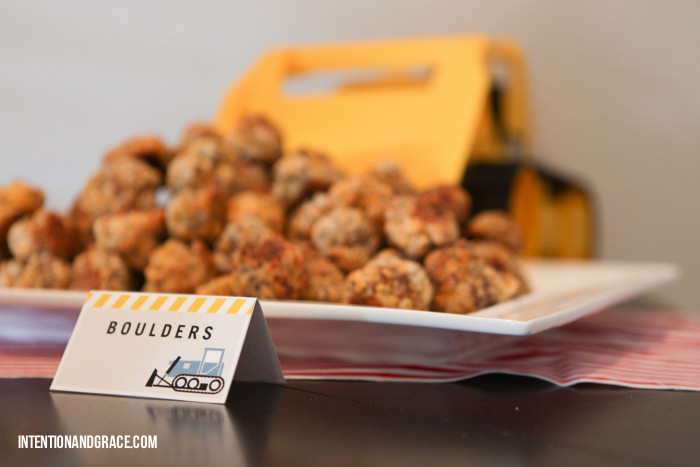


Want to use this theme for your lil one? Check my etsy shop for custom party listings or email me directly at courtney@intentionandgrace.com. Also, be sure to check out Maddax’s first birthday bash HERE.
Jan. 14, 2015
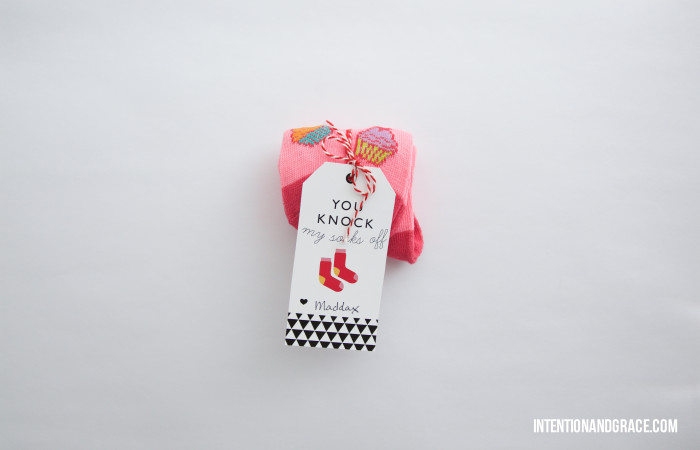
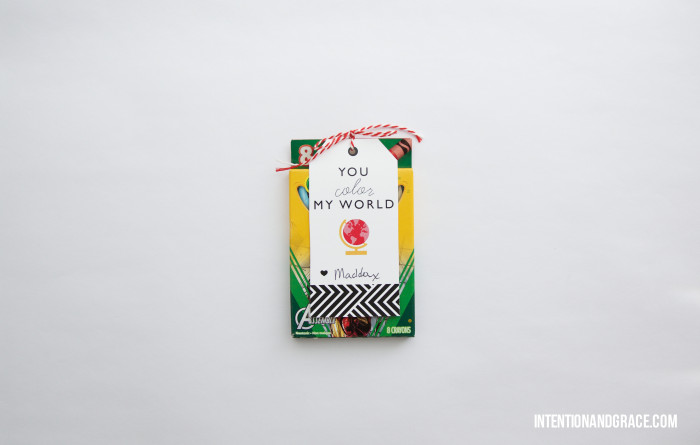
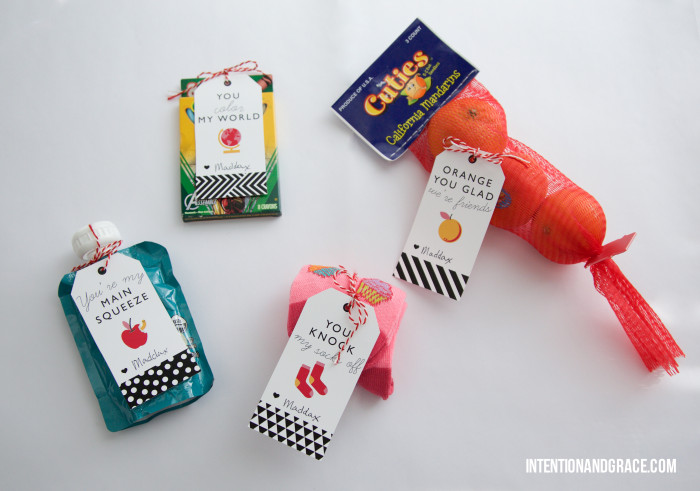
Today I’m sharing some sweet downloads for Valentine’s Day. I always love coming up with something fun for Dax to take to school for his friends, but also like doing something a bit more special than the store bought cards. So this year I have four fun ideas for your little one, and a few special somethings for home and work as well!
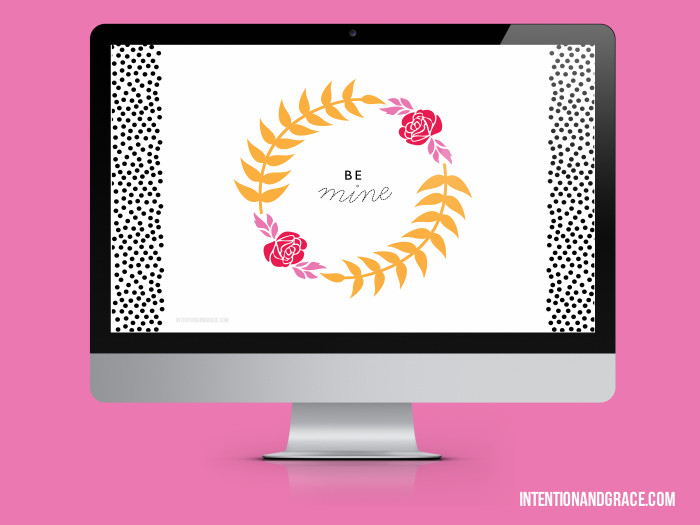
For the office: These two backgrounds have been making me so giddy each morning. The Be Mine floral wreath and February calendar desktop wallpapers are sure to brighten your day too. Bonus! I couldn’t get over the cuteness of that lil heart, so you can download one for your phone too!


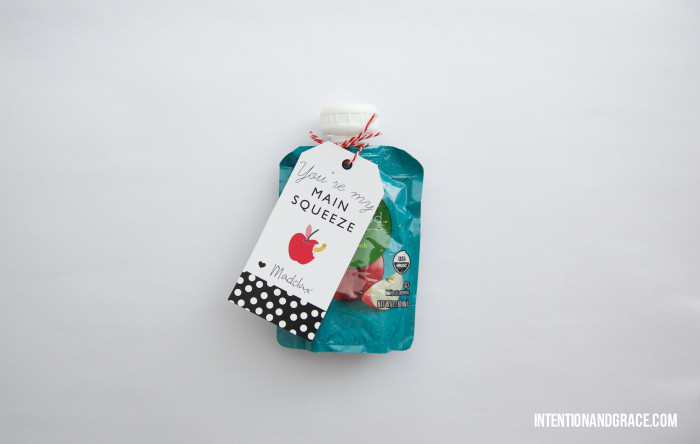
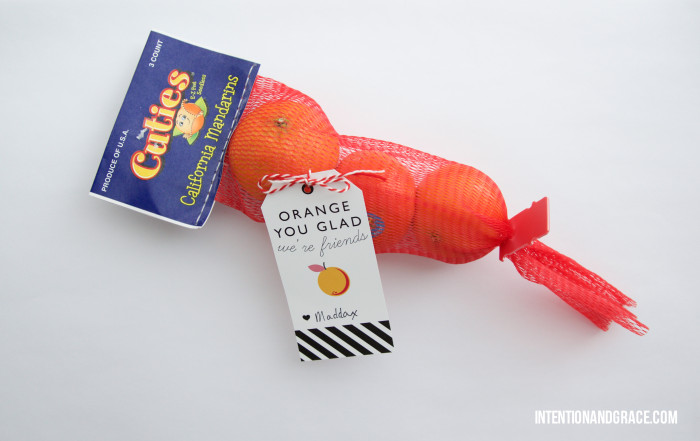
For the Kids: All these goodies cost around $1 each. Grab a pair of socks from the dollar bin at Target or Michaels, a box of apple sauce or fruit pouches, a small box of crayons, or a cute lil bundle of Cuties for your kids to share with their friends on Valentine’s day.
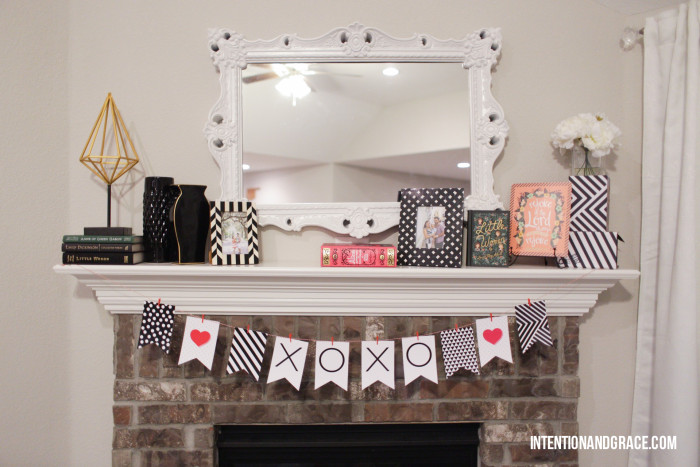
For the home: This cute bunting banner is great for your home mantel, above the bed to add some spice in your room, or strung in an office or classroom. Simply print, cut, and string it together for some easy Valentine’s decor. I used these mini clothes pins for mine.
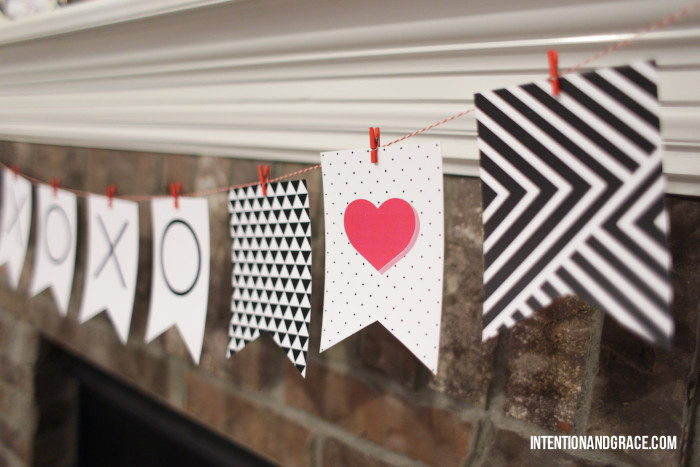
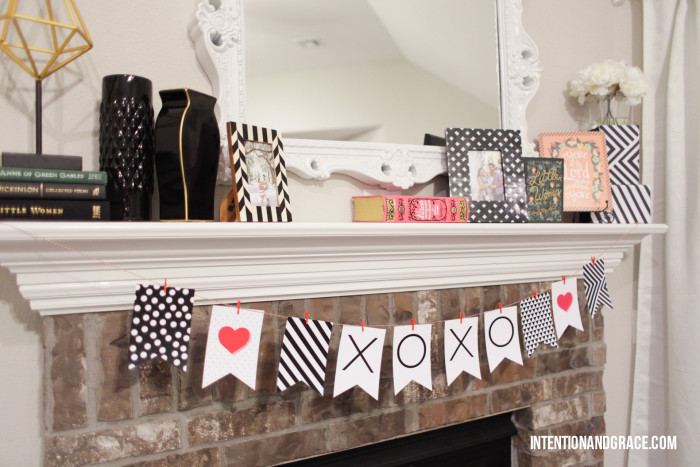

Banner and Gift Tags
Be Mine Desktop | Calendar Desktop
iPhone 5 | iPhone 6 | iPhone 6 Plus


