Apr. 15, 2016
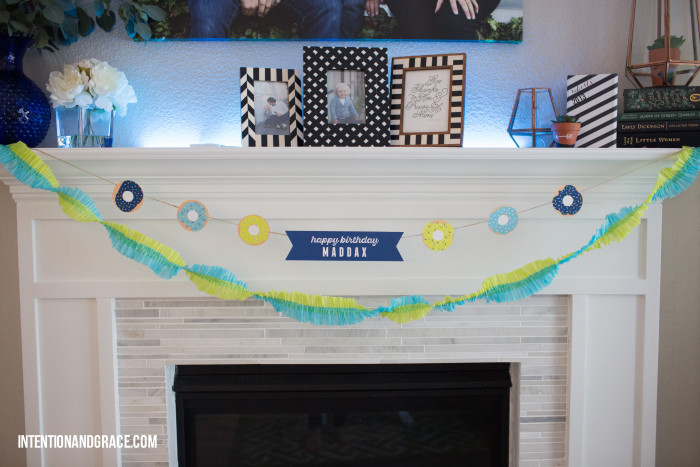
Is this real life? Is my kiddo three years old? Is he running like a mad man, talking in full sentences, and acting like a grown up on occasion? Yeah, I think so. Let me go cry my eyes out for a minute. I’ll be right back…
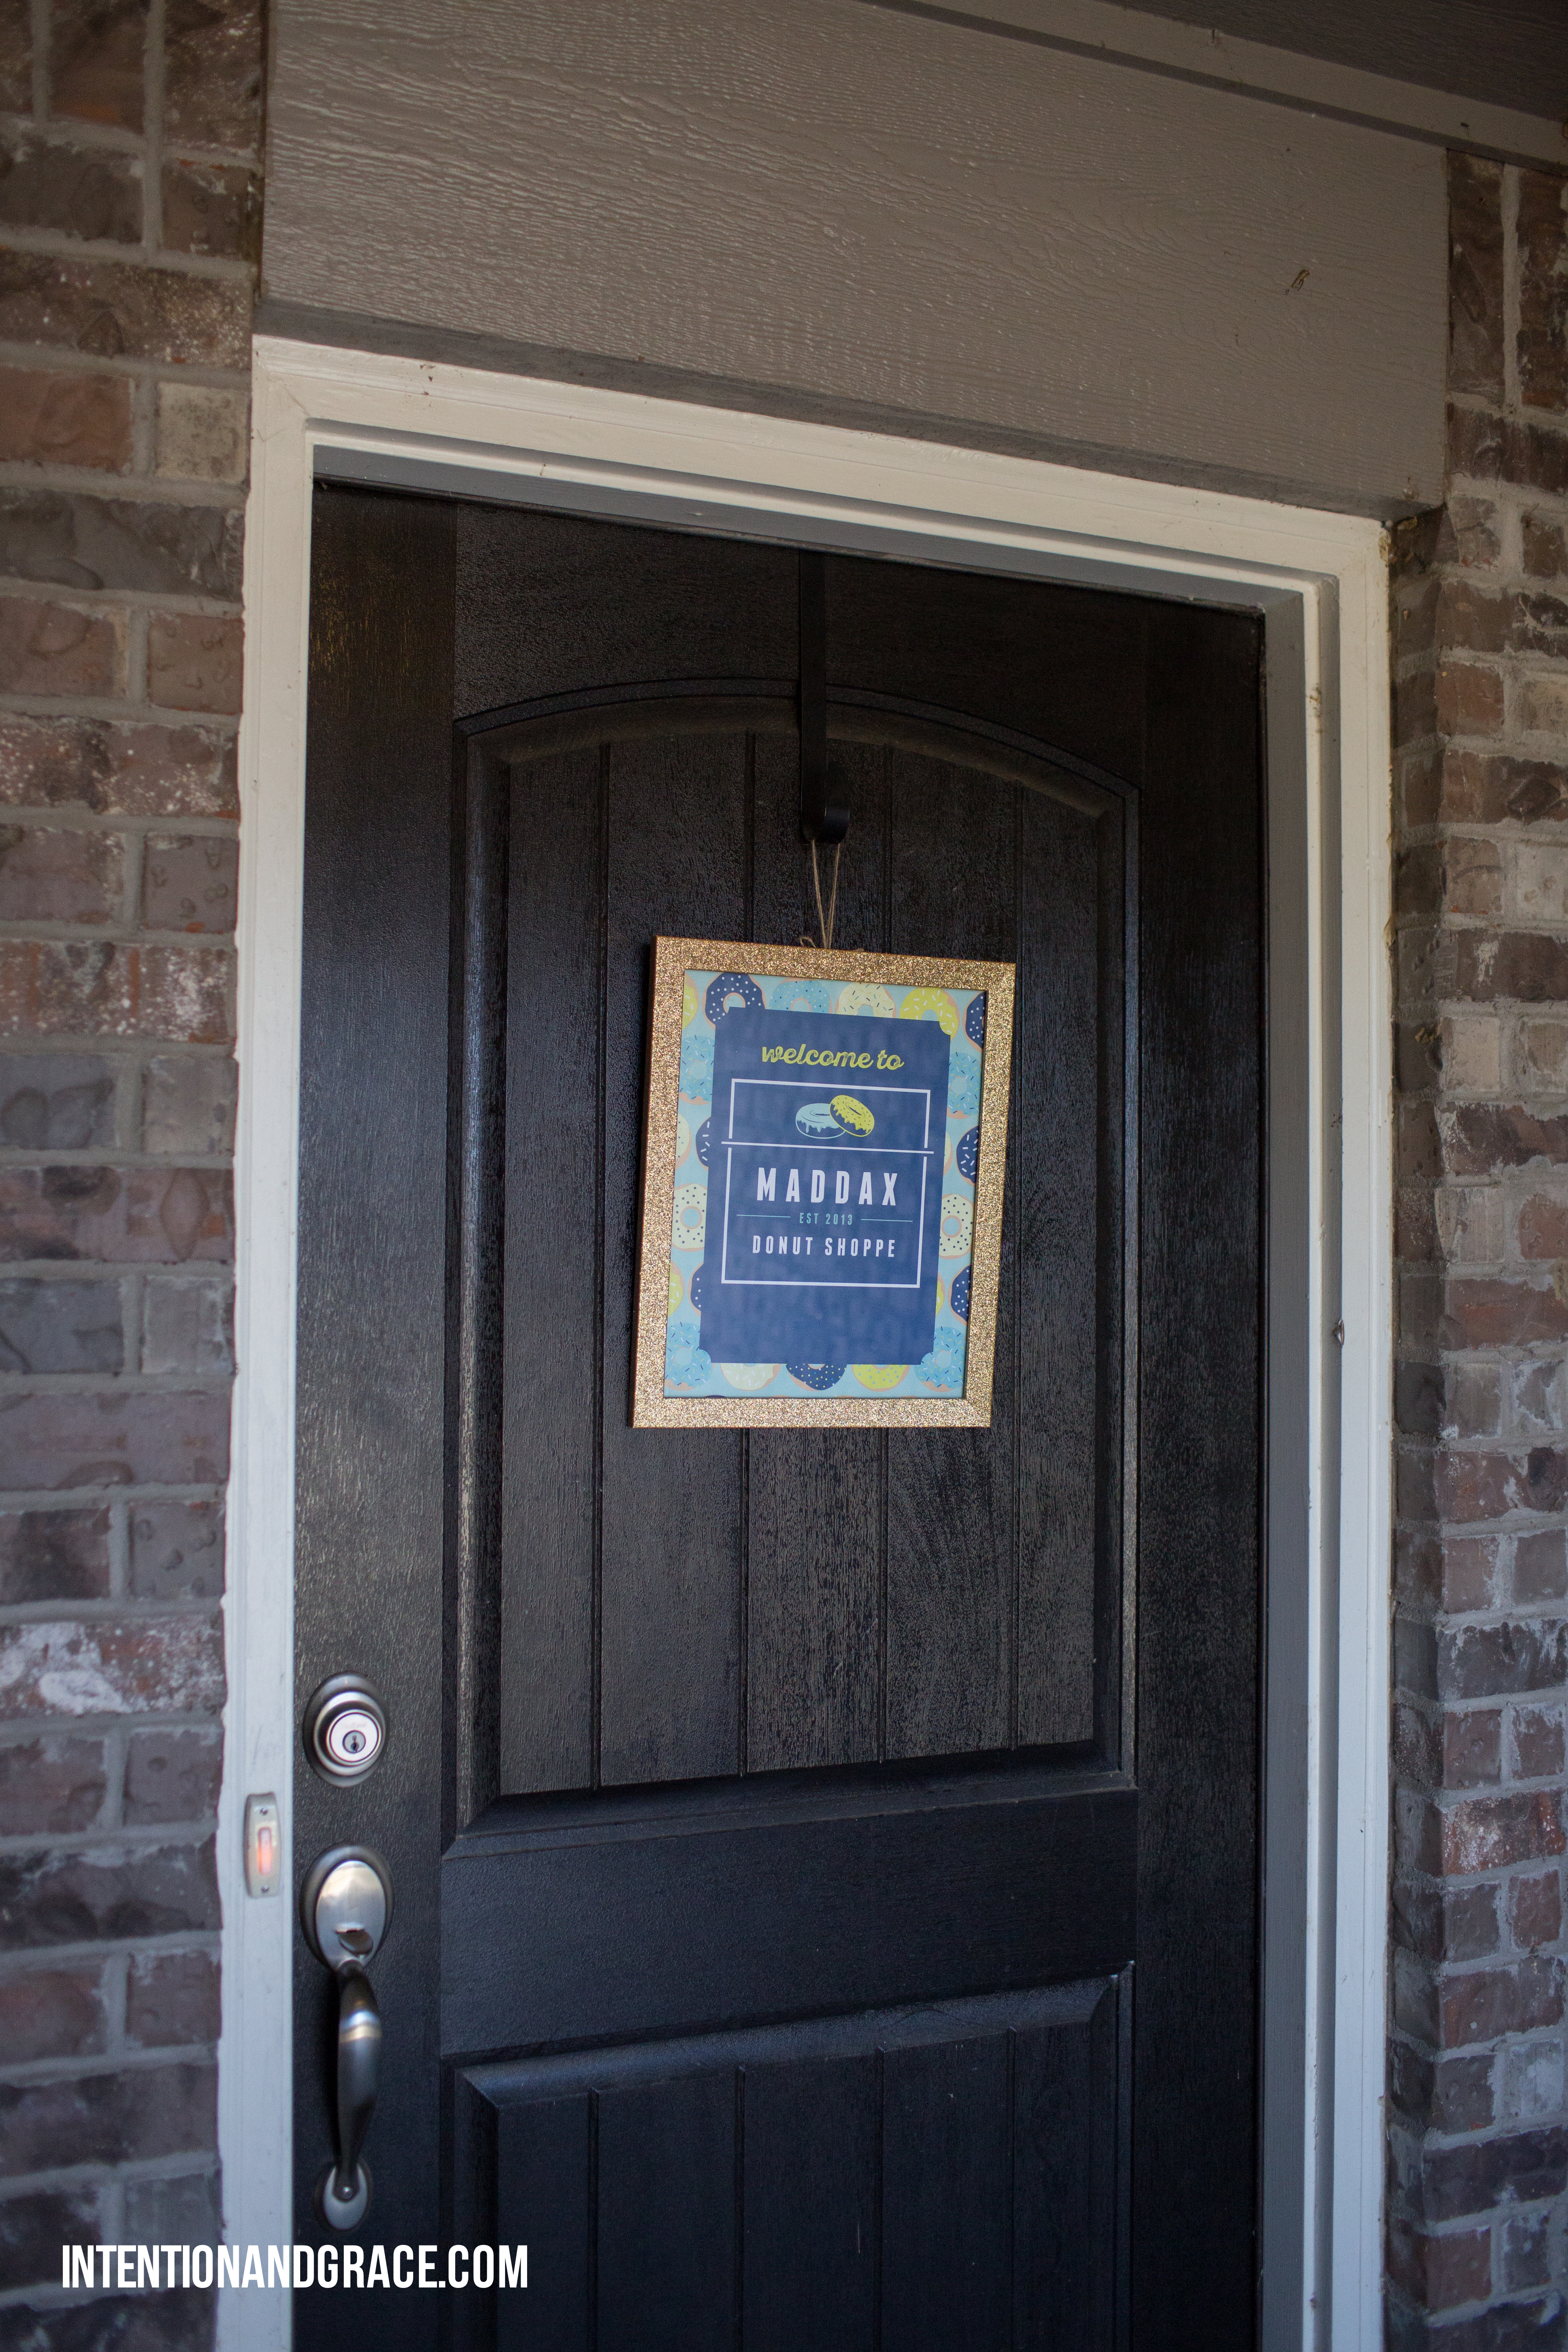
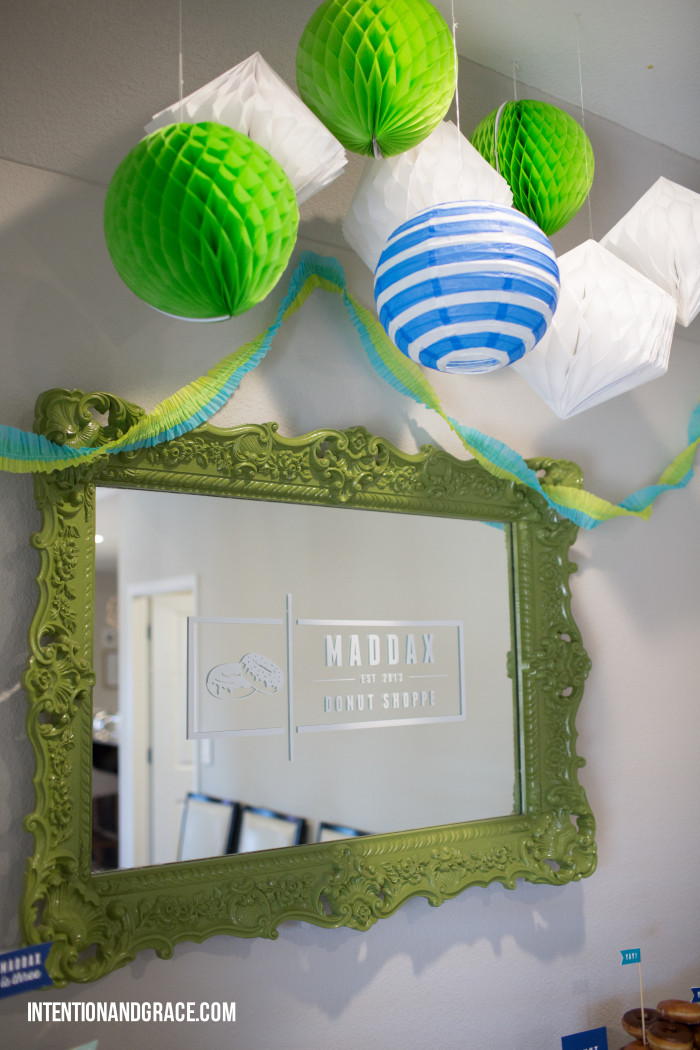
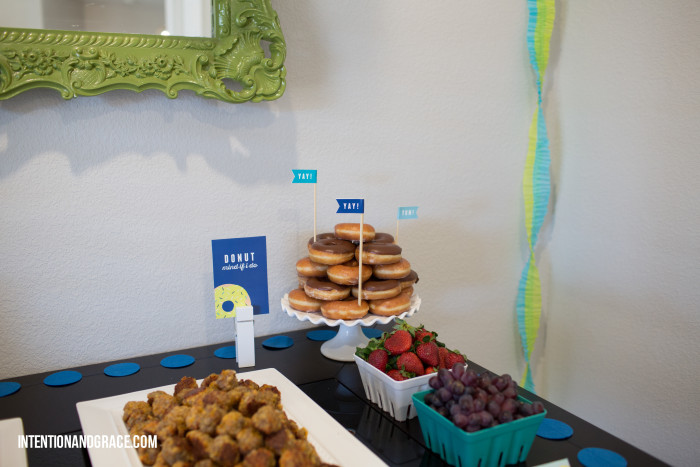
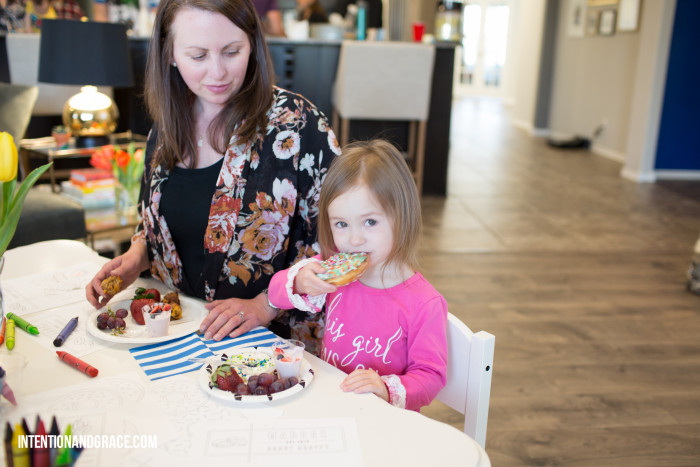
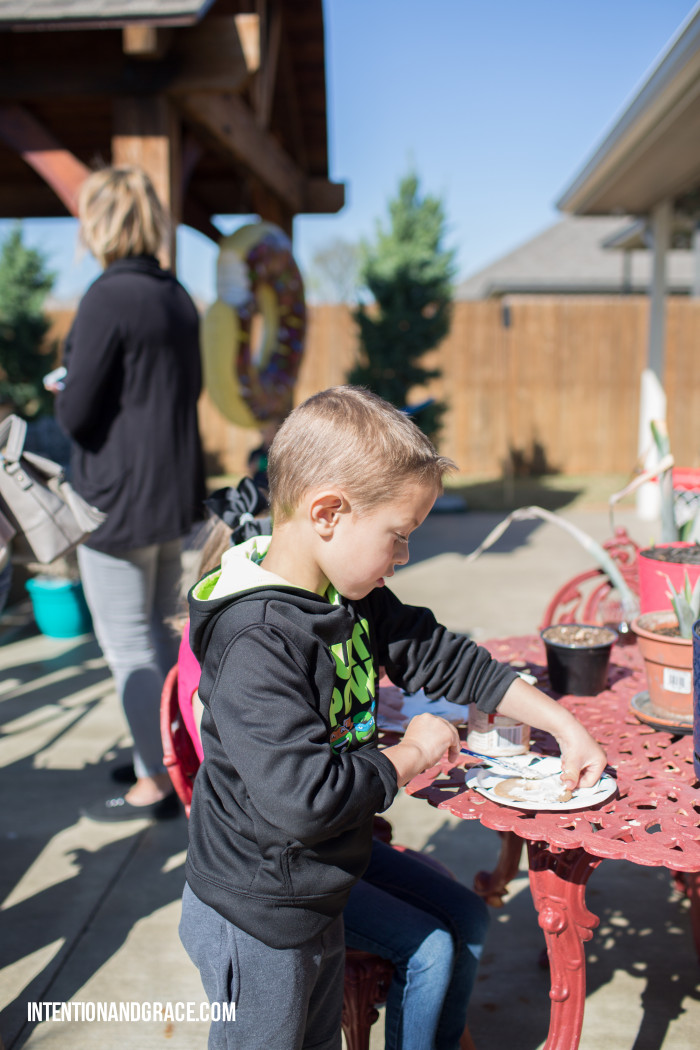
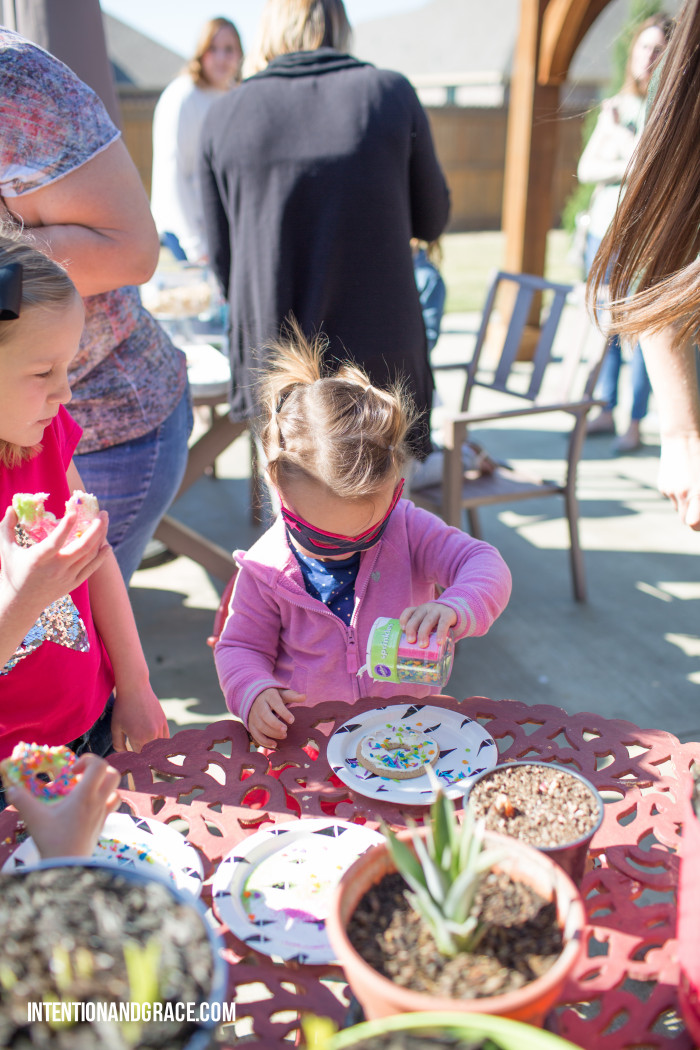
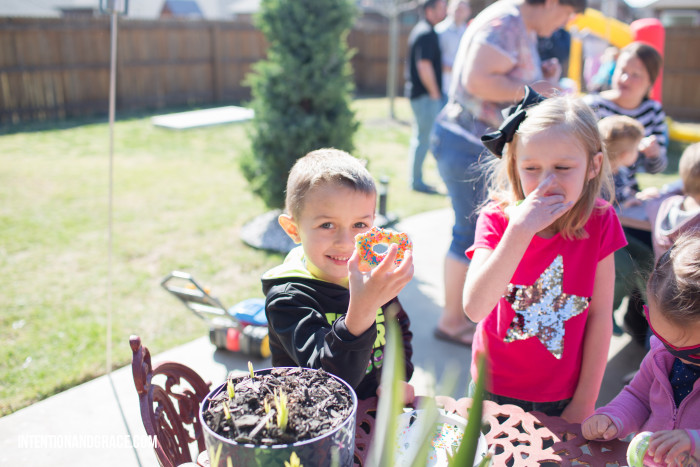
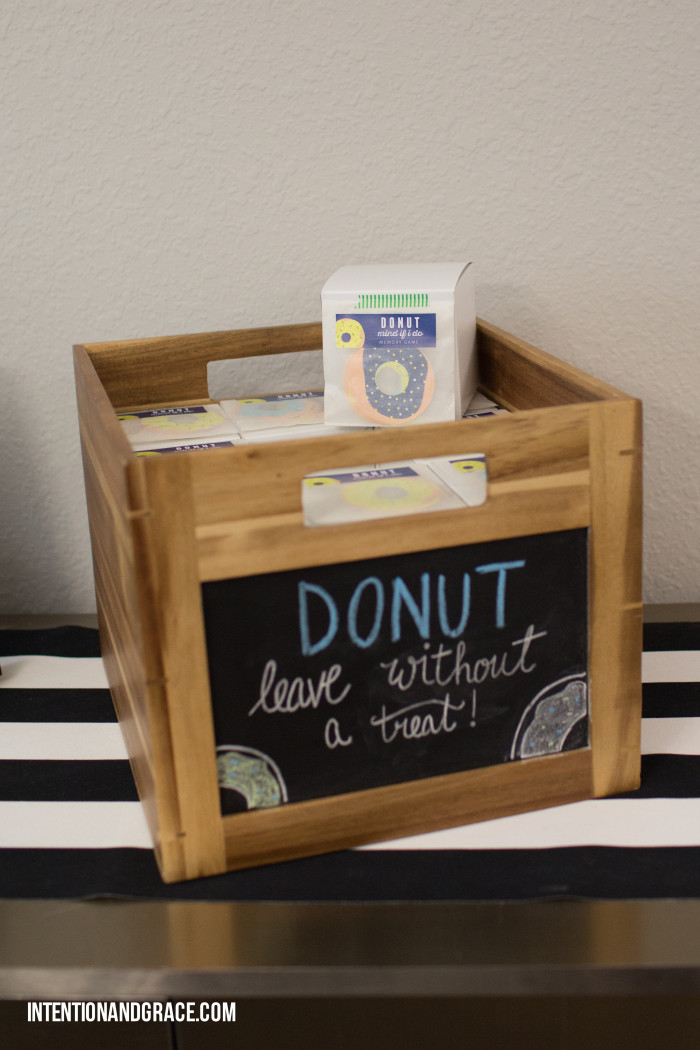
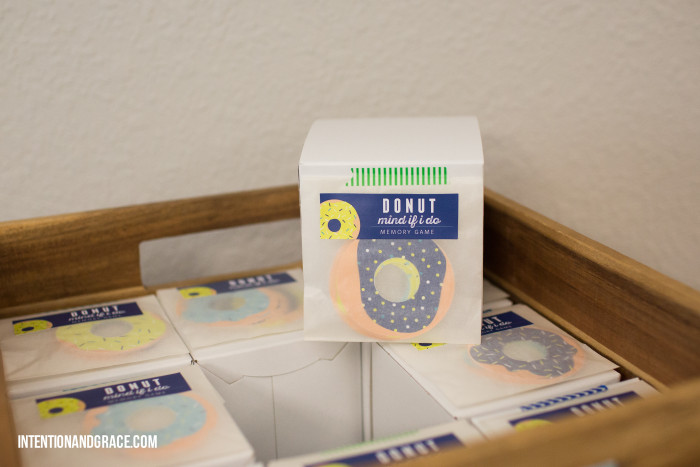
If you don’t know Maddax personally, I’ll let you in on a little secret: he LOVES donuts. I mean, who doesn’t? But this kid will ask me every morning, without fail, if he can have one. Mind you, we have only stopped for donuts ONE time before. This is not a recurring occasion for our family, and he has really only had them a hand full of times in his life. But I guess the sugary crack of that sweet glazed dough ring has hooked him, as it has hooked the world for generations.
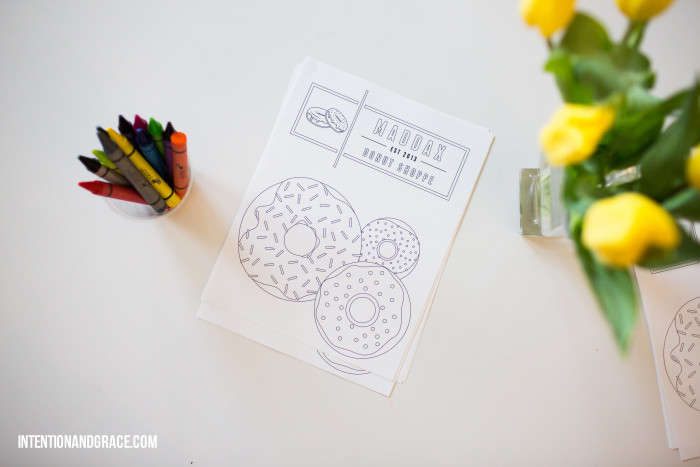
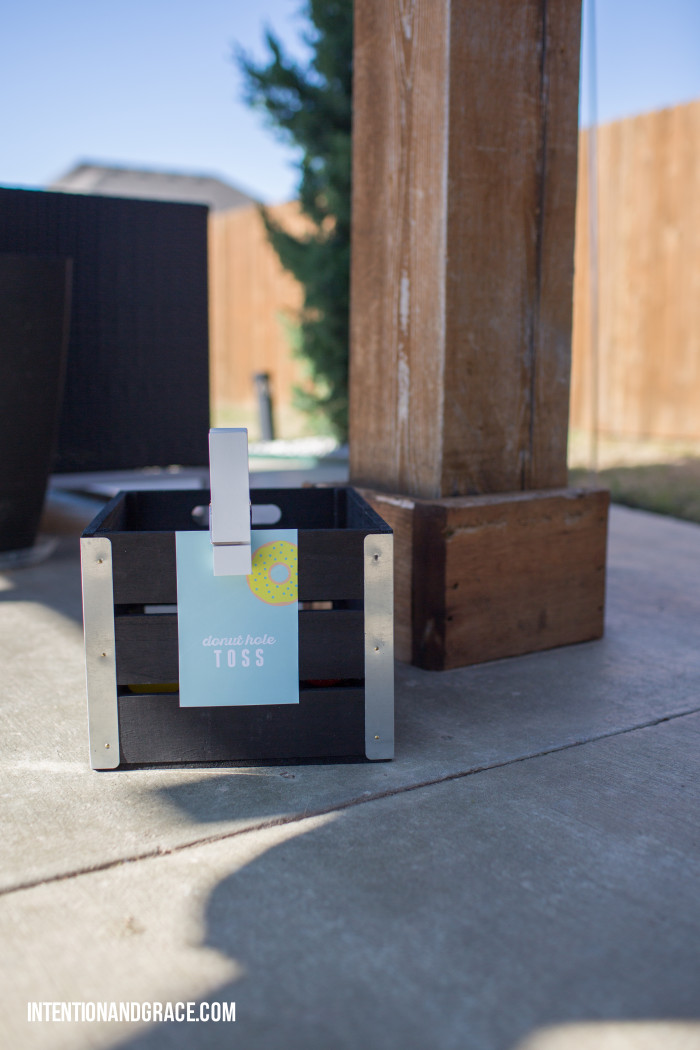
Thus, Dax’s Donut Shoppe was born.


Stop scrolling if you want to hear how I made the cake…
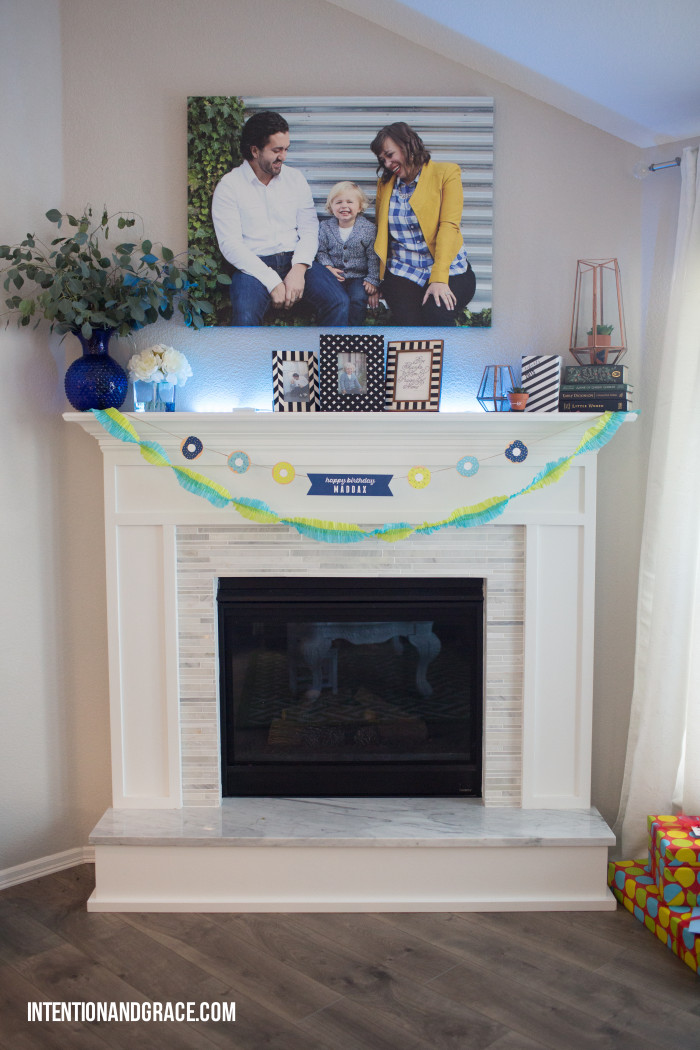
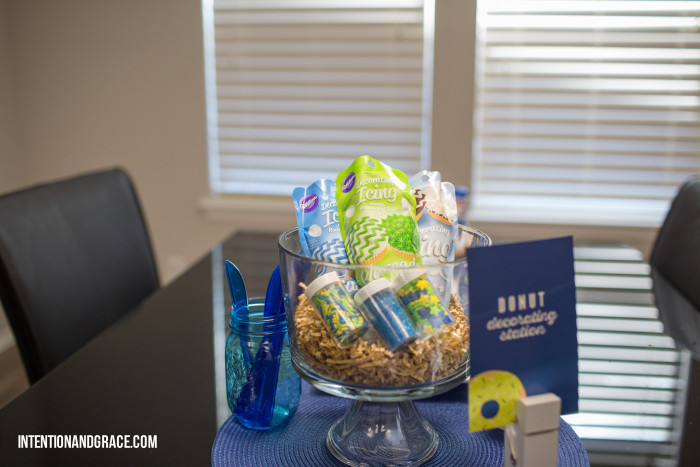
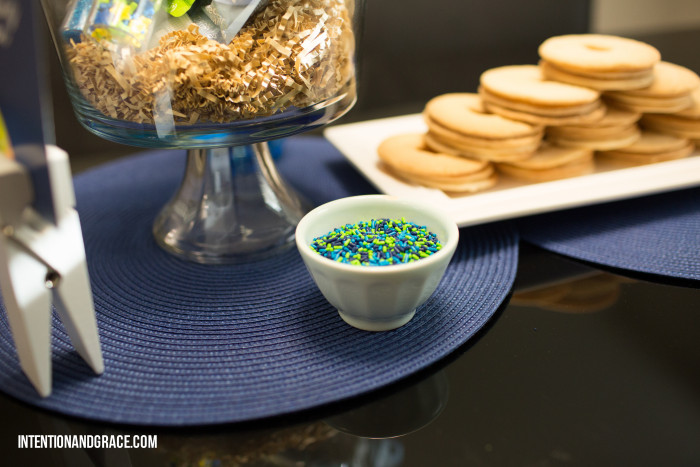
Deriving inspiration from this super pretty sprinkle cake I set out to find some blue and green sprinkles, which was actually harder than I thought. Enter etsy. Simply Baking Supplies can pretty much make any combination of colors you could ever want, and they are affordable and super great!
This cake cost us less than $10. Local bakeries (the grocery store kind) are seriously so great. I ordered a white whipped frosted cake ($5) and had them sprinkle the goods around the borders prior to pickup. Easy peasy.


Apr. 8, 2016
UPDATE: We have finally posted our “tutorial” so you can hopefully build a bed like the one below. Find the details HERE.
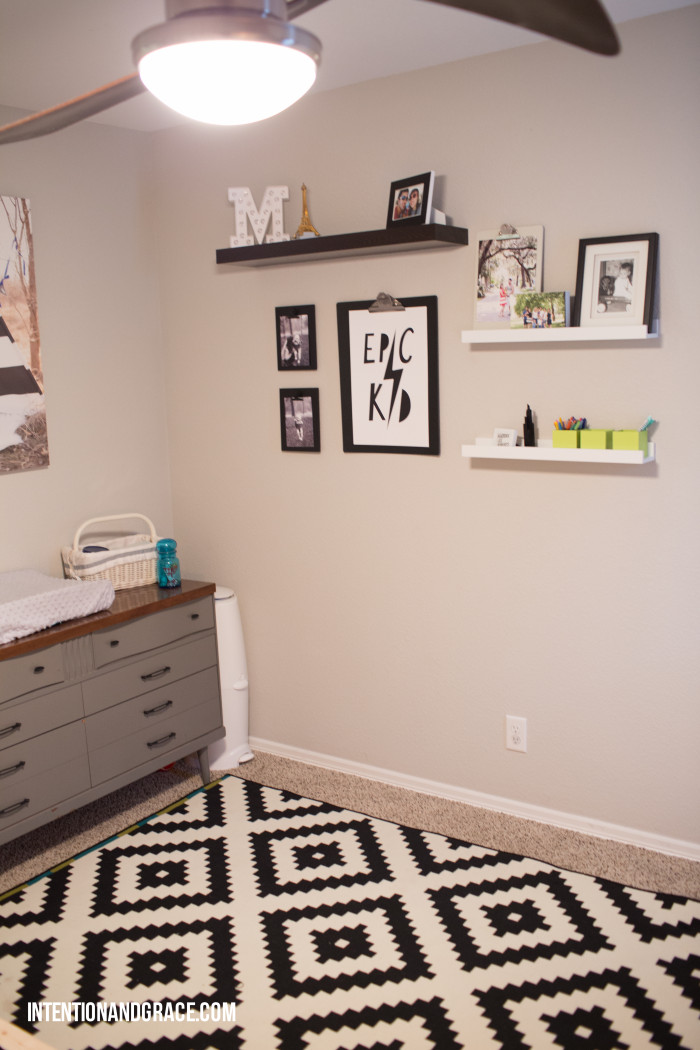
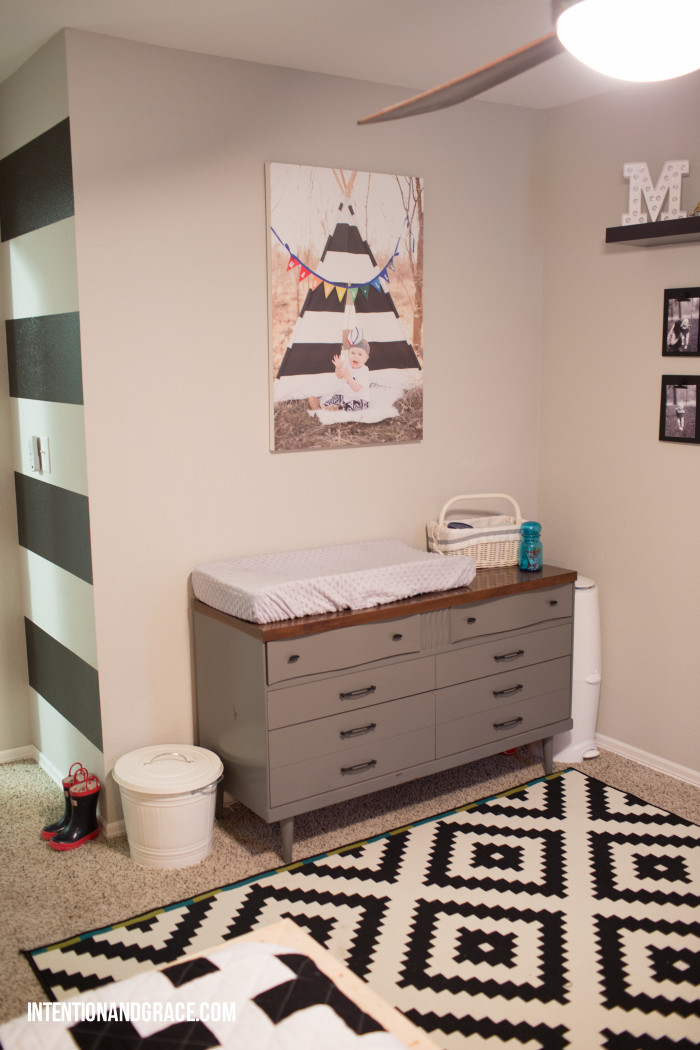
 You can tell by Dax’s “long hair don’t care” appearance that this post is long overdue. I had hoped to post a bed tutorial first, but this on-again, off-again spring weather has our bed painting session on hold until it’s consistently warmer.
I think this post deserves a moment of praise for my handy husband took on the task of creating a lighted headboard (with a switch, y’all) from a dream in my head and a chicken scratch sketch on an old bill. Guys, he totally knocked it out of the park! We plan on painting the bed white soon, but in the meantime we are enjoying it as is. Dax absolutely loves being able to have a light above him at the flip of a switch, and although I was worried he may use it when he shouldn’t, we haven’t had any issues in the past couple months, thank goodness!
Stay tuned for more detailed DIYs from the bed, quilt and more from this project coming up. Enjoy.


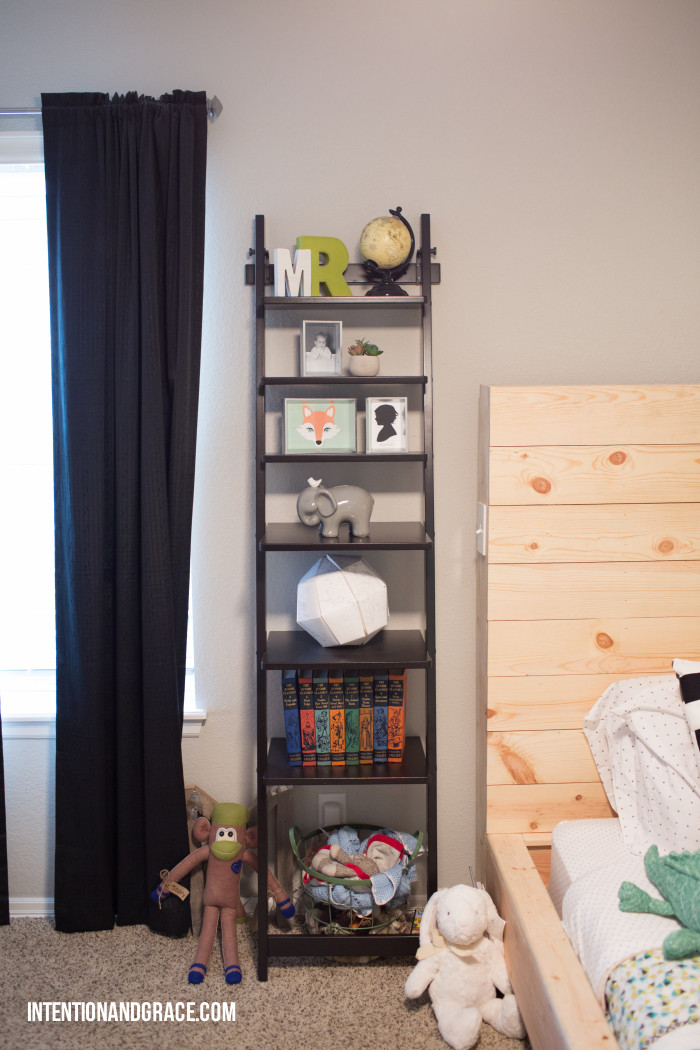
Although the DIY is to come, we’ve had interest in where we got the light on the headboard. We got it off amazon guys. It was so easy to install, the perfect size and such a great deal. :)
Feb. 5, 2016

Growing up I always disliked meatloaf. We didn’t eat it often, but when we did I basically doused the whole mess in ketchup to cover up what was surely something disgusting. Not that my mom’s recipe was bad, but as a kid MEAT LOAF is probably the least exciting food title there is. And honestly, that name is still pretty bad. But it has recently been revamped in our home to become one of Maddax’s favorites and our go-to for a quick and easy kid-friendly recipe.
I believe there are three secrets to the recent success of meatloaf relaunching its way into our home:
1. Use ground turkey—trust me.
2. Muffin size them—kids love kid-sized things.
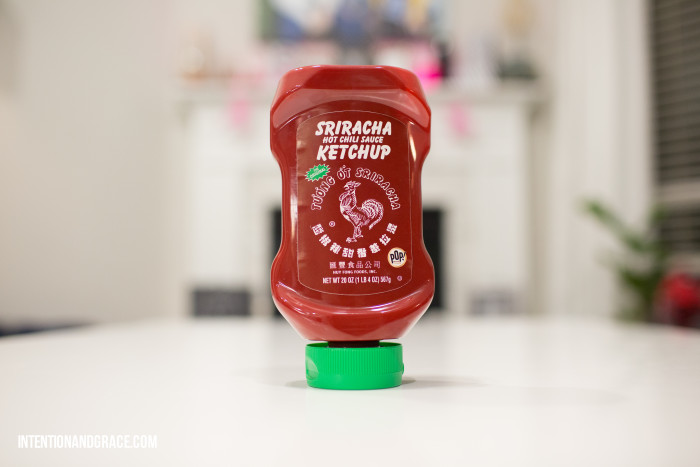
3. Serve with Sriracha ketchup—amen!
Here’s how we do it:
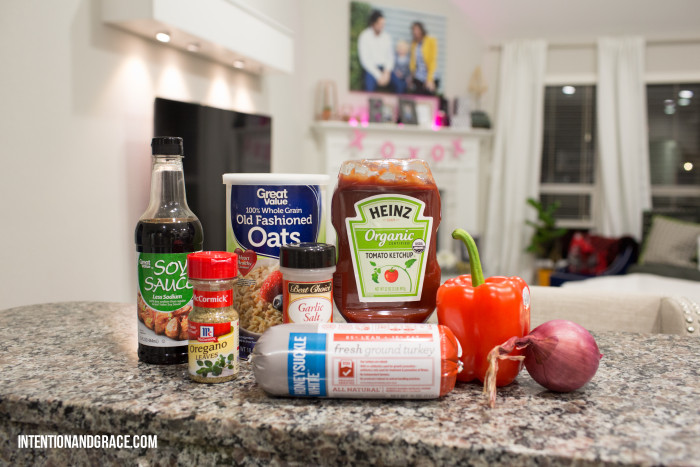
There are only 8 ingredients in the recipe, and most of them you probably already have in your house, which makes this super easy to throw together at the last minute.
We use 1 lb ground turkey, but pay attention to the leanness, I feel the sweet spot here is about 85% lean, if you go much leaner than that the turkey will come out on the dry side, in any recipe. So remember, 85% is where its at.
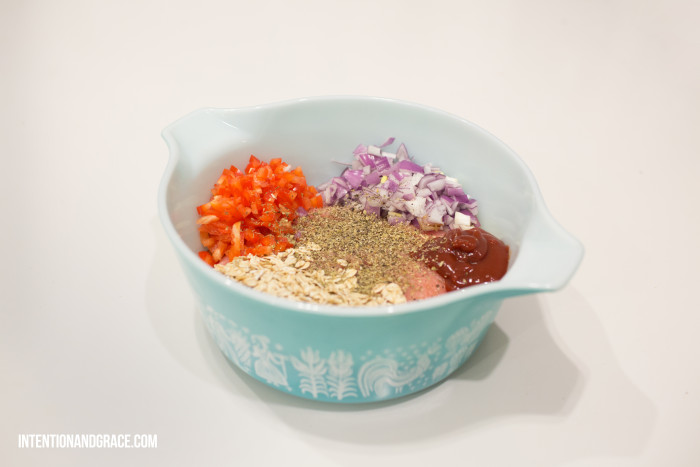
Chop your onion and bell pepper and dump the whole mess into a mixing bowl. Combine it all together with a rubber spatula, or if you’re like me, just take off your rings and really just dig in with your hands until it’s well blended. I promise it’s the best and easiest way.
Note: If you don’t like onions, you can substitute for something else—yellow bell pepper, carrots, etc.—or leave them out.
Once the mixture is well combined, simply transfer into a greased 12-cup cupcake tin. (This also works really well in jumbo muffin tins.) Then drizzle on a bit of ketchup before baking. You can use regular ketchup or sriracha depending on how much spice you’re hoping for.

Bake at 400 degrees for 10 minutes or until meatloaf is cooked through.
For the adults, serve with a bit of Sriracha Ketchup on the side for a little added kick and enjoy!
These little muffin sized meatloafs make great leftovers and freeze well too! Hope they are a hit for your family like they have been for ours.
Ingredients
- 1 pound ground turkey - 85% lean
- 1 cup chopped red onion
- 1/2 cup chopped red bell pepper
- 1 cup oats
- 1/4 cup soy sauce
- 1/4 cup ketchup
- 1/2 teaspoon oregano leaves
- 1/4 teaspoon garlic salt
- Ground pepper to taste
- * Sriracha Ketchup
Instructions
- Preheat oven to 400 degrees F.
- Finely chop onion and bell pepper.
- In a large bowl, combine the turkey, onion, bell pepper, oats, soy sauce, ketchup, oregano, garlic salt and pepper until well combined.
- Transfer evenly into a 12-cup non-stick cupcake baking pan and drizzle with ketchup.
- Bake at 400 degrees F for 10 minutes, until the meat loaf is cooked through.
- Serve hot with ketchup or Sriracha ketchup on the side.
0.1
http://intentionandgrace.com/2016/02/not-your-mamas-meatloaf/ 
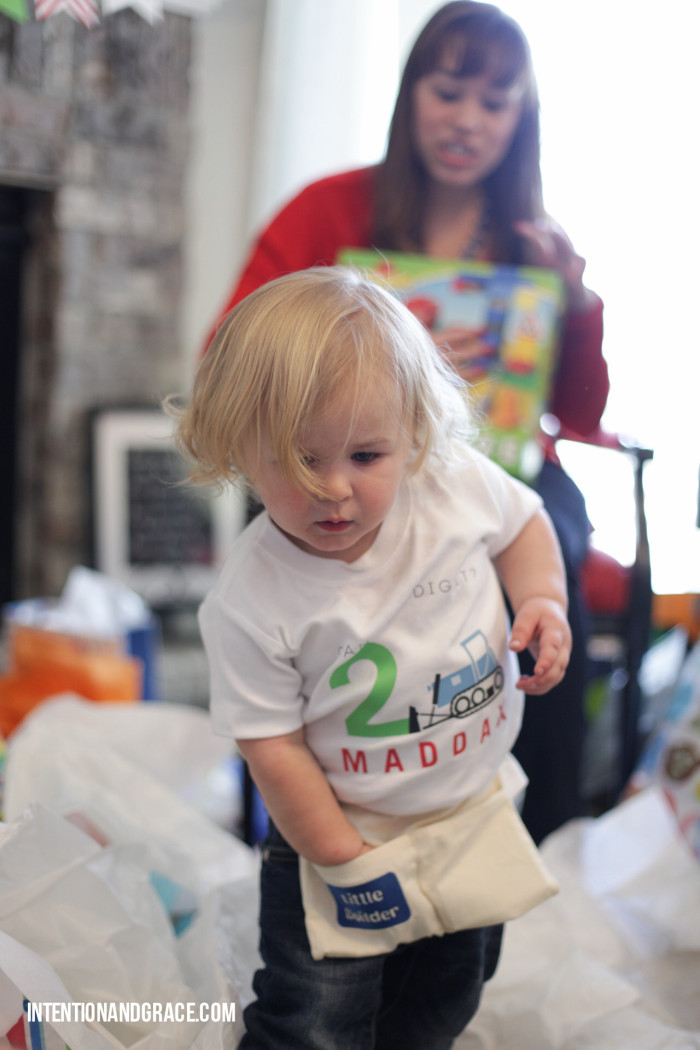
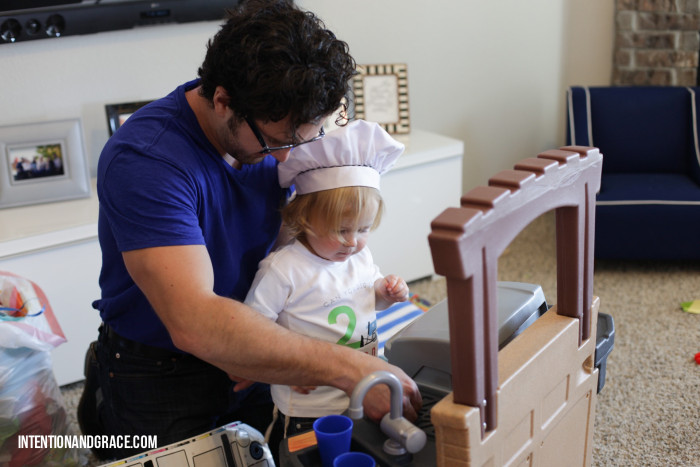
Apr. 3, 2015
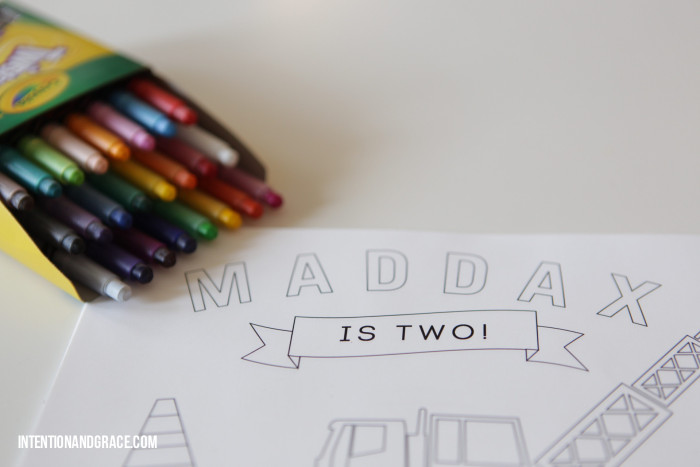
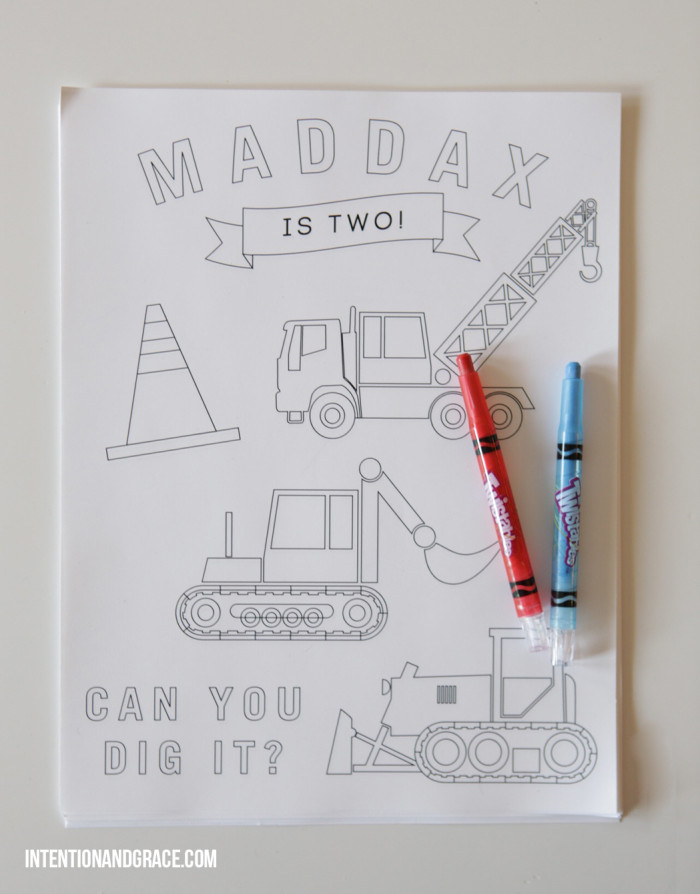
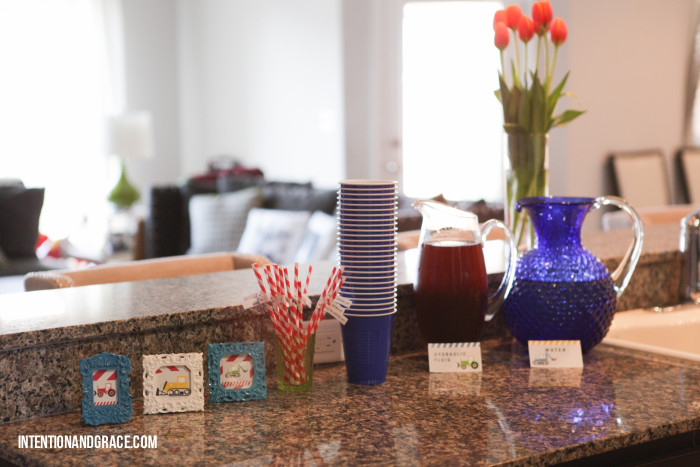
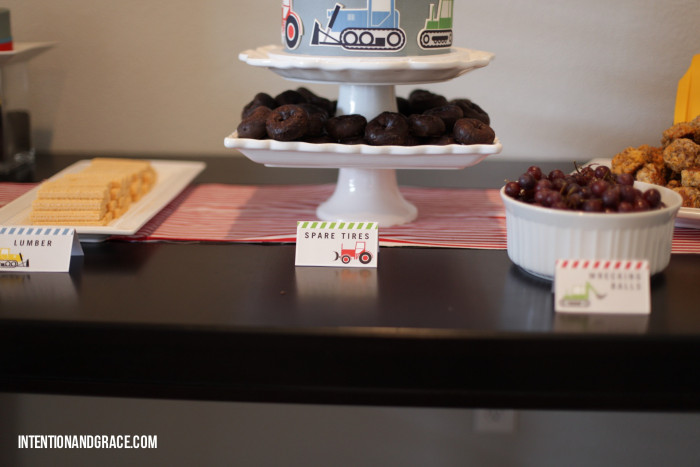
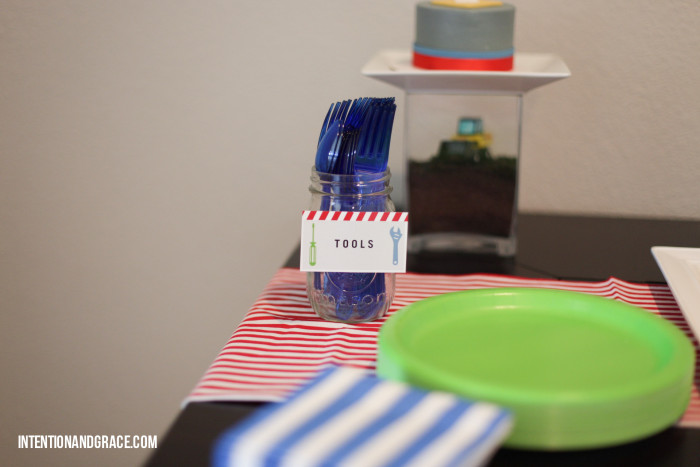
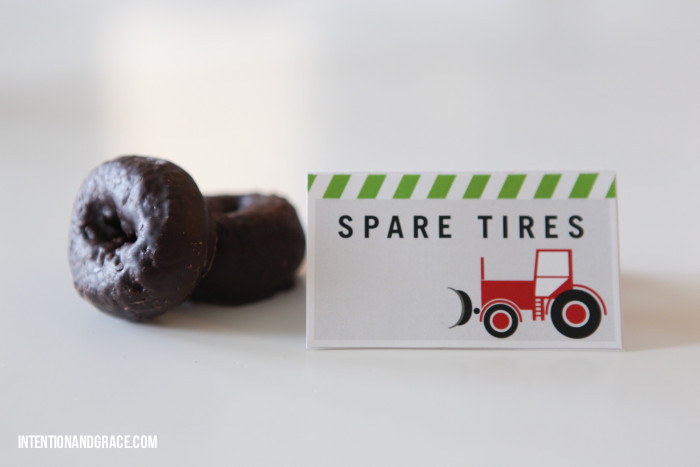
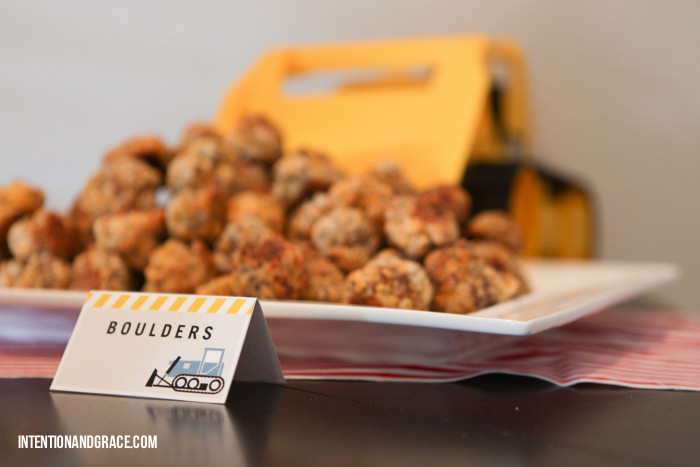
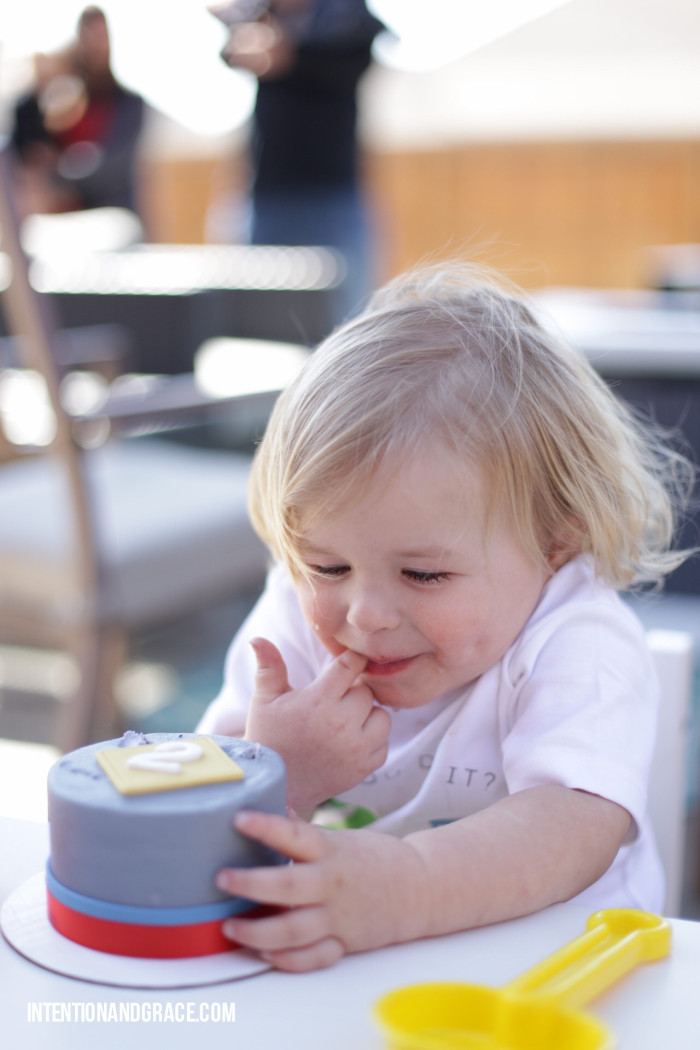
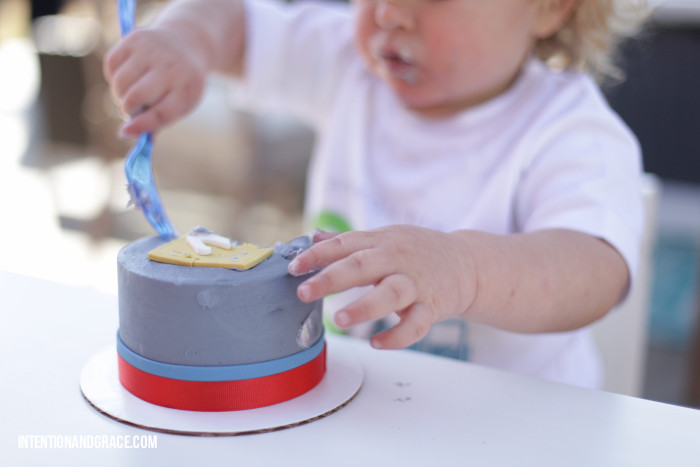
Last weekend our baby boy Maddax turned TWO! I just can’t believe it’s been two years since he was born. He has brought so much joy and laughter into our lives, and we loved being able to celebrate that with our sweet friends and family. We planned a fun tractor and truck themed birthday bash. This kid LOVES all things with wheels: tractors, trucks, trains, cars. Every time we drive anywhere, he points out any type of manly vehicle. By yelling at the top of his lungs. So this year I took this fun theme and ran with it. I hope you dig it!


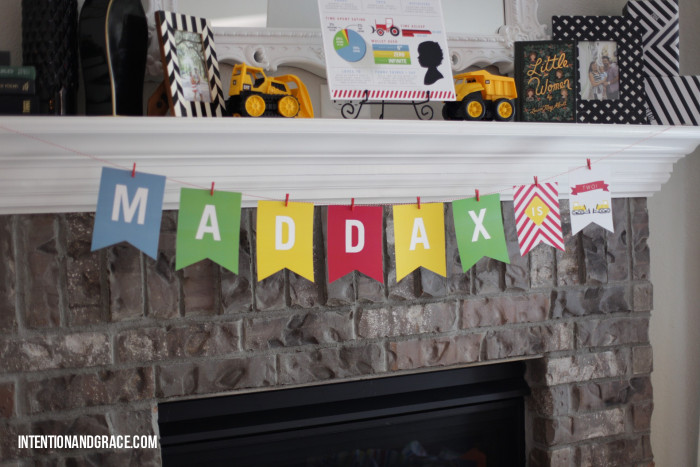
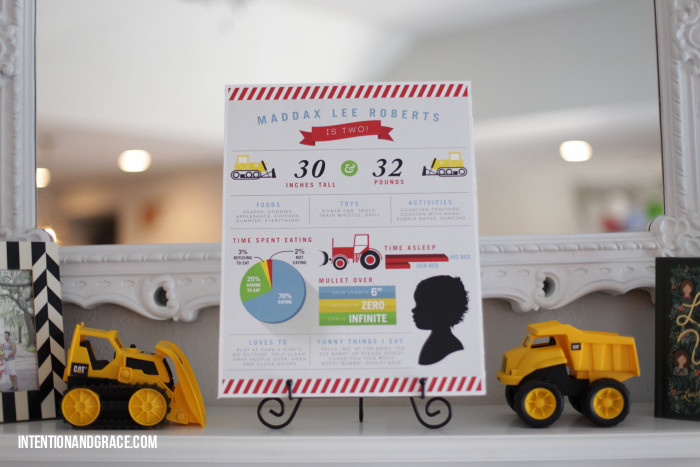

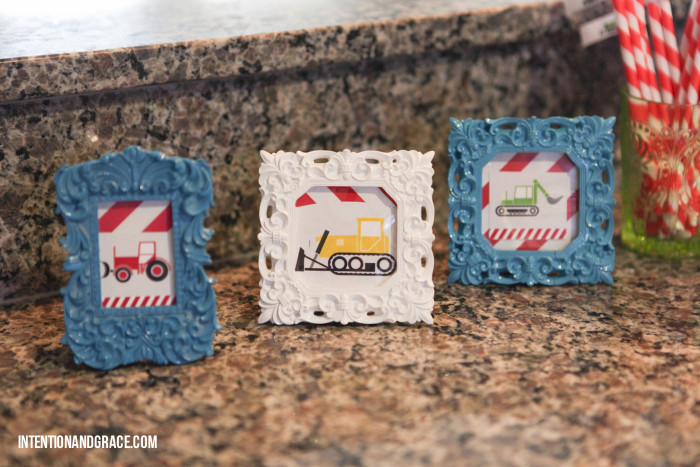

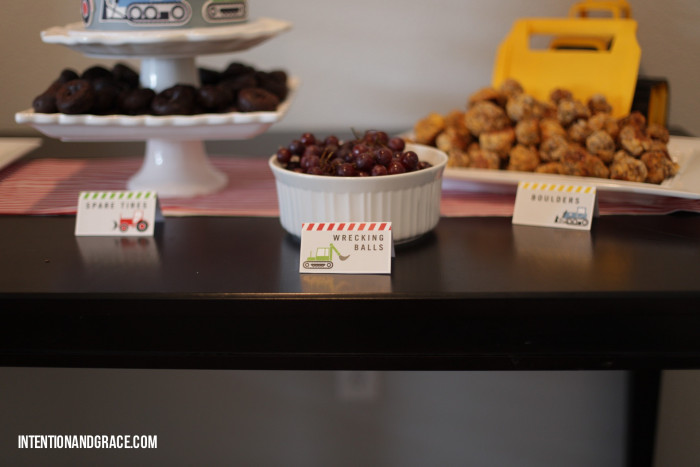


Want to use this theme for your lil one? Check my etsy shop for custom party listings or email me directly at courtney@intentionandgrace.com. Also, be sure to check out Maddax’s first birthday bash HERE.
Mar. 25, 2015

This year I have seen dyeable craft eggs popping up all over the place (Michaels, Hobby Lobby, Walmart, etc.) and they are cheap! I snagged these from Walmart for $2 a dozen, which is about what I would spend on real eggs, but I can use these every year. I was so excited to take them home and create some beautiful things with my family, but after a bit of trial and error discovered these eggs, although pretty and fun, are definitely not an egg substitute. Since they are pretty new, I thought I’d share my pros and cons for dyeable craft eggs if anyone else wants to give them a shot.
Pros:
1. Great for toddlers and kids! We dropped several of these along the way and none of them broke! Dax just loved helping and I felt better about letting him be in control without having to worry about several cracked eggs.
2. They don’t expire. These eggs won’t start to stink up the house after a few days, and you can store them away for next year!
3. The dye is instant. Craft eggs don’t darken if they sit in the dye longer, so the dyeing process goes rather quickly. Simply dip and dry. No need to wait on an egg to get to the desired shade, you’re already there.
Cons:
1. They are super light! They float, so if you want them to be covered in dye, you have to spoon it around the egg rather than simply drop it into the dye like you would with a normal egg.
2. You can’t use water. For the colors above we could only use vinegar with the dye tablets. The problem with this was that 4tsp of vinegar is really just not deep enough to dye a whole egg. The require lots of swishing and spooning to cover an egg in dye, making it a bit more frustrating than normal egg dye which allows for 1/2 cup water to be added.
3. They don’t dry quickly. The dye seems to linger on these for a long time, not absorbing into the craft eggs like normal eggs do, so even after several minutes of “drying” I would pick an egg up to see that it was still dripping quite a bit at the base. I also found that if you overlap two colors they sometimes bleed together unless they have had significant dry time.
Techniques:
After playing with the craft eggs and the dye for quite some time this week we found four fantastic ways to use them in your home.
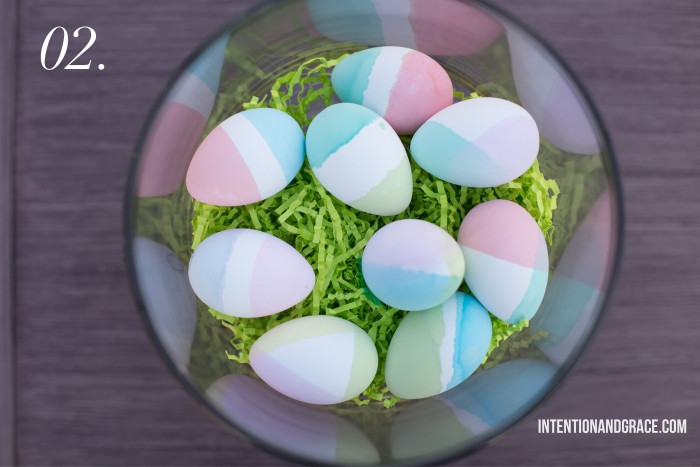
1. Solid coloring: Simply roll these around in the dye until completely covered and then set aside to dry. The pastels are beautiful and great for decorating with or use in an easter egg hunt.

2. Dip dyeing: Since the dye is very shallow we would tilt the cup or bowl then dip the egg in and set aside for drying, after a few minutes (5-10) turn over or around and dip another side. While one egg is drying get some others started or work on a different dying technique so you don’t have to wait around. I love the shapes you can create with this technique.
3. Watercolor: For these we grabbed a simple watercolor set by Crayola. The eggs absorbed the paints wonderfully and Dax had such a fun time painting away. I love how they turned out!
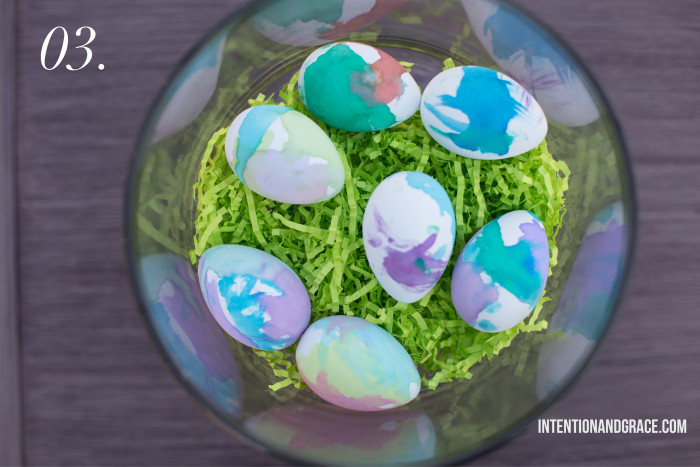
4. Sharpie: We used sharpie brush markers (my new obsession) to create fun swirls, dots, patters and calligraphy. Don’t worry about being too fancy with these, I think they more they look hand drawn, the better. I also found a fun little set of monogram stickers to create some with our initials on them.

Have you used these dyeable craft eggs before? Share some fun techniques you used!